Say yes to creativity, DIY projects, and your own adorable creations by doing iron-on projects – from shirts, to home decor, to gifts and more. To help, I’m sharing some tips and information today about doing your iron-on projects with a Cricut EasyPress as part of a sponsored partnership wth Cricut.
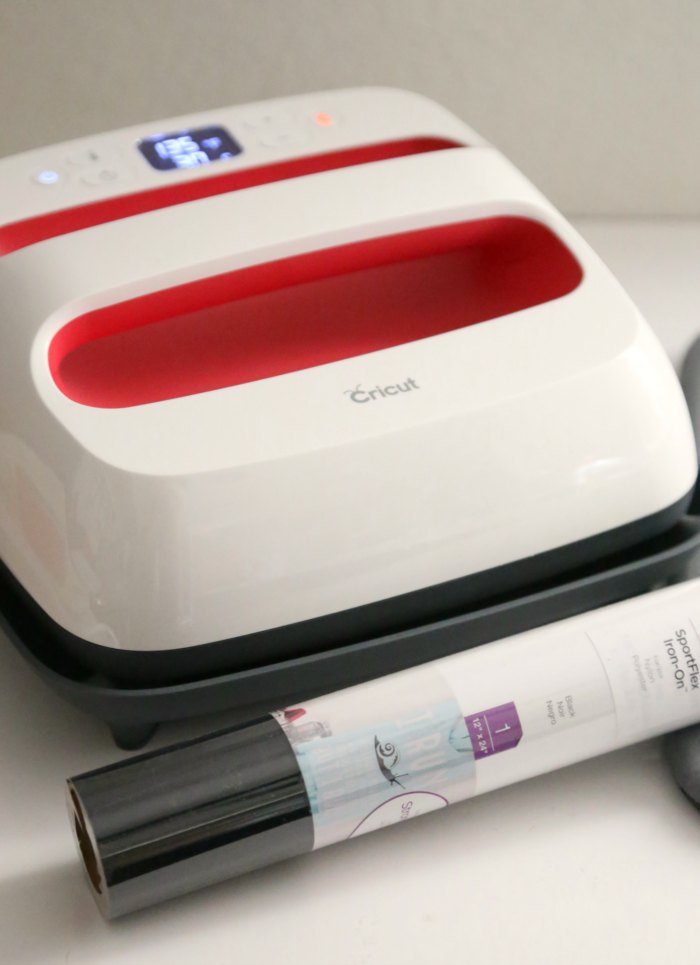 If you’ve been around the blog long, you know I’ve grown quite fond of making various iron-on projects. Some of my favorites include this adorable travel tote bag, matching Christmas shirts for the boys, Christmas ornaments, family cruise shirts, and even cute rashguard swim shirts! To make all my different iron-on projects over the years, I’ve used a regular iron, a professional-style heat press (thanks to a friend), and the Cricut EasyPress. What’s the one I have in my office and now use regularly at home? The Cricut EasyPress 2! Here’s some things you might be wondering about!
What’s the difference between the EasyPress 2 and standard irons or heat presses?
The EasyPress 2 is my go-to for iron-on projects at home because I feel like you get the best of both worlds – you have the portability of an iron with the more even heat of a traditional heat press (without the bulky size or safety concerns). Obviously, irons are easy to use, portable, and relatively inexpensive. But, with all the holes, steam settings, and sometimes inability to know exactly what temperature you’re on, they can take longer to use and/or yield sub-par results.
A traditional heat press is AMAZING when making iron-on shirts – there really is no arguing this! BUT…they can be very expensive; they can be HUGE; and they can be a safety concern if you’re working around kids (something we are VERY cognizant of after dealing with severe hand burns). Additionally, they are limited in scope since not all items (bags, hats, furniture, etc) will work in a heat press. So, that’s why I think the EasyPress is the best of both worlds. Here’s the some of the great features:
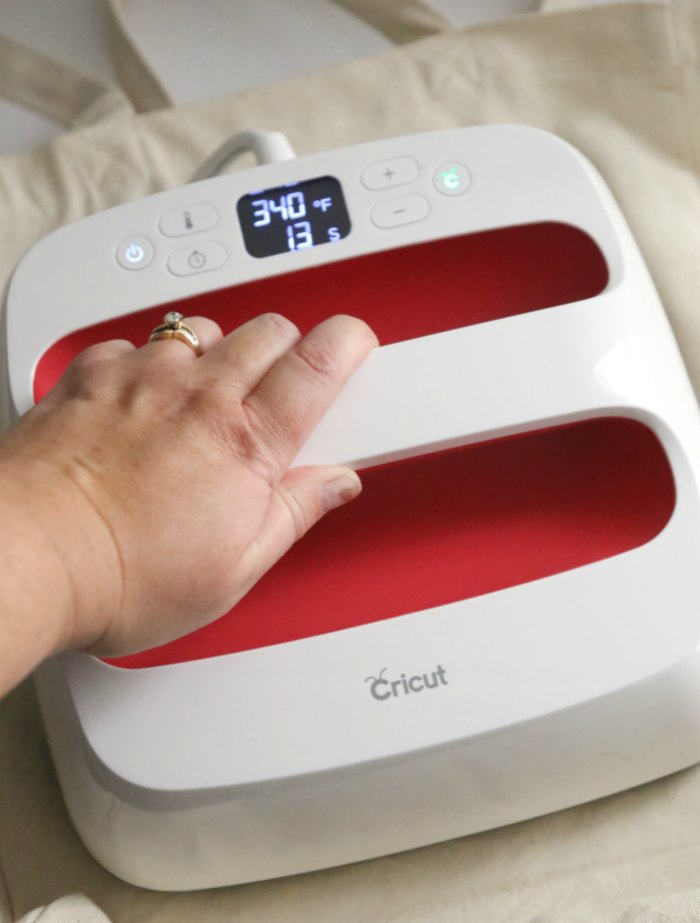
- Professional iron-on success in 60 seconds or less
- Ceramic-coated heat plate means dry, even heat for flawless transfers
- Precise temperature control up to 400 F
- Insulated, streamlined Safety Base keeps EP2 in protected resting position while also protecting crafting surface
- Easy to read digital display
Which size of EasyPress 2 is right for me?
The EasyPress 2 actually comes in three unique sizes (6×7, 9×9, and 12×10) to suit every project! Unless you are a very serious crafter, you probably don’t need all three! So, when determining which size is right for you, the best thing to do is think about what types of projects you find yourself working on most! The concern is that if you have too large a heat surface, you uneven heating over the seams. If you have too small a surface for your iron-on design, you risk having to do multiple presses and potentially over-processing your iron-on material. Here’s a look:
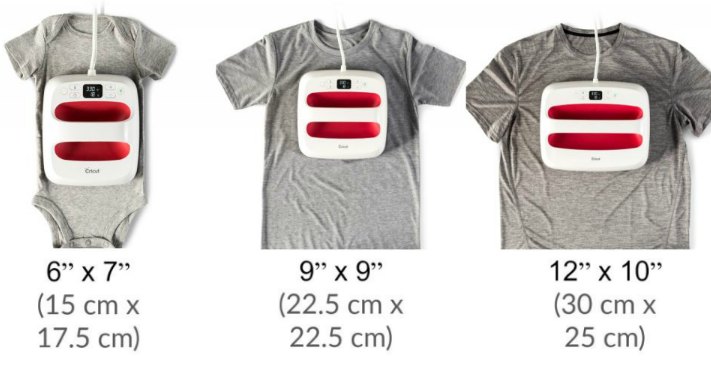
So, if you find yourself working on small things often (baby clothes, hats, socks, mittens, etc), the smallest size might be your best pick. Conversely, if you do a lot of projects on large adult sizes of clothing, tablecloths, large tote bags, etc, the largest EasyPress 2 might be your best pick. Can’t decide? Then go with the 9×9! This is the only one I currently have and it works well on the vast majority of my projects! For the types of projects I do, the 12″x10″ would be my next buy!
How much does an EasyPress 2 cost?
The cost depends on the size, but here’s the MSRP breakdown:
- Small 6×7 – $139.99
- Medium 9×9 – $189.99
- Large 12×10 – $249.99
Do be on the lookout for sales though! At the time of me writing this, the small one was on sale for $109!
Can I use an ironing board with my EasyPress?
NO! Trust me – do not even try it (ask me how I know 😉 ). This is NOT the right surface for doing your iron-on projects. Instead, you want to do your heat pressing on a hard surface. I regularly use a table or countertop. But wait… you need to protect that surface from the heat! You can use a towel for that. But for best results, you want to get a Cricut EasyPress Mat!
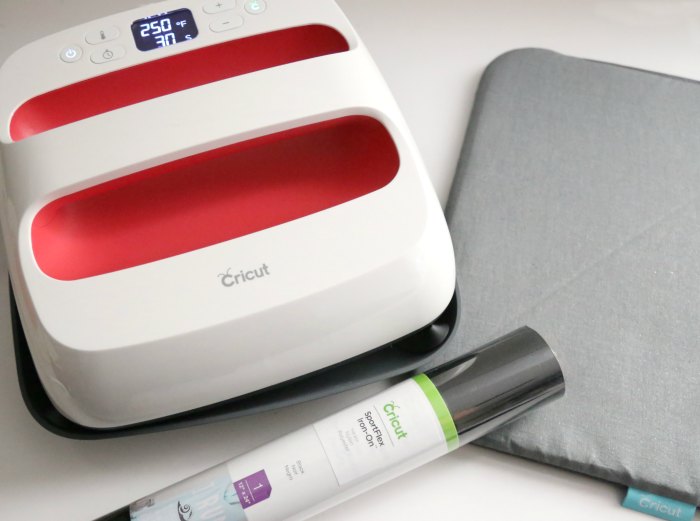 The mat is designed to work WITH your EasyPress, eliminating moisture and directing heat to your iron-on design. Plus it shields your work surface from damaging heat and moisture. I use this mat every time I use my EasyPress!
How do I know what temperature to use for different materials/projects?
Even though I do projects regularly, I can never remember the correct heat settings. But getting the answer is SUPER simple thanks to Cricut’s Interactive Quick Reference Guide! You just select the type of iron-on you’re using with the type of material you’re adhering it to and the guide will tell you exactly what temperature to set the EasyPress to! Easy peasy!
Speaking of materials, you can apply iron-on to SO many different materials – a huge variety of fabrics, wood, chipboard, corkboard, faux leather, cardstock, felt, etc. There are also many different types of Cricut Iron-On to use for your projects! 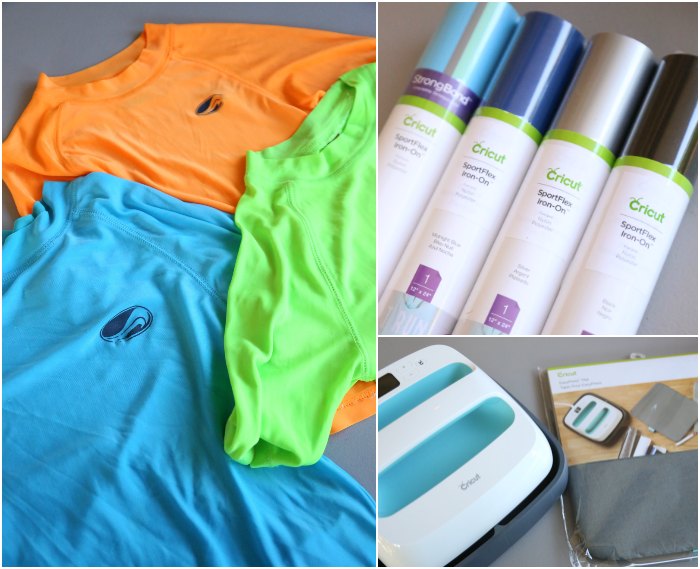 Did that help answer some of your questions about the EasyPress 2? I hope so. If not, please feel free to ask in the comments. Or, feel free to hop on over to the Mom Endeavors Instagram page and send me a quick message! Happy to help answer what I can as you work on your iron-on projects!
Happy creating!
Like it? Pin it! 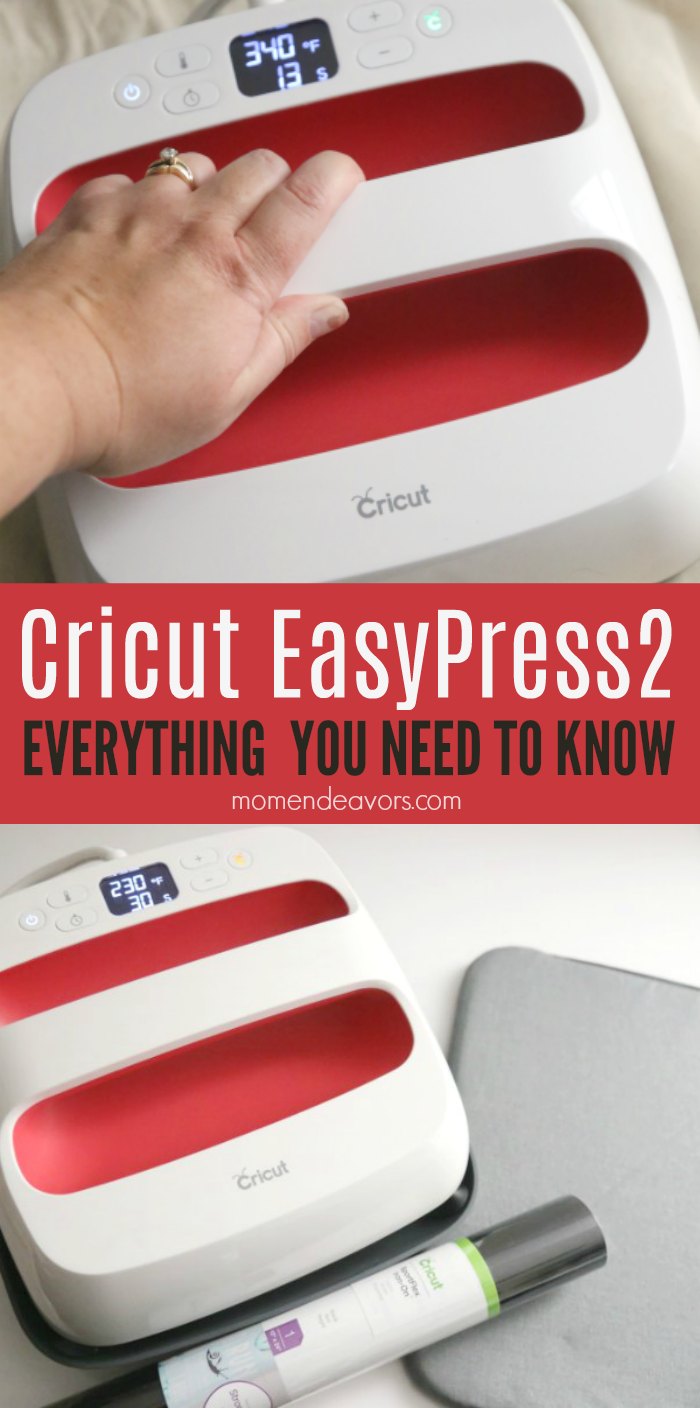
This is a sponsored conversation written by me on behalf of Cricut. The opinions and text are all mine.


One Response
Thank you ! You answered all my questions