Create your own rustic farmhouse Christmas tree! I’m sharing some easy project ideas to help you create a simple & cute farmhouse tree as part of a sponsored partnership with Cricut.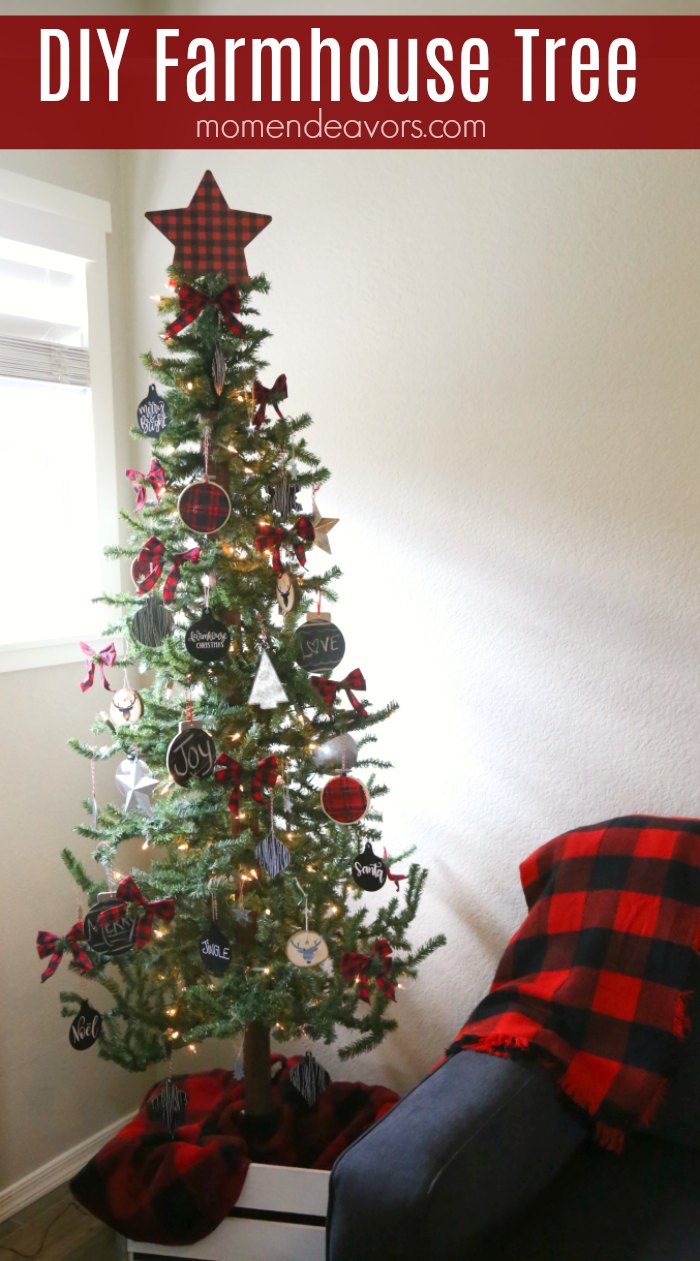 If you know me in “real life”, you know that I LOVE the colors red, black, and white (they were actually even my wedding colors). So, I’m currently obsessed with all things buffalo check plaid (both red & black and the classic black & white). We’re also in the midst of a big home remodel project that will give us a white & black kitchen (shocking, I know). So I couldn’t resist doing a small simple tree in the family room (near the kitchen) where I could incorporate some simple farmhouse Christmas charm!
DIY Black & White Ornaments
 You guys – I just love it! It’s sort of rustic and simple and plain, but still cute! It’s the ONLY spot in my house right now that’s decorated for Christmas at all. So, it’s my happy little corner! One of my favorites are these simple black & white farmhouse ornaments! Aren’t they CUTE!?!
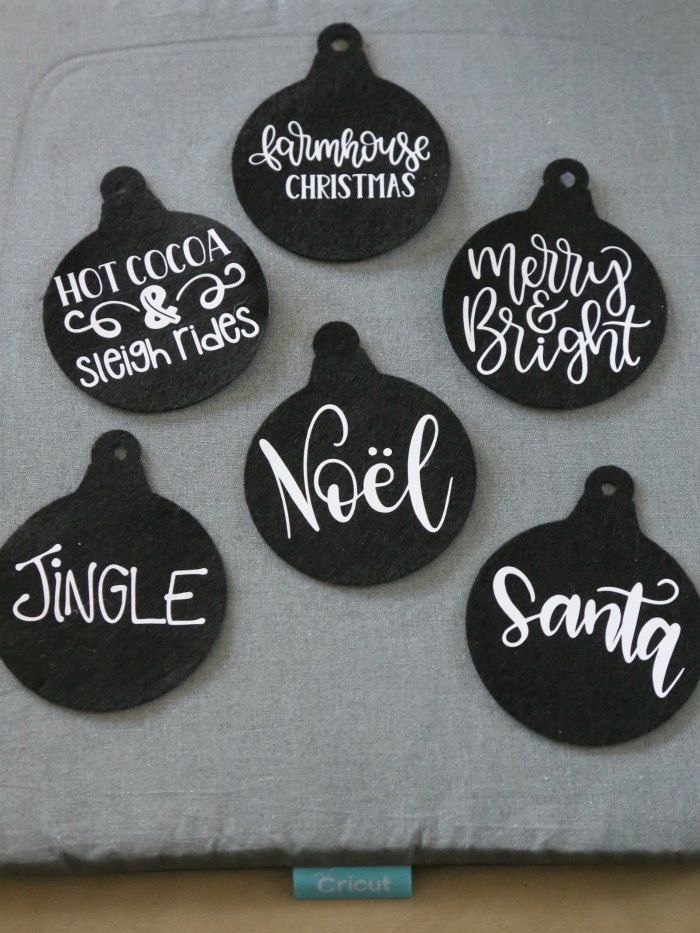 I got the inspiration for those after seeing Heather over at Whipperberry make some! She’s got a great little tutorial over on her site if you’re unsure how to do them! But basically I just cut an ornament design I liked out of felt and then used my Cricut EasyPress 2 and Cricut EasyPress Mat to add some cute words & sayings with White Iron-On.
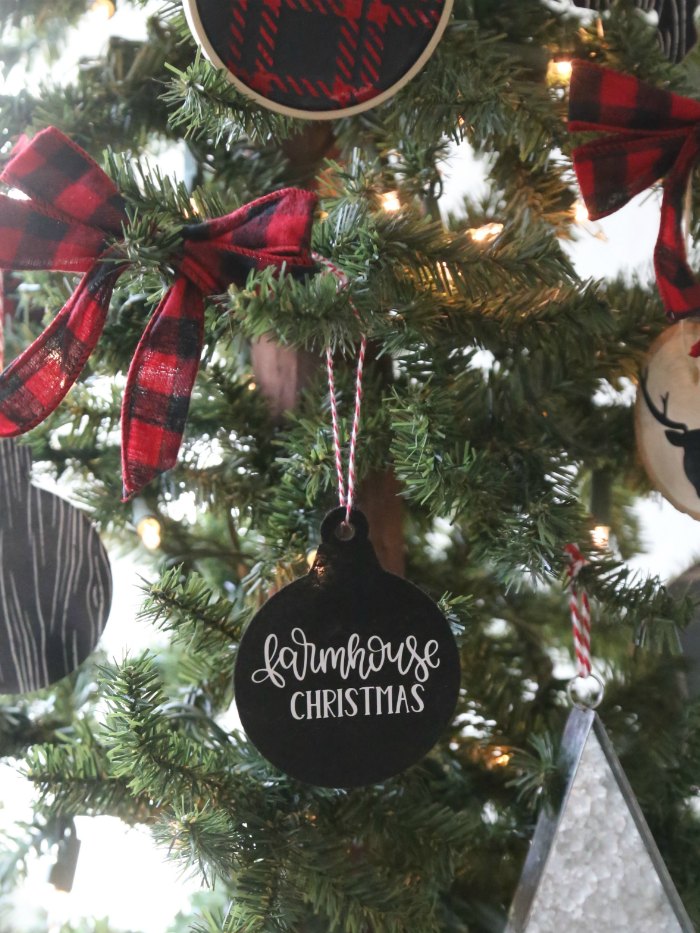
 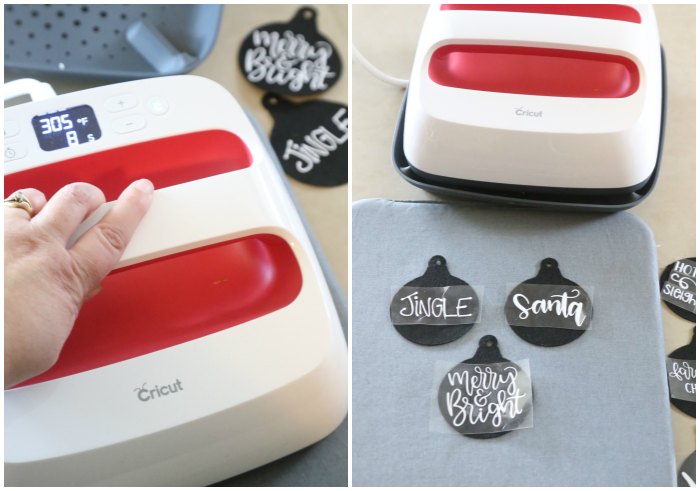 If you like the words and phrases I picked out, you can just access my “Felt Ornaments” Design File right here! Super easy! I also made some fun & simple chalkboard ornaments as well. They have a very similar look to the felt ornaments, but you can actually write on them!!!
  I LOVE these too! I’ll do a detailed post on these later! But you cut your own out of chipboard or balsa wood using the Cricut Maker and Cricut Knife Blade (or buy simple wooden shapes at the craft store). Then you just put on some chalkboard vinyl and you have yourself some adorable ornaments!
  And, in case you haven’t had your fill of black & white ornaments yet, I also applied that same chipboard & vinyl concept to these faux wood ornaments.
 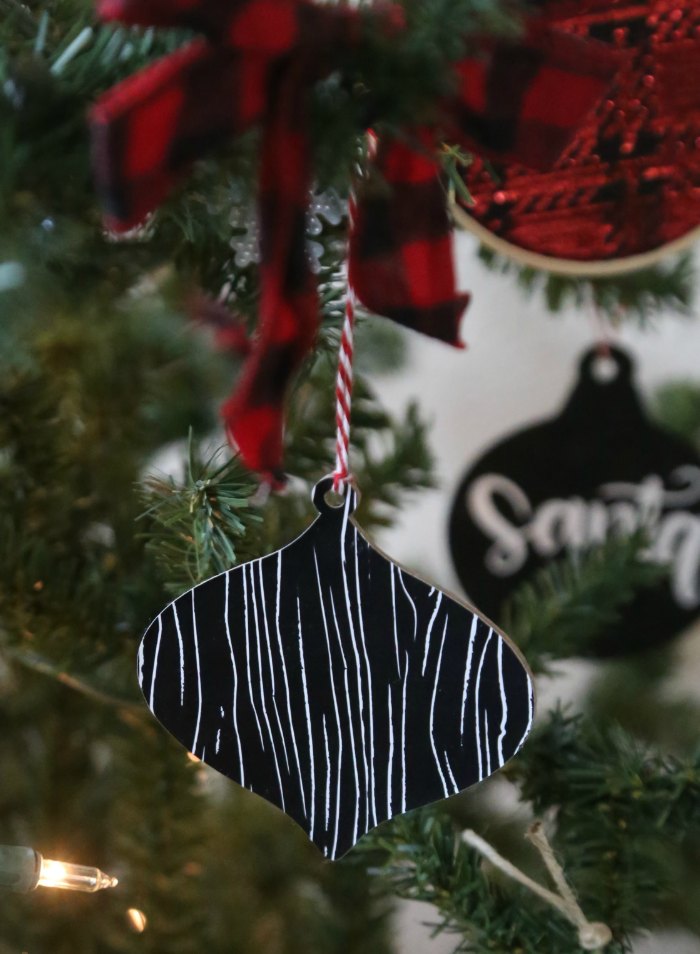 I got the idea from Kelly at Eclectic Momsense and her cute ornament gift tags! You can click that link for her tutorial on how to make these and see her other cute ideas! But the concept is the same as how I made our star! It’s a simple Buffalo Plaid star and I LOVE it! Such an easy way to DIY your holiday!
 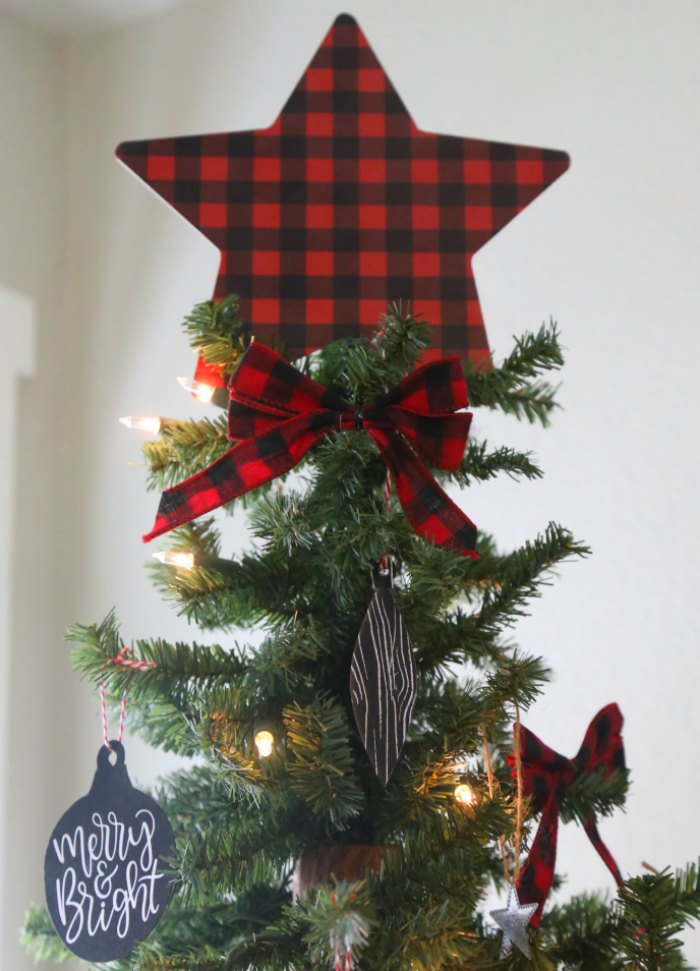 It was SO easy to make with the Cricut Maker and knife blade!!! Here’s the quick & easy how-to!
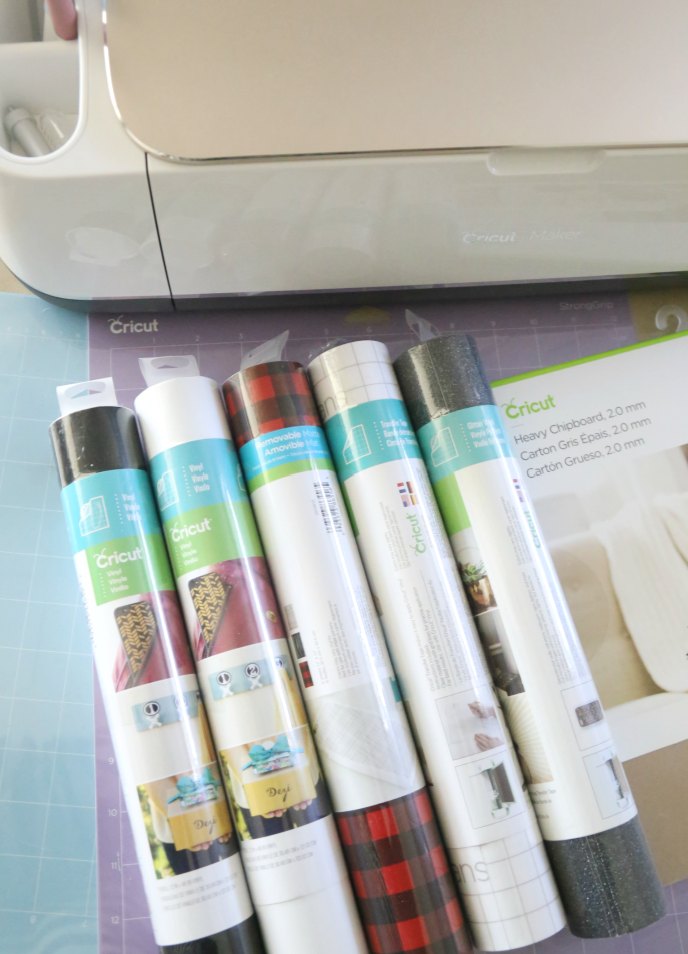
Buffalo Check Star Supplies:
Note: Affiliate links are included below (if you make a purchase, I may earn a small commission. Thanks for helping to support Mom Endeavors!!).
- Cricut Maker
- Cricut Knife Blade
- 2mm Chipboard
- Rustic Lumberjack Premium Vinyl
- Strong Grip Cutting Mat
 The key to making this completely custom for YOUR space & tree is to cut your own star! To do that, you need to use the Cricut Knife Blade– it’s the newest tool to use with the Cricut Maker Machine and it’s SO awesome for cutting thicker materials! There are a few things to keep in mind before you cut though!
Chipboard Cutting Tips
- Make sure to do the cutting test before using your knife blade the 1st time (the machine will prompt you with that).
- Use the Strong Grip Mat
- Use masking tape or painters tape around the edges of the chipboard to prevent any shifting
- Cutting chipboard does take longer than other projects (because the knife blade does 20 cutting passes to get that perfect precision). So just keep that in mind as you plan your holiday crafting & timing!
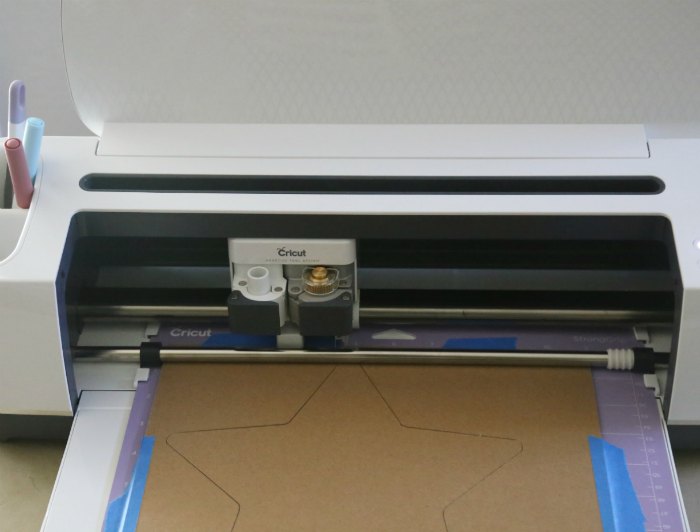 For my design, I just used the simple “Star” design (#M854FD74 from Not All Heroes Wear Capes) in Cricut Design Space and sized to 8.5″ wide. Super easy! The cut of the chipboard came out beautifully!
 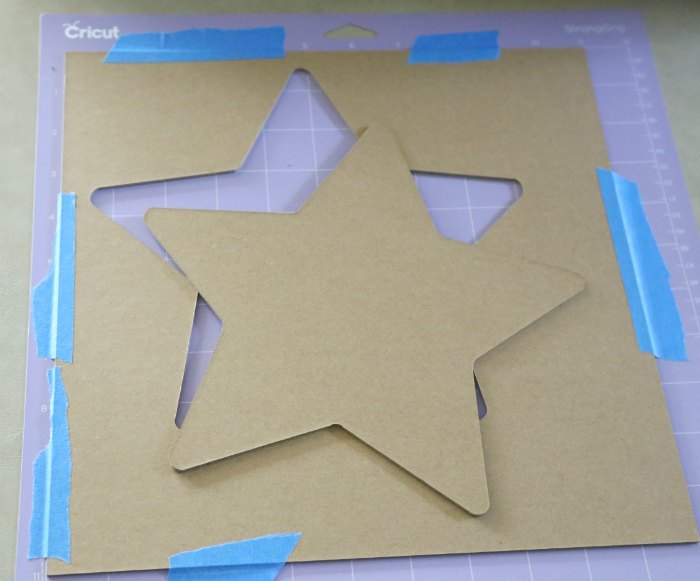 Once the star is cut, you can then cut out a matching star shape (the exact same size) from the buffalo plaid vinyl. You’ll just switch the blades before making the cut (the machine will prompt you to do this as well). I placed the cut chipboard star on top of the vinyl so I could determine where I wanted the cut made (so things would be symmetrical).
 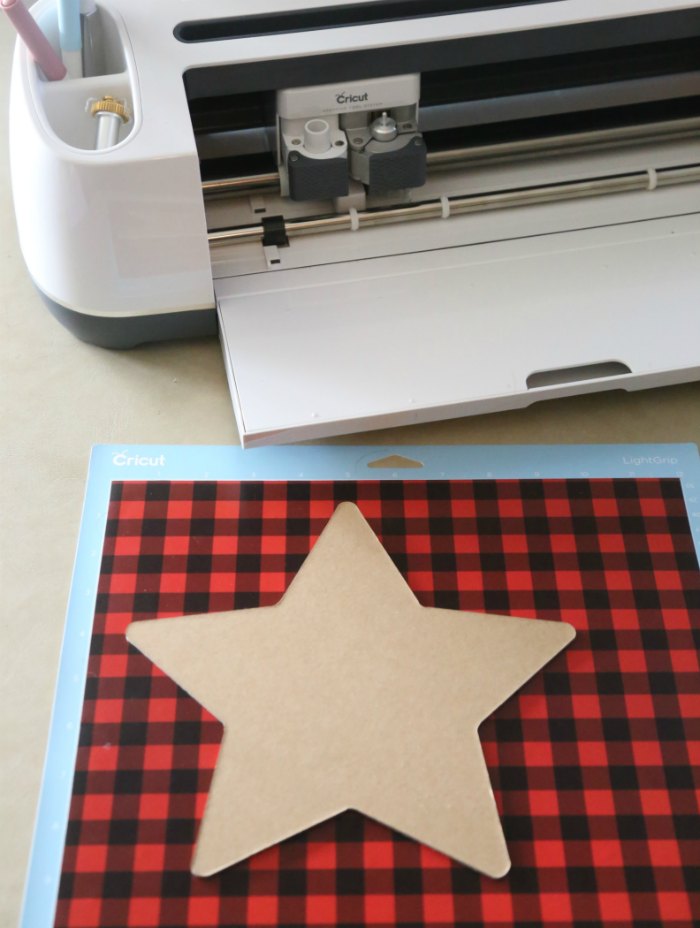 And that’s it! Once the vinyl is cut, you just line it up and place it over the chipboard star. Then, you have a cute topper to set at the top of the tree!
 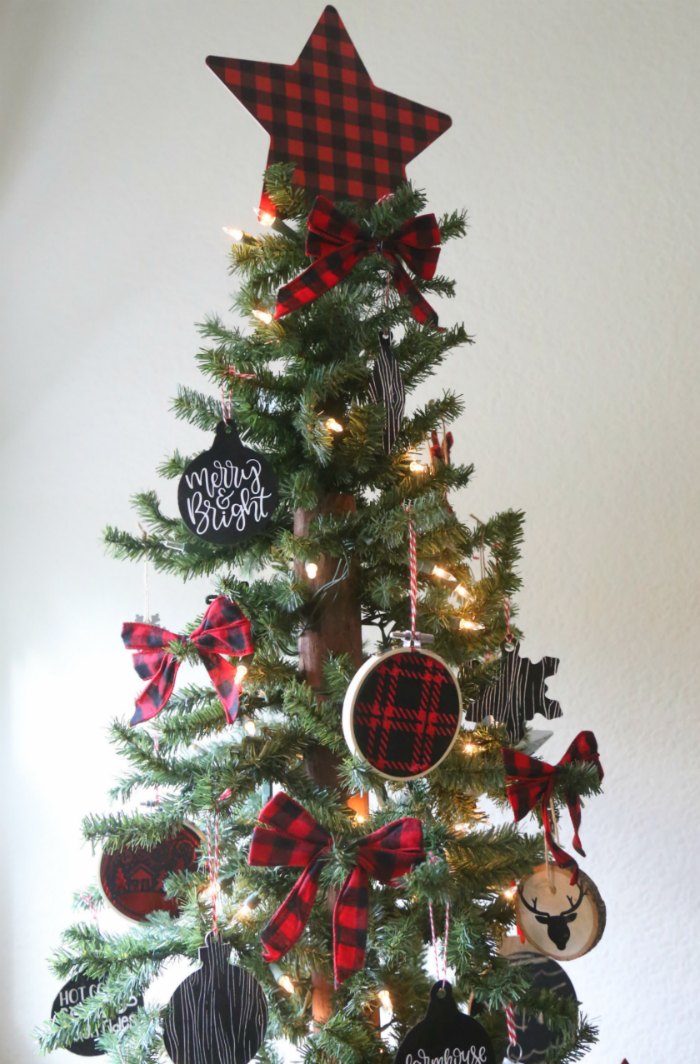 I just loved how it turned out! Plus, I still have a few more fun things & ideas to show you! So stay tuned for those! And if you don’t have a Cricut Maker yet, put it on your wish list for Christmas! It’s such a fabulous tool!
Like it? Pin it!
This is a sponsored conversation written by me on behalf of Cricut. The opinions and text are all mine.