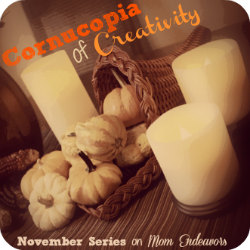
Hello! My name is Steph from The Silly Pearl, where I blog about crafts and cooking in between cuddles with my twin girls. I am so excited to be here on Mom Endeavors today as part of the Cornucopia of Creativity series. Thanks so much Sara for having me! Today I’m sharing how I made my Thanksgiving Garland made from embroidery hoops, upholstery webbing, and some vintage trimmings in Fall colors.  You will need:
- Small embroidery hoops
- Heavy cotton fabric, such as canvas or duck cloth
- Letter stencil
- Paint pen (or fabric paint)
- Trim (I used bias tape that I ruffled myself…see below for other options)
- Buttons
- Jute upholster webbing
- Twine
- Hot glue, fabric scissors, pencil
I’ll start by showing you how I made one of the banner pieces. First, I started with my fabric, cut out to slightly bigger than my embroidery hoop (mine are 4 inches in diameter). Then I took a letter stencil I had on hand and filled in the letter with a paint pen. 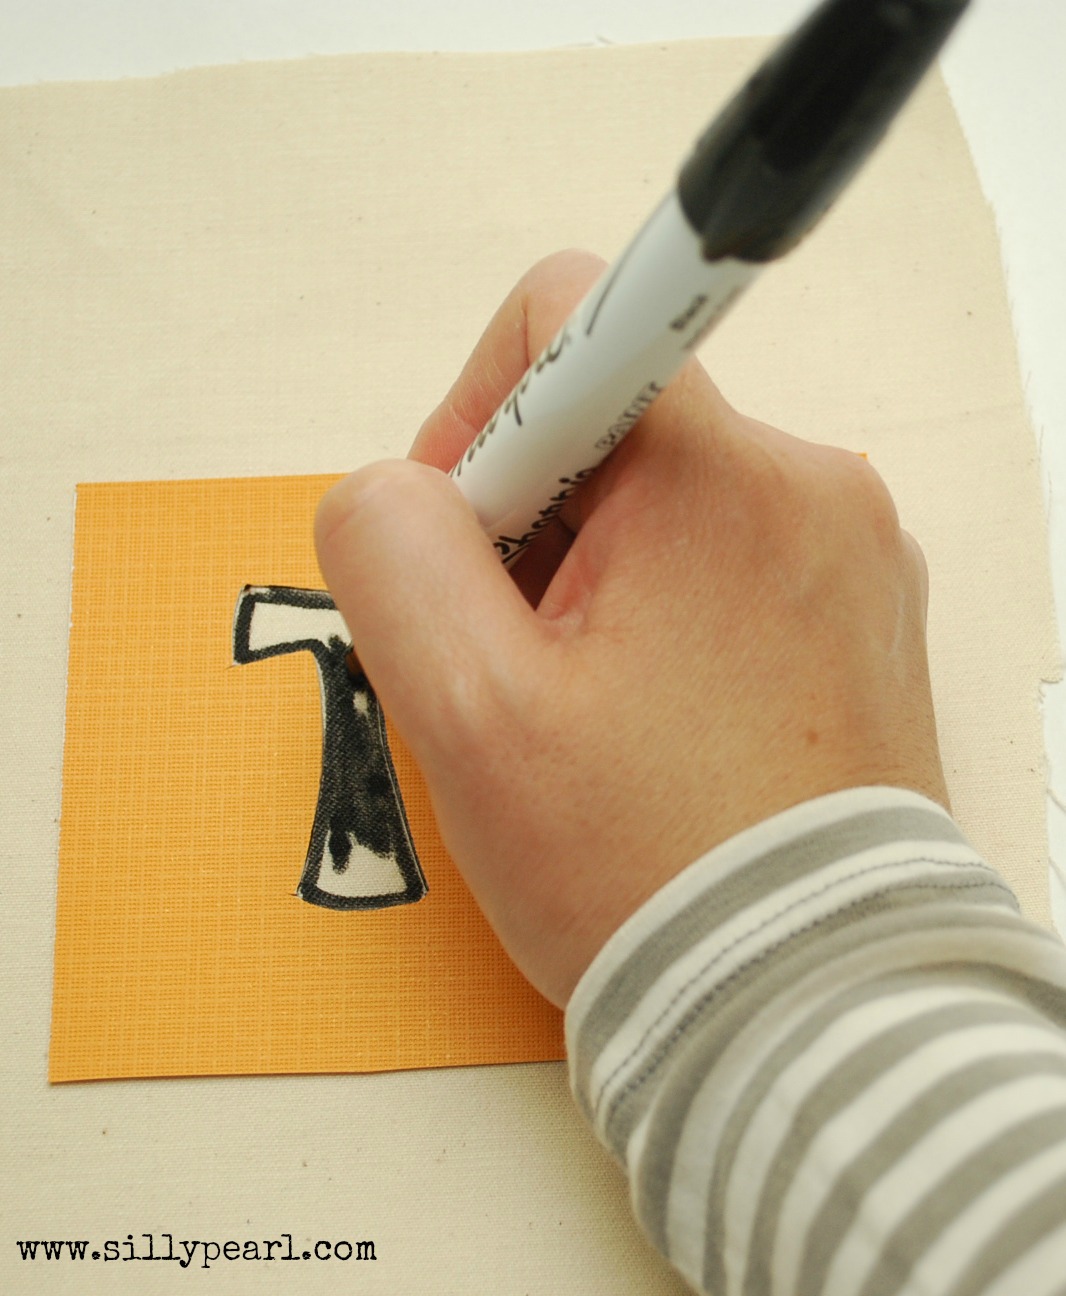 Next, I centered the letter in the middle of my embroidery hoop, and trimmed off the excess fabric.
  Now for the trim to cover the hoop. I used some thrifted bias tape that I ruffled up using the ruffle foot in my sewing machine. But you can always buy already ruffled trim, or any type of trim that will curve naturally (like ric rac). Or, you could paint or decoupage the hoop with paper, or wrap yarn or twine around the hoop (just the outside/top one).
 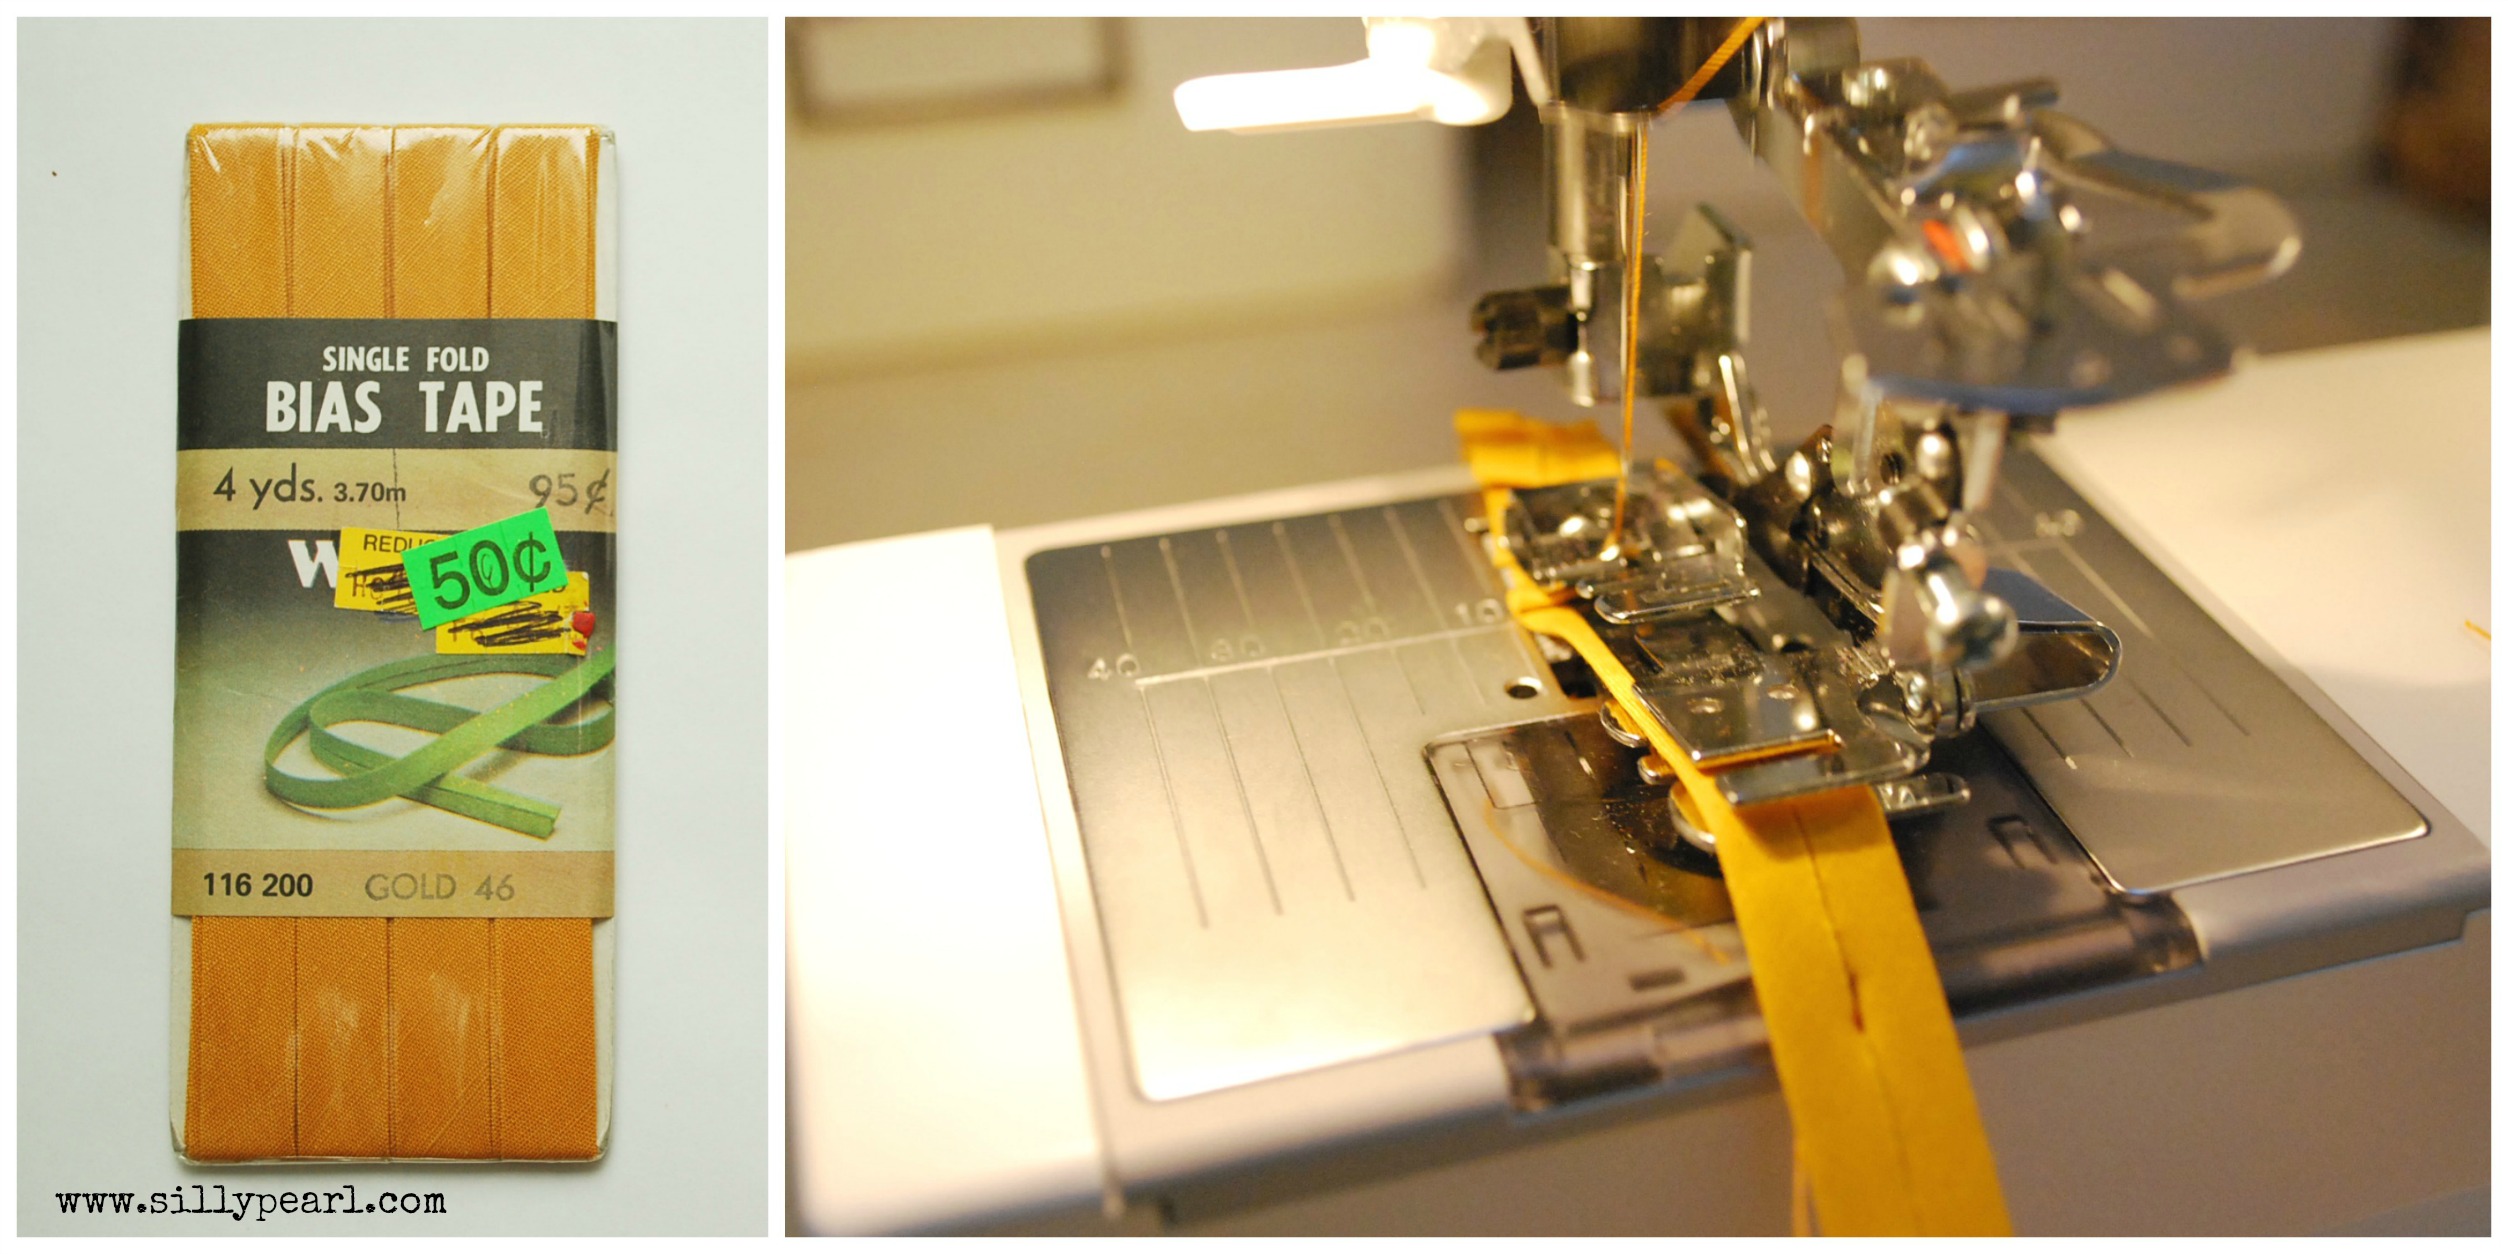 Starting at the very top of the hoop, I used hot glue to stick on the trim.
  I worked in little sections at a time and pressed down the trim with my fingers.
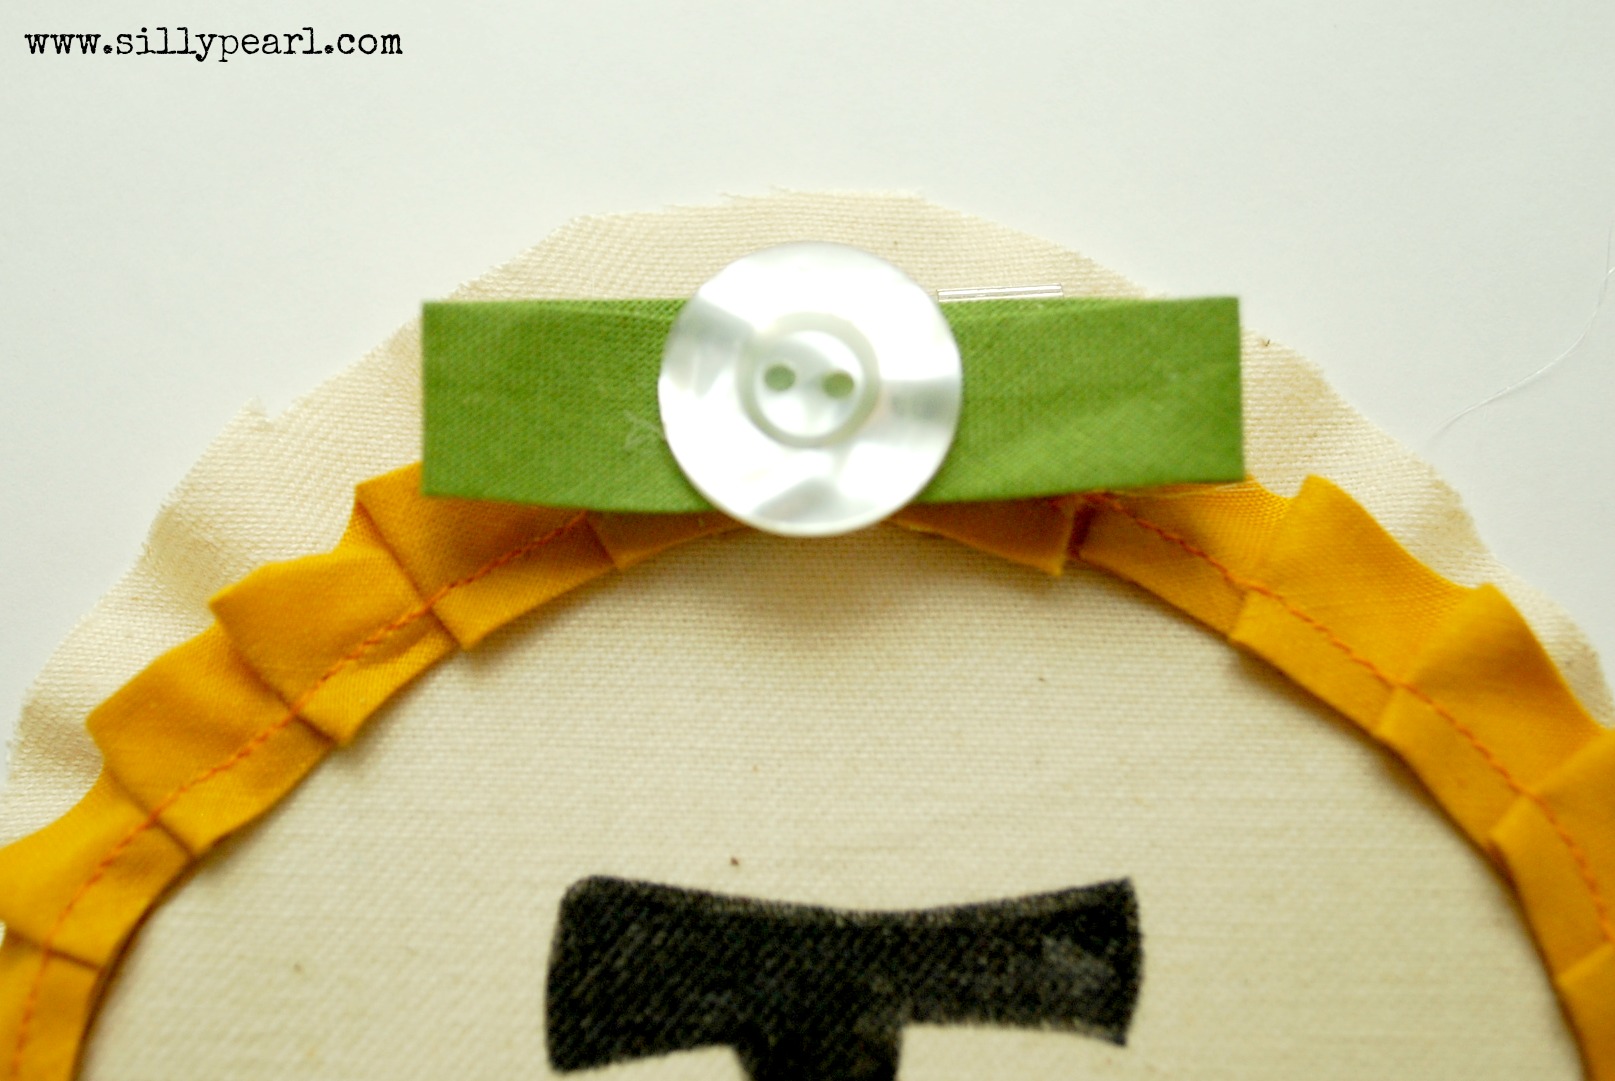
 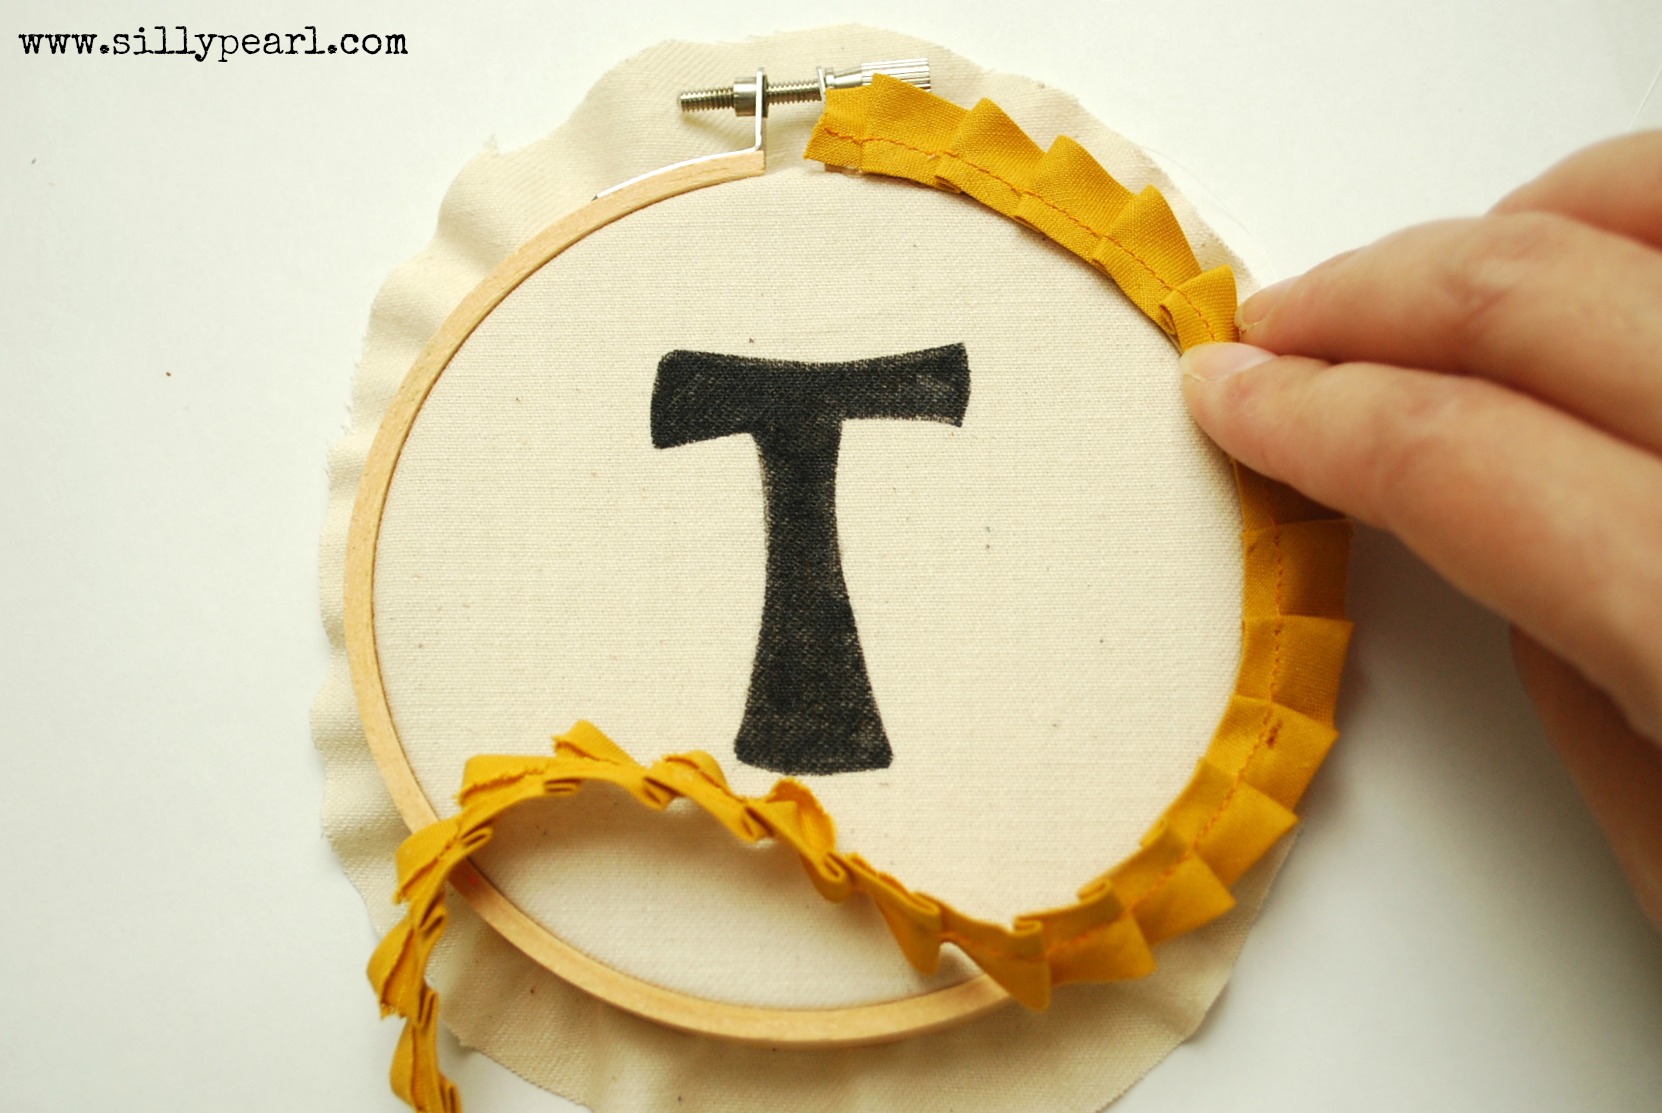 I hid the ends of the trim at the top with a faux bow I made with more bias tape in a contrasting color, and a vintage button in the middle. I also used hot glue to attach them. Trim off the excess fabric if necessary.
 Now it’s time to glue the embroidery hoop to the upholstery webbing to give it that banner shape. I cut a 9-inch strip of webbing, and cut a point on the bottom with pinking shears. I placed the embroidery hoop about 1.75 inches from the point. Then I turned it over and marked where the webbing overlaps the embroidery hoop.
 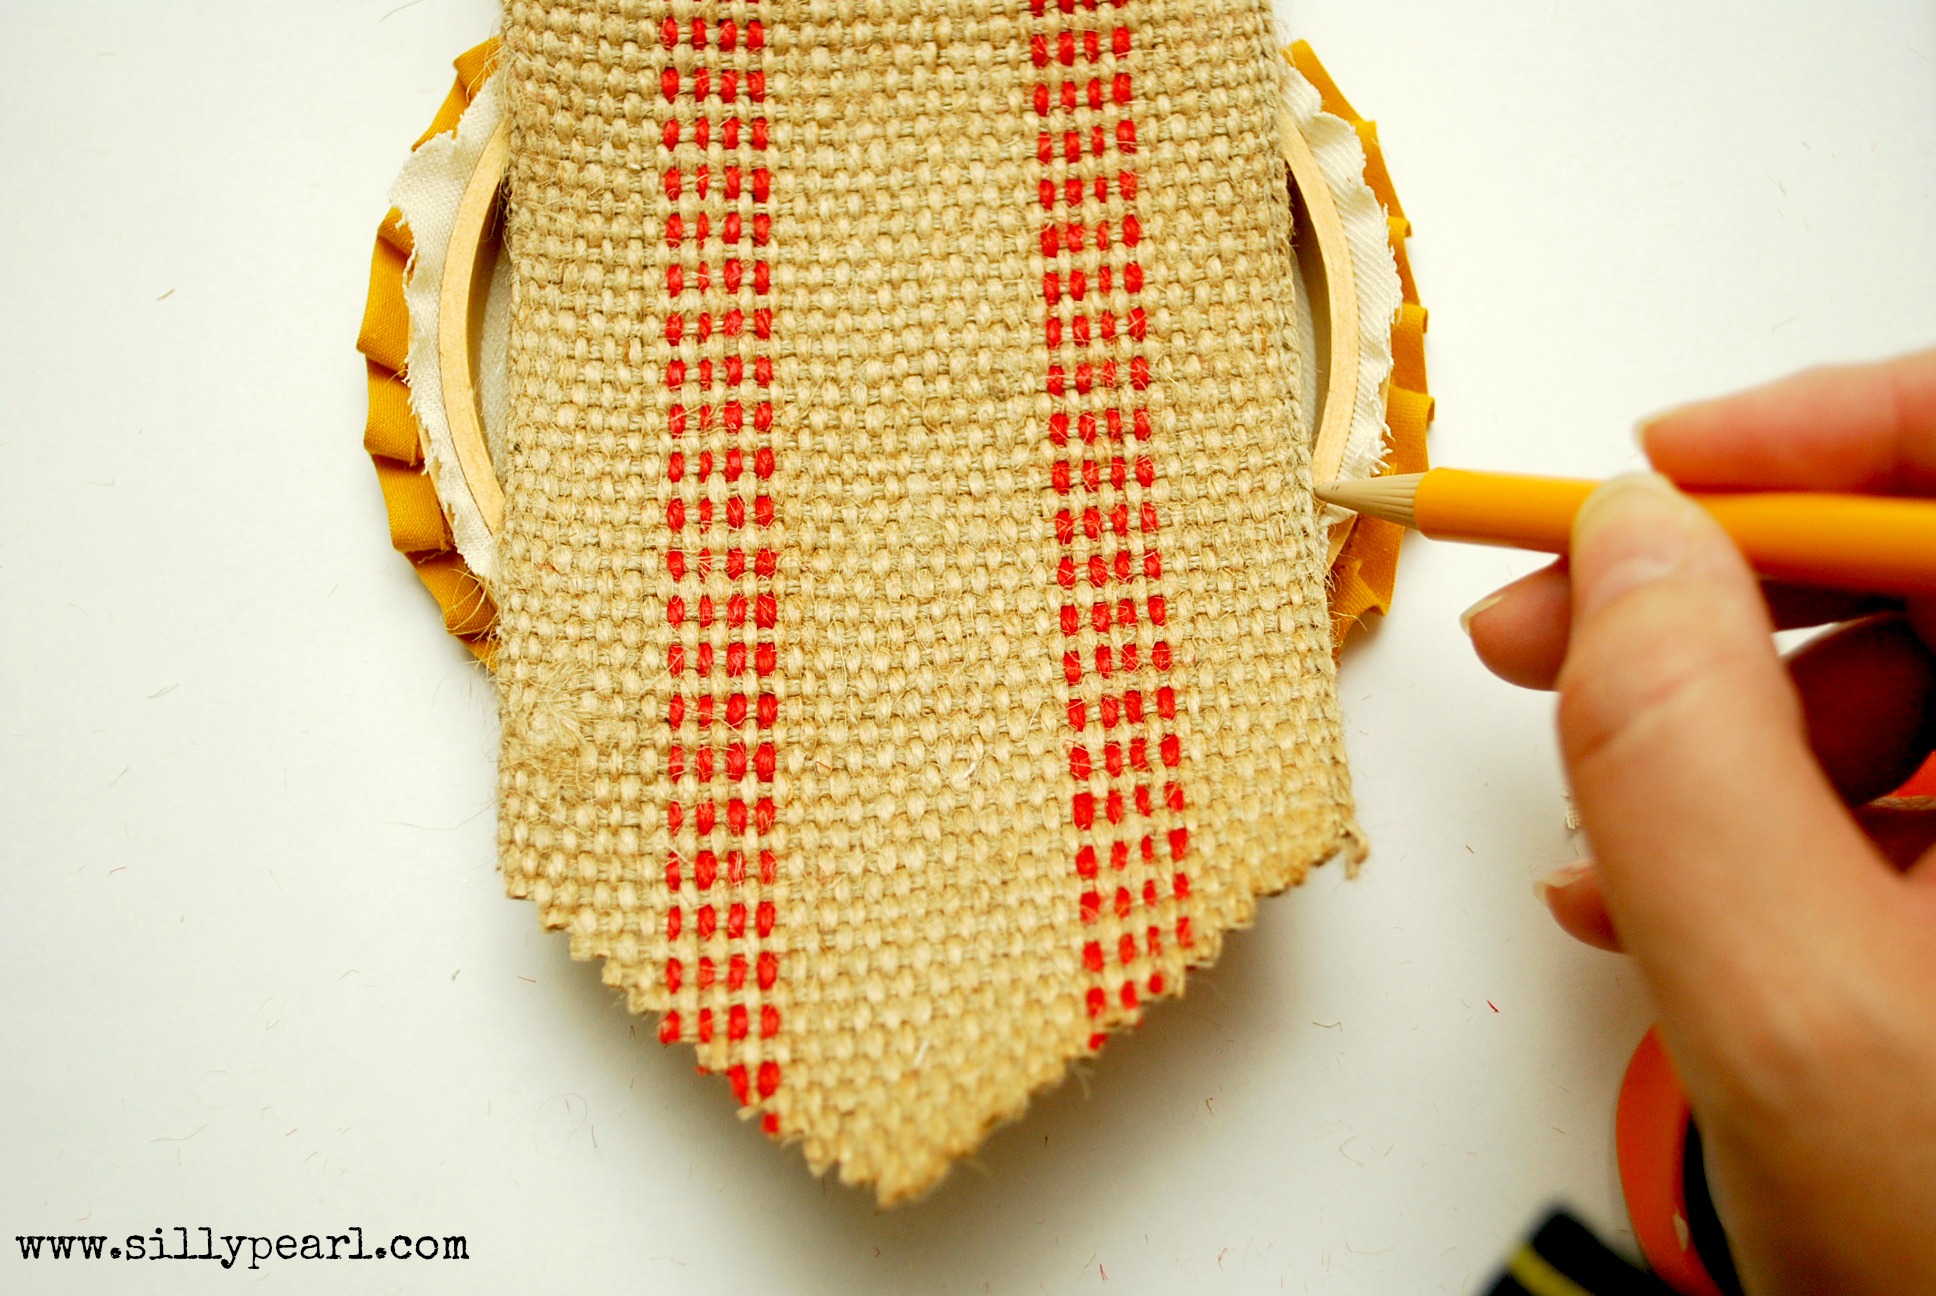 And I only applied glue in between those marks, then I pressed down firmly on the upholstery webbing to adhere it onto the embroidery hoop.
 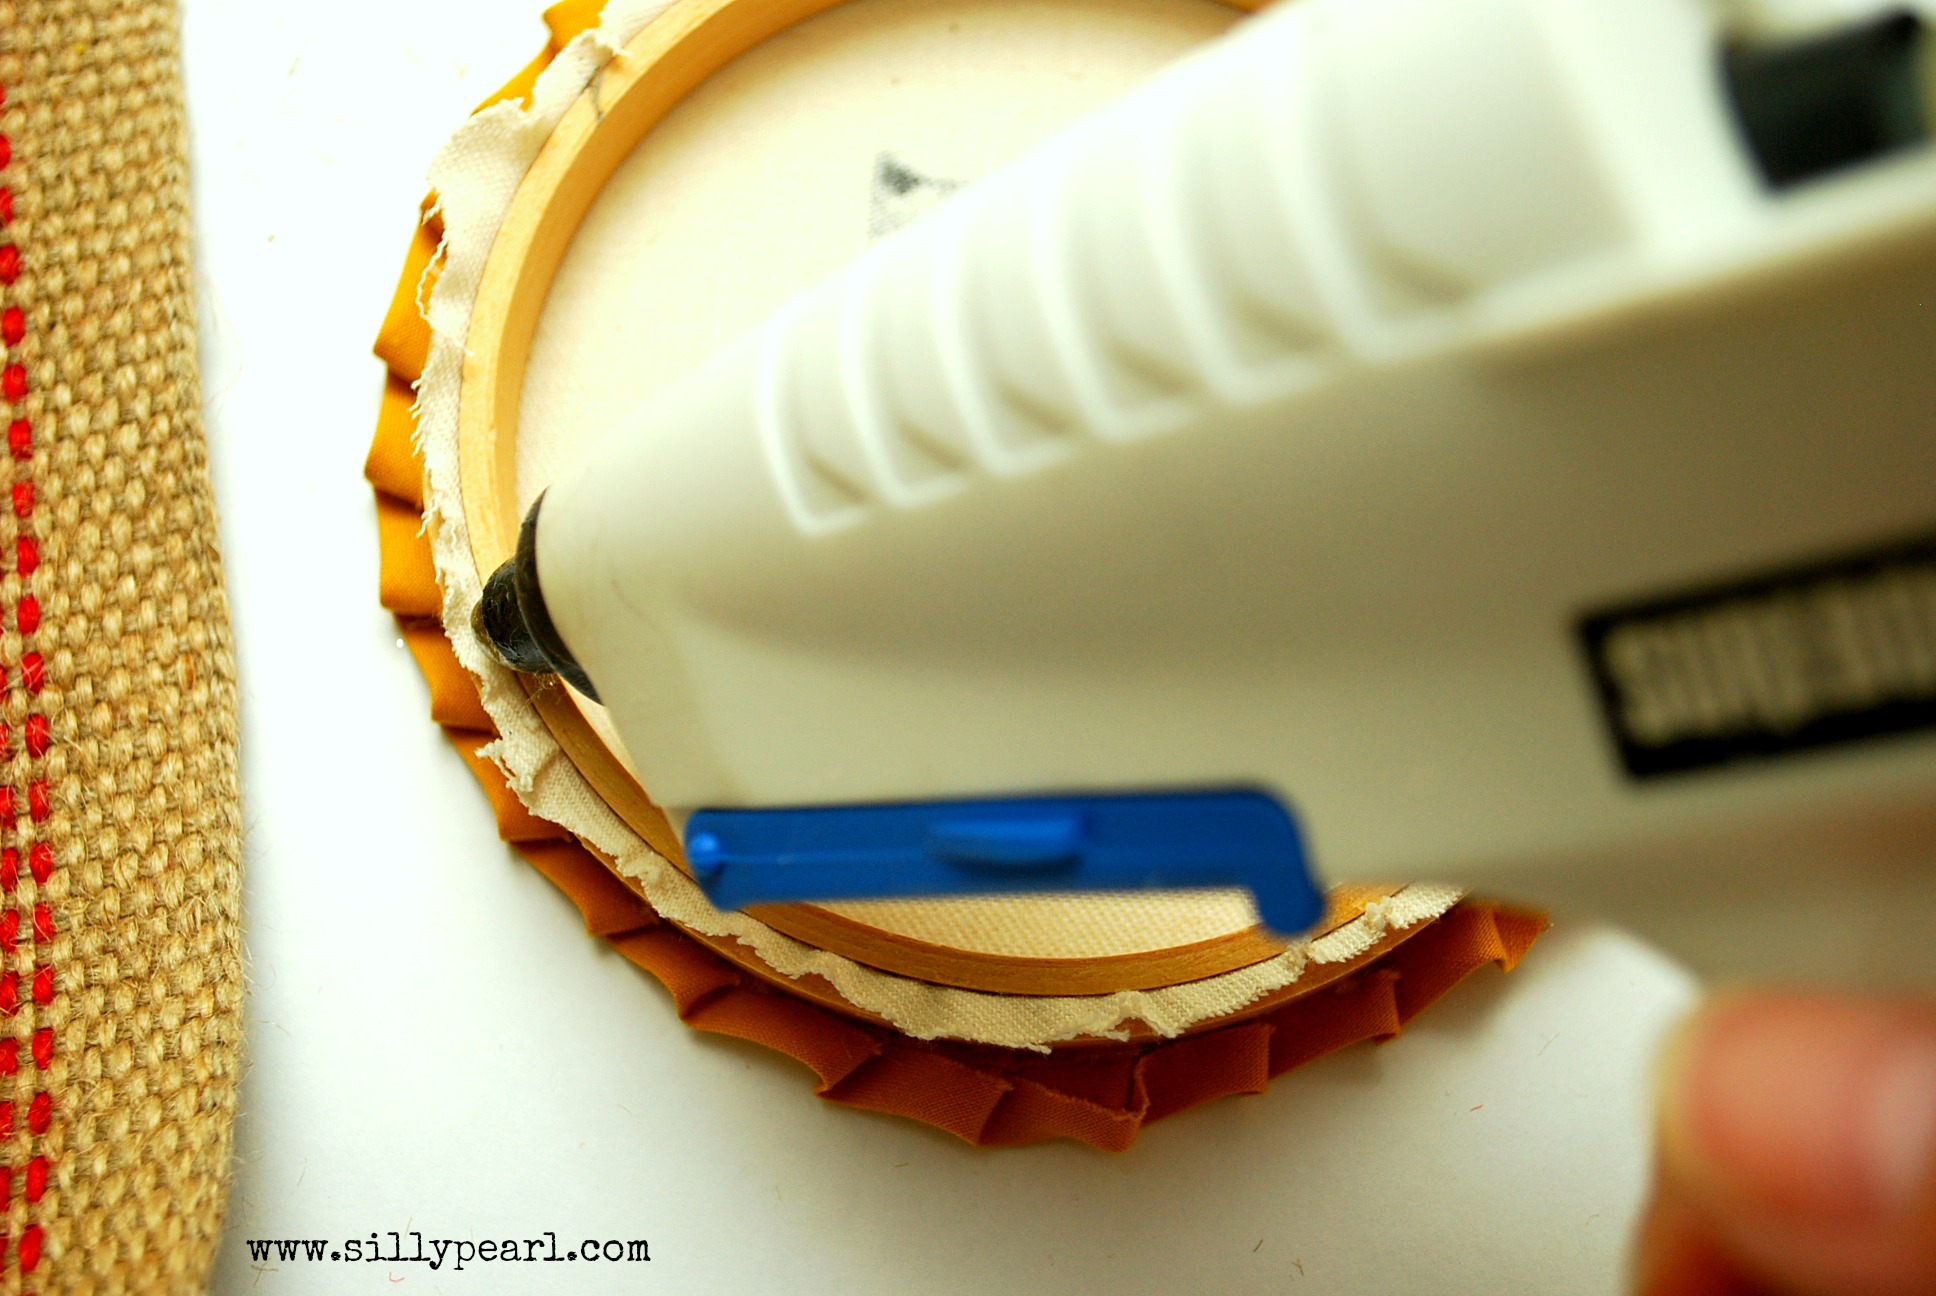 And I just repeated the whole thing with the rest of the letters, using different colors and buttons.
Last thing to do was attach each piece to some twine. Starting from about a foot and a half from the end, I turned over the T and folded over about half an inch at the top. I inserted the twine and glued down the flap. 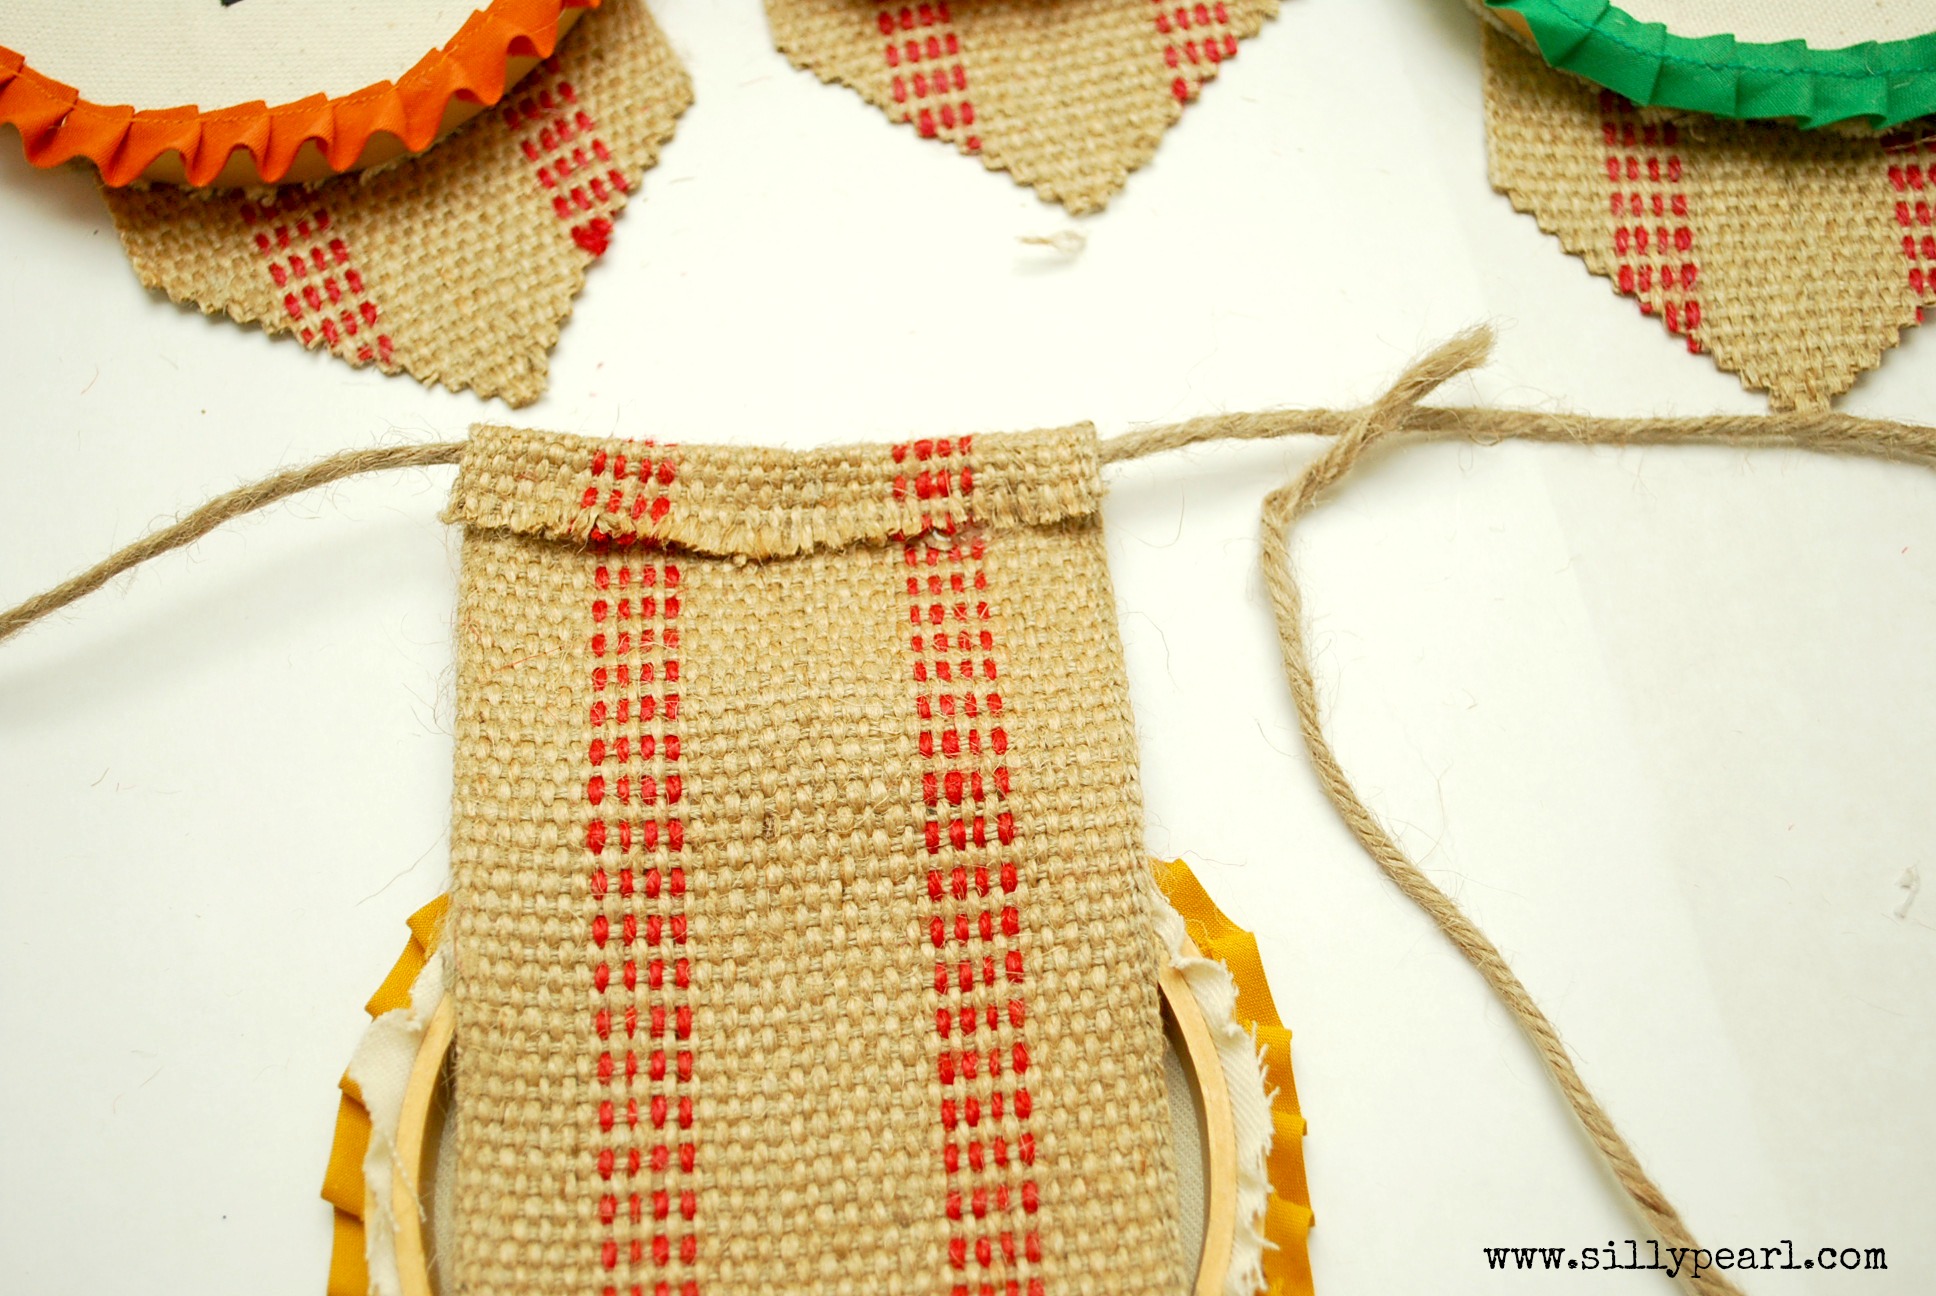 I left about 1.5 inches in between each piece. Make sure your letters are going in the right direction when it’s turned right side up.
 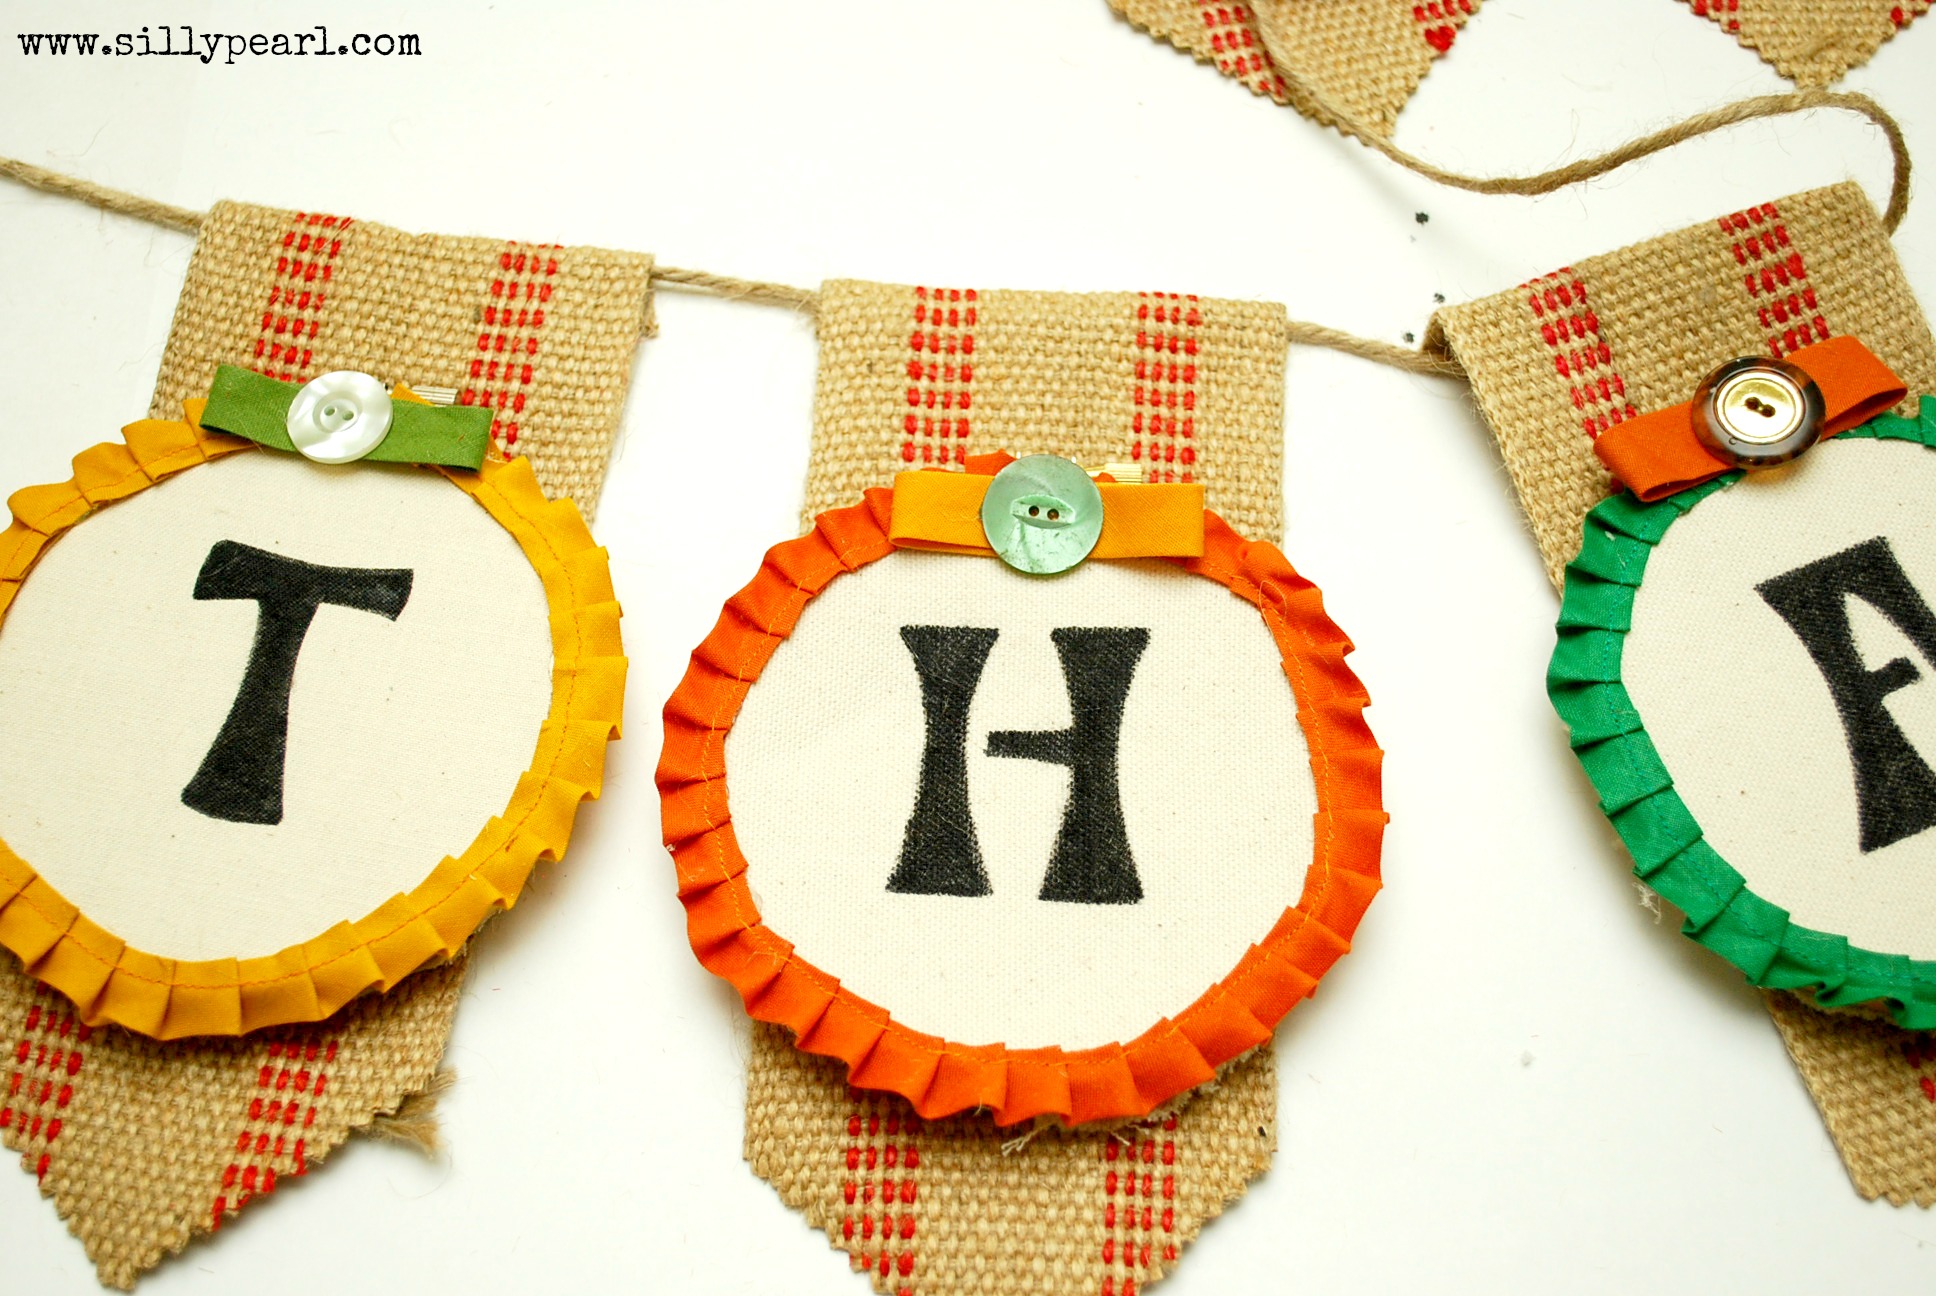 Just checking one more time to make sure the letters are in the right order!
 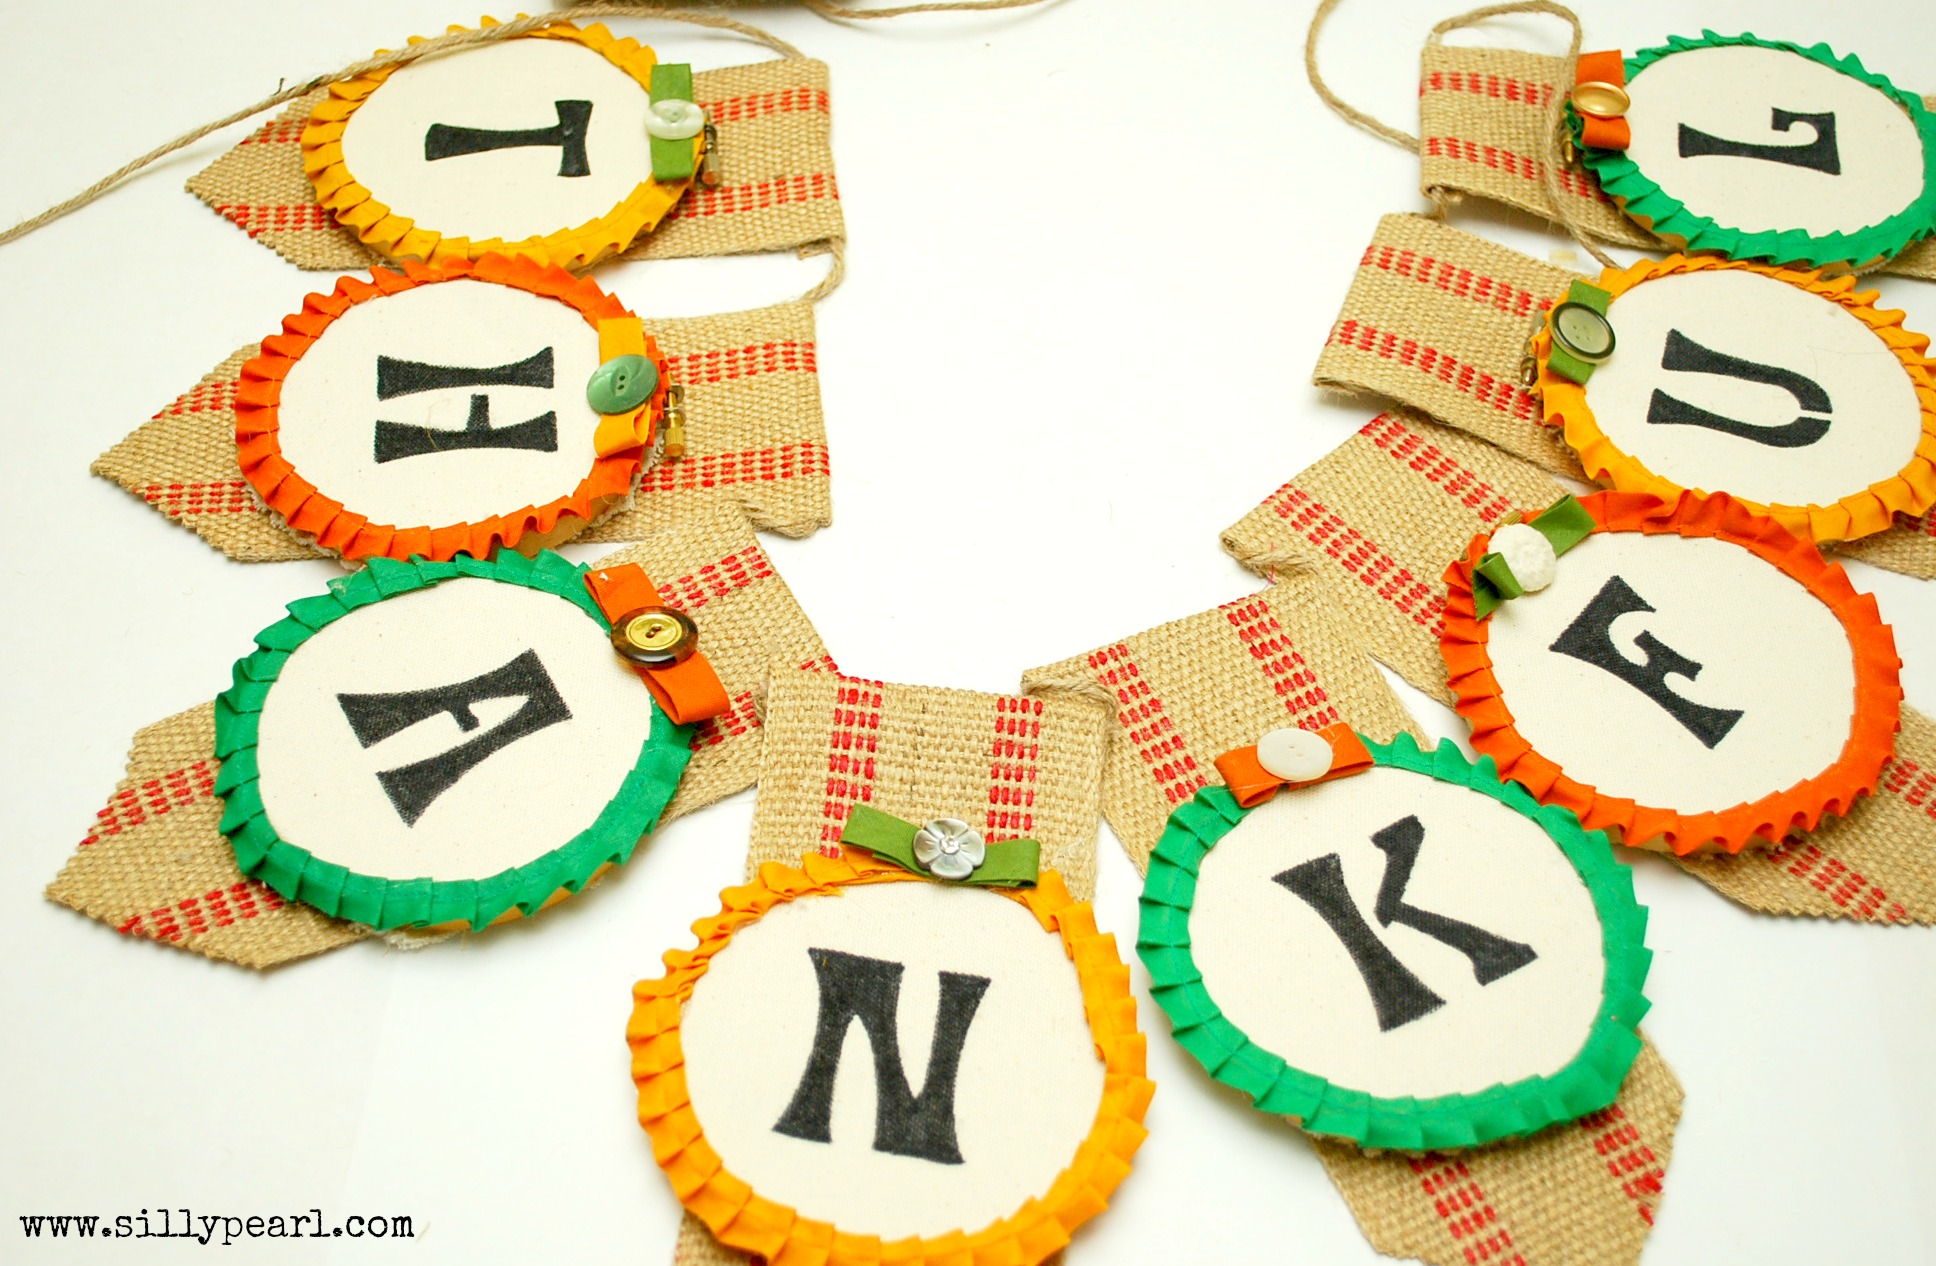 All done. Here it is, hanging in my entryway. The little wreath in the frame is a mini version of my Fall Acorn Wreath.
Hope you’ll stop by The Silly Pearl for even more fall craft and recipe ideas, and hope you’ll also visit me on Facebook, Twitter, Pinterest, and Instagram. Thank you again Sara for having me on your blog today! –Steph