Halloween & fall decorating is now in full swing here! That also means the kids’ Halloween & fall related art projects are too! While trying to come up with a solution to the influx of papers last year, I made an “Autumn” sign that doubled as an artwork holder. It was WONDERFUL! But for October this year, I wanted something more Halloween-ish! So, I made a Halloween sign & artwork holder display! 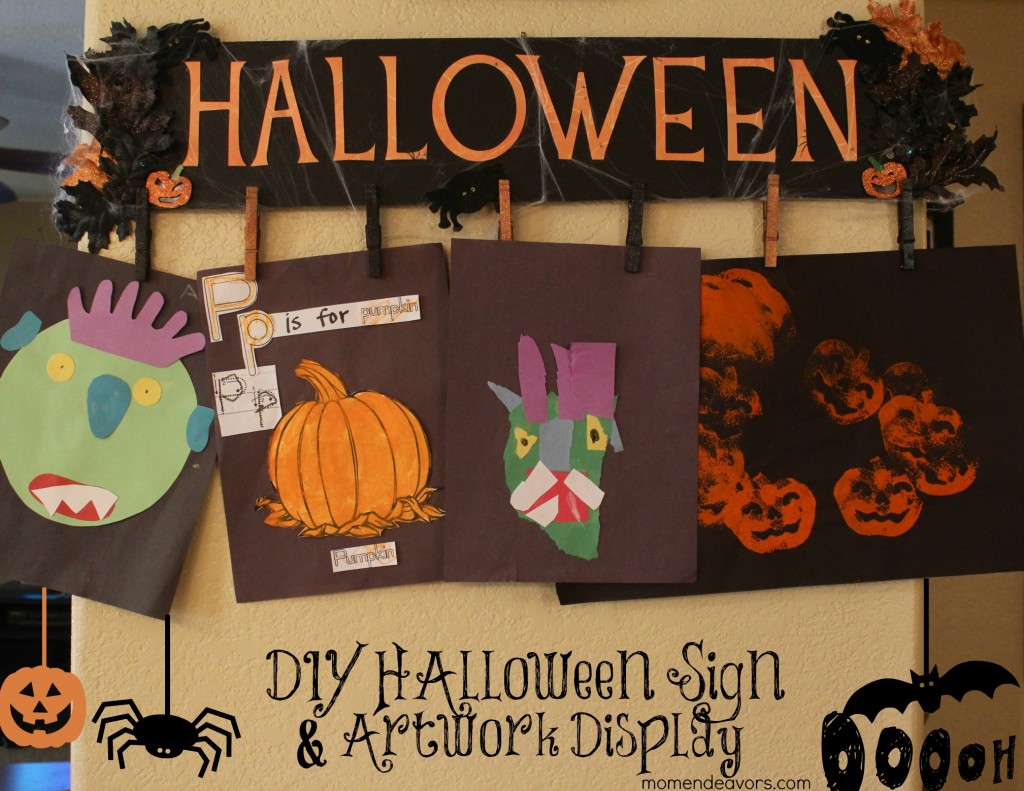 We needed Elmer’s black foam board to do the board. So, the littles and I took a trip to Walmart for craft supplies and groceries! {You can view that shopping trip here}…
 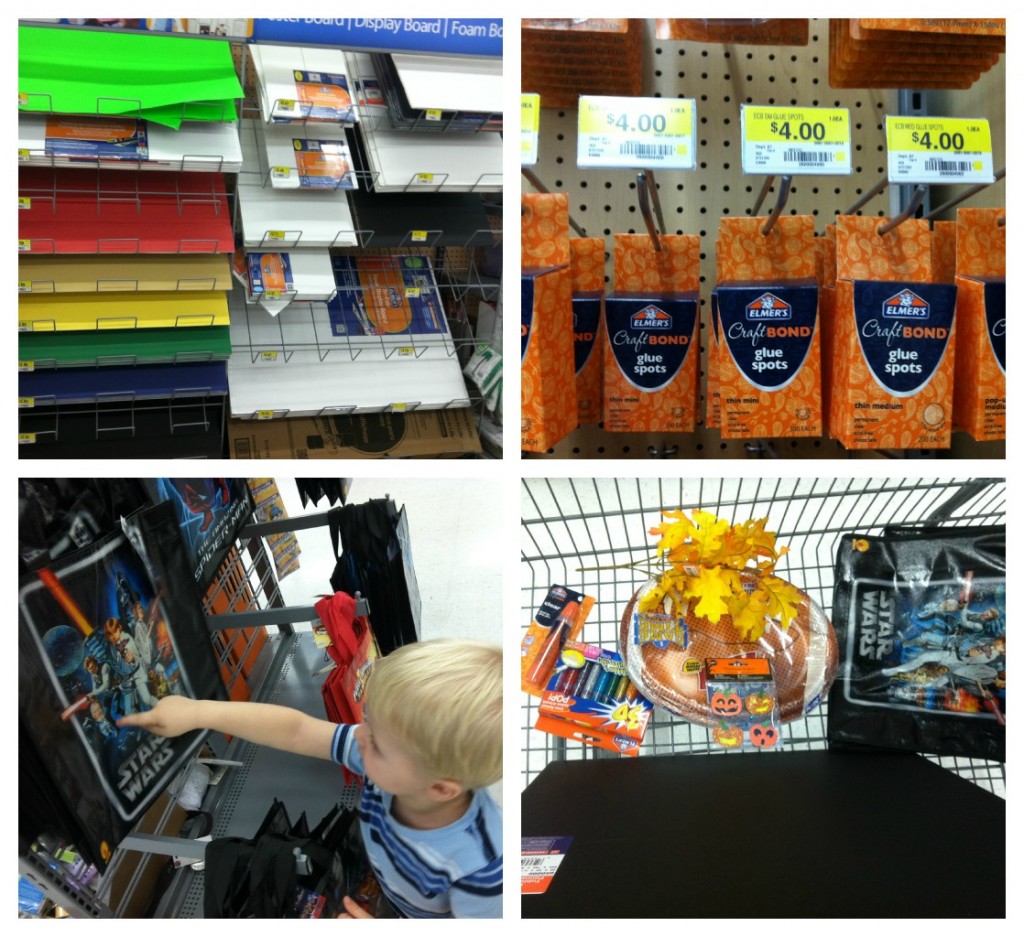 Like always, we found more than what we went for. It was good finds though, like football paper plates for all of our college football “homegating” and Star Wars trick ‘or treat bags for the boys! 🙂 Plus, we got everything extra we needed for the sign project and groceries!
Once back at home, the first step was spray painting the leaves and clothespins. If you decide to make this, you can choose whatever embellishments you’d like. I decided that I wanted it to still have a fall feel (with the leaves), but wanted the leaves mostly black (with just a little orange). So, I spray painted the clothes pins orange and black also.
Once all that was dry, then it was time to gather up all the supplies. To make the board just like mine, here’s what you’ll need:
- Elmer’s Black Foam Board
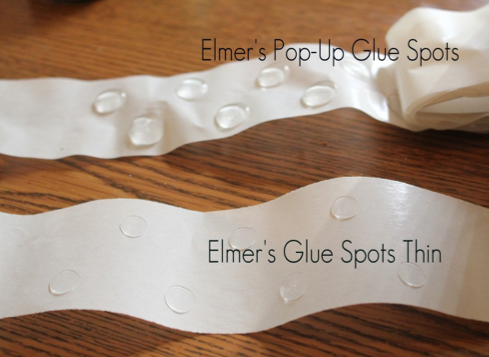
- CraftBond™ Glue Spots Thin-Small
- Hot Glue & Glue Gun
- Orange scrapbooking paper or cardstock
- Electronic cutter (Cricut, Silhouette, etc) or scissors (to hand cut)
- X-ACTO knife
- clothespins
- Various “silk” fall leaves & foliage
- spray paint
- wire & duct tape
- spider & pumpkin embellishments
- Elmer’s 3D orange glitter paint pen
- spider webbing
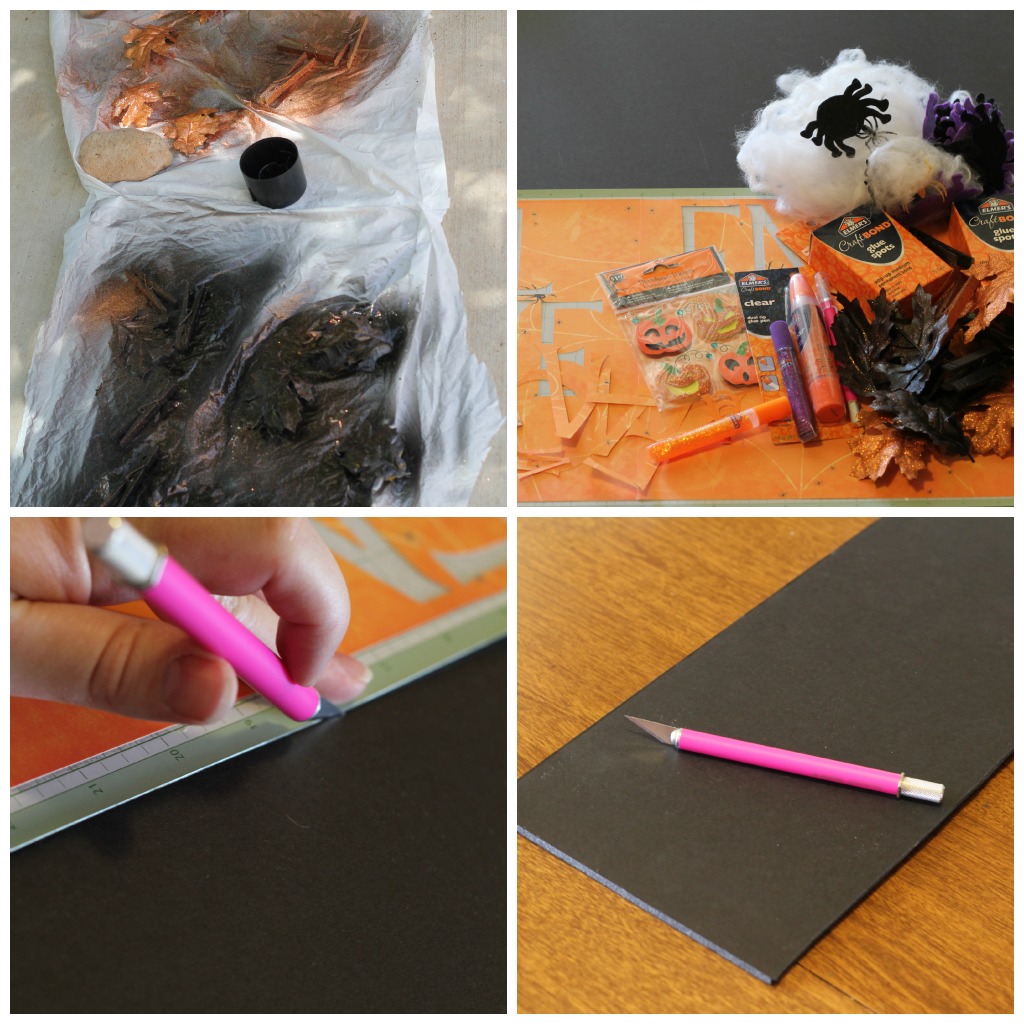 The first important step is to cut your foam board to the desired size. I used an X-ACTO knife to cut it and made it about 6″ tall (but the whole length of the board). Once that was done, I put on the letters to spell “Halloween”. I used my Cricut to cut out the letters, sized at 4.25″. To attach the letters, I used the thin Glue Spots. Glue Spots are SO awesome for their ease of use, while creating a bit of dimension.
  Once the letters were on, I hot-glued on the clothespins with the back portion of the pin attached to the back of the board. Doing it this way allows the clothespin to still be functional in the front. Of course, if you don’t want it to display artwork, photos would be fun too. Or you could just leave the clothespins off entirely and just have a cute Halloween sign!
  Then, the whole rest of the process is adding your embellishments! I hot-glued on the spray painted leaves to each side. Then, decided to add some glittery jack ‘0 lantern stickers I found while shopping–one on each side. I also had some plain felt spiders that I thought would be a good addition too. But, they were a little hard see on the black. Adding eyes with my orange Elmer’s 3D glitter paint pen was the perfect solution though! The last part of the process was adding just a little bit of spider webbing to the front & a wire to hang it with on the back!
  I love the way it turned out! Just the right bit of spooky & cute. It’s perfect for hanging their projects! I made a whole wall display then with the sign & their art, my DIY Halloween canvas art, & some cut out bats!
 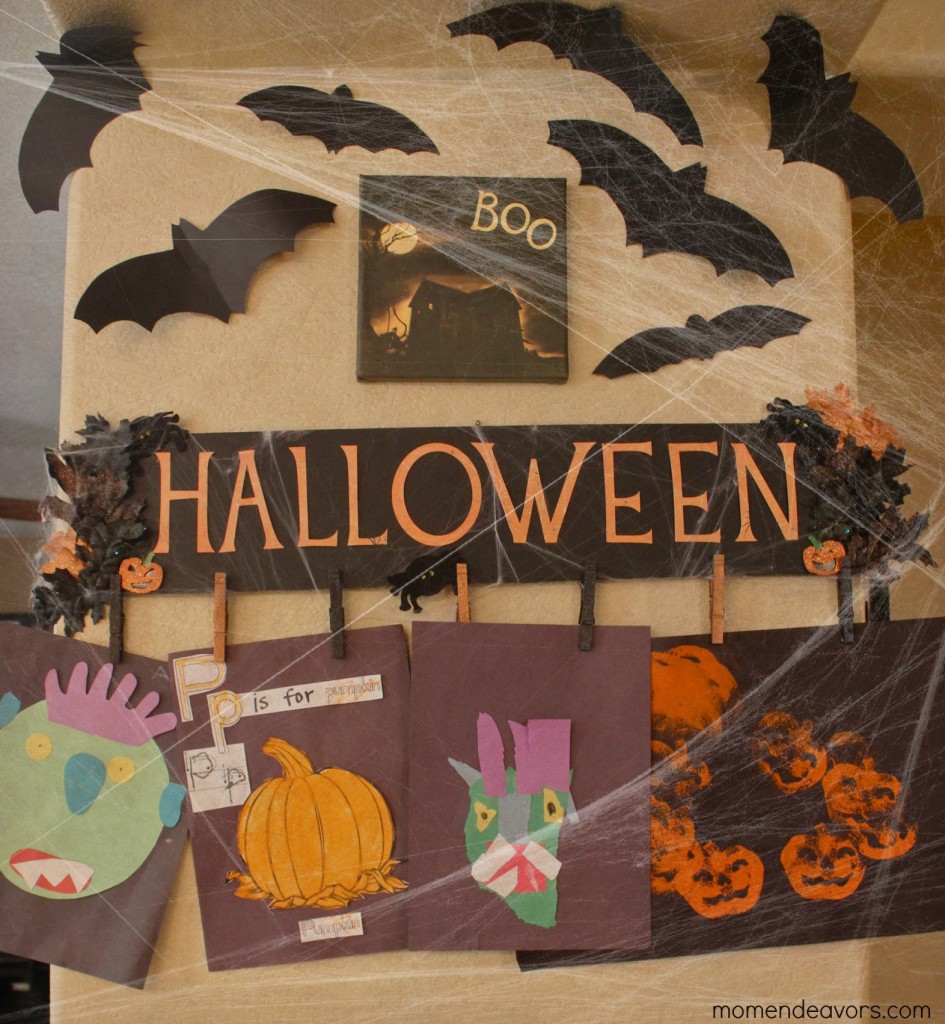 Fun, huh?! What Halloween decorations do you have up?
For more crafty #GluenGlitter inspiration, you can check out all the following:
Disclosure: I am a member of the Collective Bias™ Social Fabric® Community. This shop has been compensated as part of a social shopper insights study for Collective Bias™ and Elmer’s. #CBias #SocialFabric However, all photos, opinions, and experiences are my own.
Linked to: Today’s Creative Blog




15 Responses
This is really cute for the kiddos, love the “spooky” art zone you’ve made.
And on a side note Elmer’s glue spots are…awesome!!! They are one of my favorite Elmer’s items however I’ve never seen the thin ones before. I’ll have to look for those at Walmart next time.
What a great idea! I love all things festive:)
This is so cute! I love that idea of a Halloween themed hanger.
Adorable sign and a great way to display the kids’ art creations! Love the use of Elmer’s products.
This is just adorable!! I love all the Elmer’s products you used to create such a beautiful home decor item.
How cute is this?! I love it and my kids would enjoy both helping make it and displaying their art on it.
Super cute! I love it.
I love how your display turned out! So cute! I will have to grab some #Elmers glue dots!
That is gorgeous! Very Halloweeny, love it!
This is adorable, and functional! I have been wanting to make a Halloween sign. Thanks for the nudge.
Awesome idea to show off your children’s Halloween artwork!
Such a great idea! I love different ways to hang up kids artwork… especially ways that don’t involve our already crowded fridge!
How clever. This would be so easy to do for all the different holidays! I think that I shall make some to hang my grand children s artwork!
Thanks so much for sharing:-)