As a part of the Lowe’s Creative Ideas Blogger team, this month’s challenge was to create some sort of Holiday décor. I had SO many ideas, but couldn’t decide which one to actually do. Then, while browsing through the Holiday décor section of Lowe’s, inspiration struck! I love those decorative front entry topiary Christmas trees (Lowe’s has a great selection), but the price tags can be a bit steep–often costing $80 or more for one. So, for this month’s #LowesCreator challenge, I decided to “DIY” some and make a set myself!  I LOVE the way they turned out! They look SO much more expensive than what they actually cost! In fact, my neighbor was out while I was setting them up (everyone was out hanging Christmas lights) and she commented on how pretty they looked. When I told her that I made them, she was shocked! 🙂 So, without further ado, here’s the “how-to”:
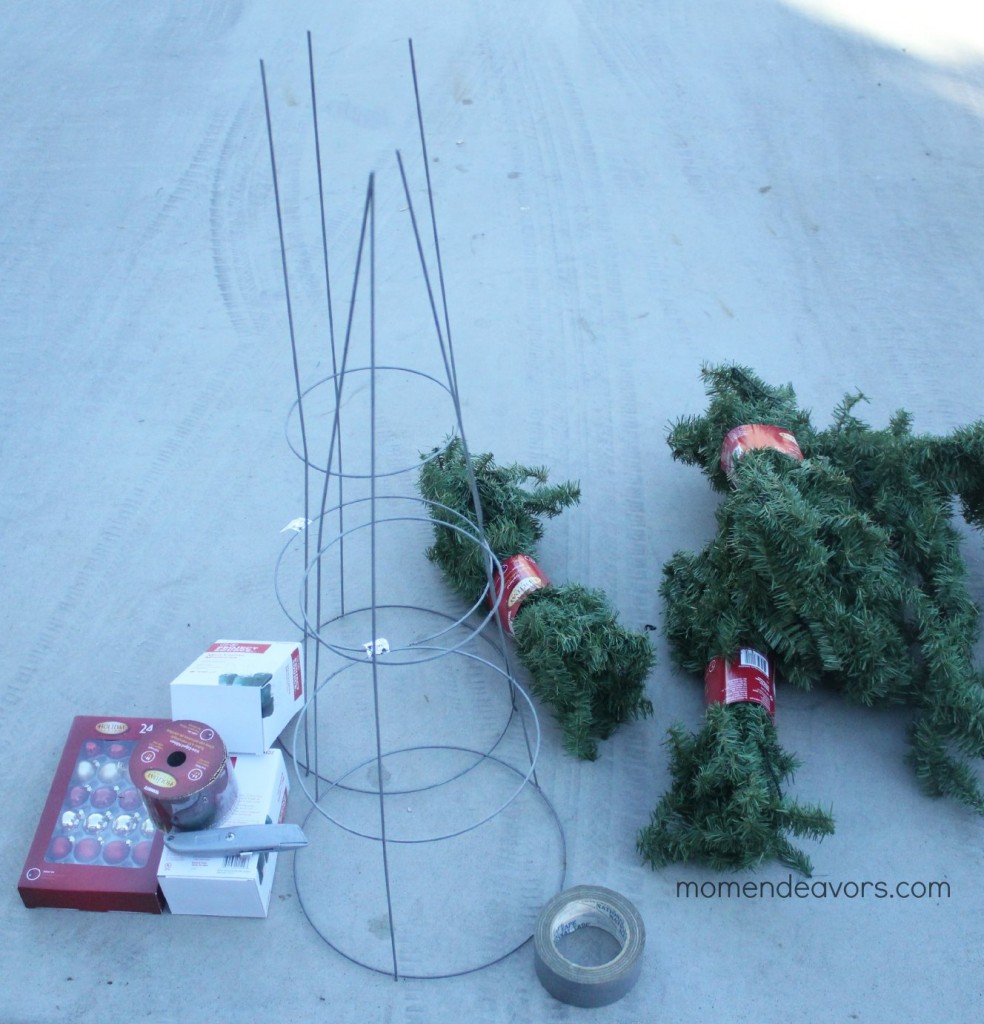
Supplies (per tree):
- 1 tomato cage
- 4 strands of 9 ft. garland (you’ll want the kind with wire branches that you can position & “fluff”)
- 1 strand of 100 mini lights
- duct tape
- décor
- planter
I got the tomato cage for just under $2, the lights for just over $2, and 4 strands of garland for $20 (all at Lowe’s). So, really, you can do the tree for $25 or less. The planters of course add cost (though you wouldn’t have to have them), but the beauty about doing this yourself instead of buying the already made ones is that you can use the planters for other things. The pre-made ones are typically attached to the pots. I already had the urn planters & thought they’d be perfect for this (they were purchased previously at Lowe’s for my fall front entry and are $24.99 each). 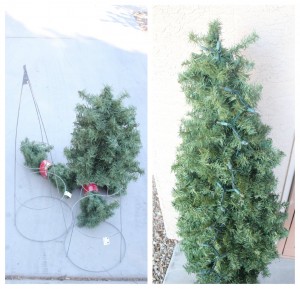 To make, start by taping together the open ends of the tomato cage (to make a point & tree shape). Then, start winding the garland around the tomato cage. I started at the top and continued working my way down the cage. Make sure to wrap it tightly–you can even wrap a few of the individual pine garland arms around the cage in a few places to help.
 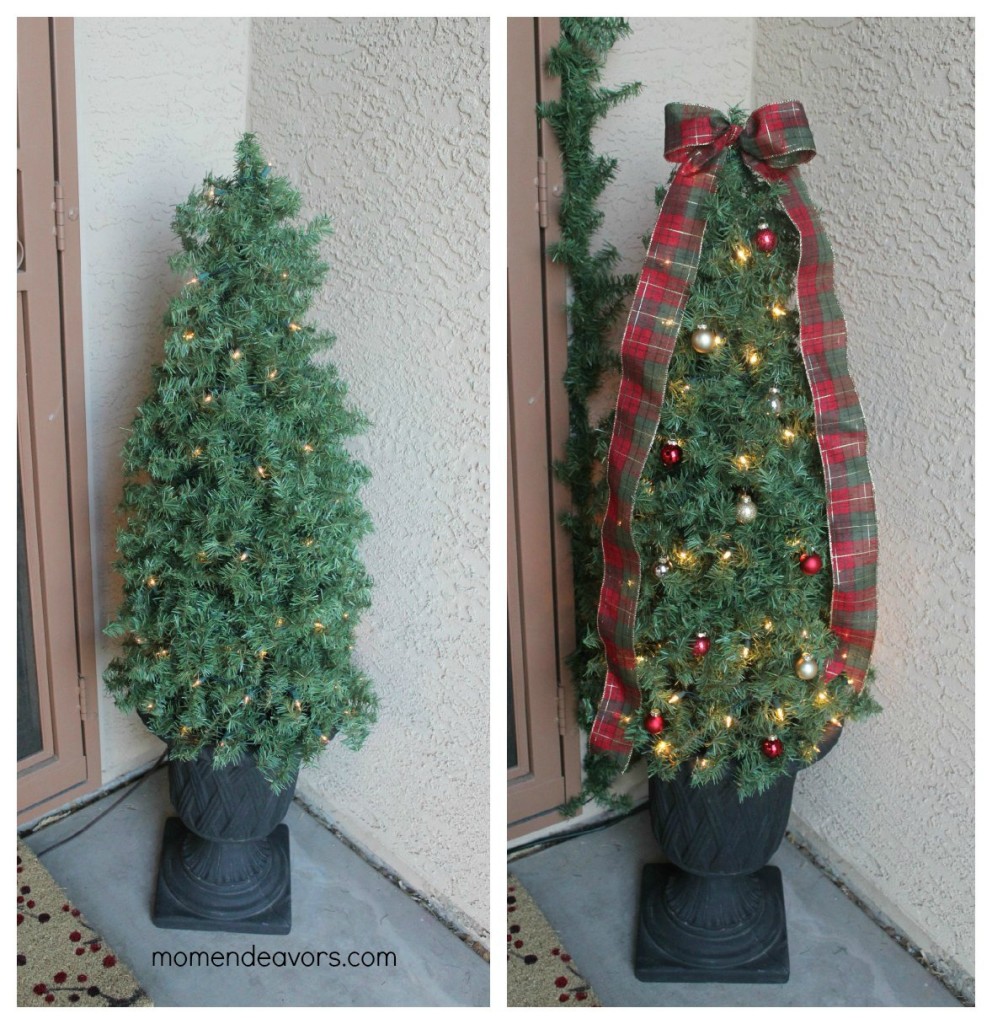 Once all the garland is wrapped, then wrap the strand of lights around just like a normal tree. Once again, I started at the top and worked me way down. Once the lights are on, place on/in the planter (if you’re going to use one). To help secure it, I just used a little duct tape. At this point, you’ll want to fluff the branches & move things around to fill in any open spots. Then, decorate however you like! I went with a bow and some mini ornaments.
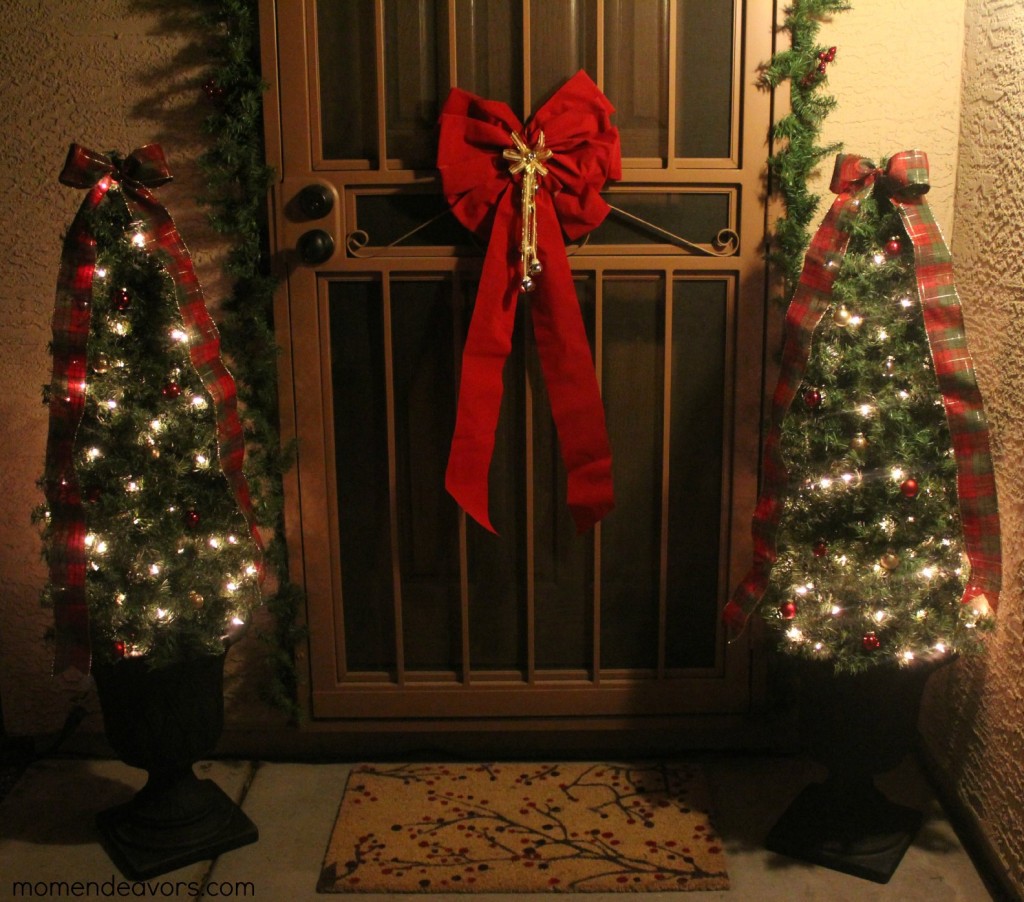
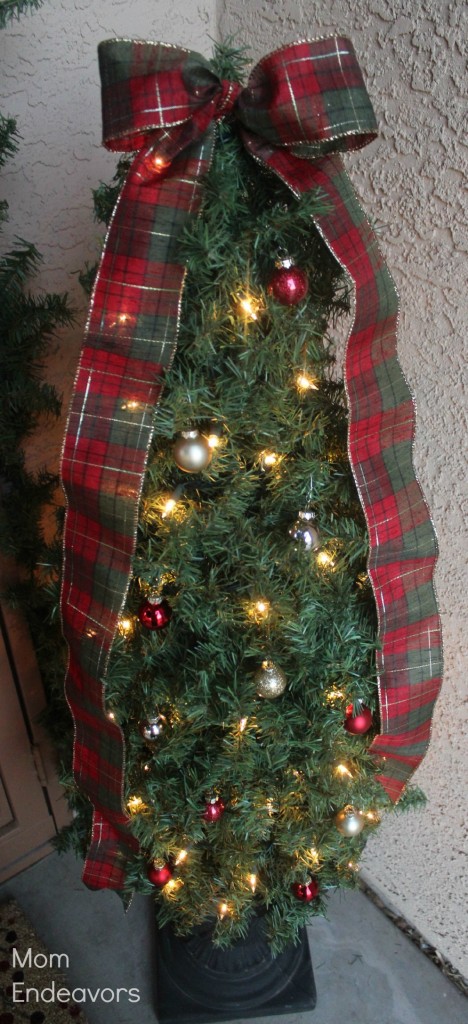 So there you go… decorative Christmas topiary trees for much less than the ones in the store! I’m super pleased with the results and love the way our front entry looks this year! The trees add such a pretty twinkle to our front door!
  For even more ideas, visit Lowes Creative Ideas. While you’re there, you can sign up to receive their free Creative Ideas Magazine, which is full of all kinds of ideas & inspiration!
Disclosure: I am a member of the Lowe’s Creative Ideas Creators & Influencers Network and received a Lowe’s gift card to complete my projects. As always, all opinions and experiences are my own.
Linked to: *Tatertots & Jello, *Flamingo Toes, *Today’s Creative, *SNAP Show & Tell






15 Responses
I absolutely LOVE these! I was just looking online at the exact same thing and they are so expensive! I only need one and all the options I saw, were sets of two! Your tutorial couldn’t have popped up on my facebook newsfeed at a better time! I am making one this weekend! Thanks so much!
This is so clever! I’m definitely going to try this one! Hopefully, the javalina won’t think it’s food and try to eat it! BTW, your entry looks so inviting.
They look great. Hmmm maybe I could do this to those two tomato cages out on the back deck! Great idea, TFS
Those are adorable and much more full looking than a lot of the topiaries I’ve seen. Great job! I’m off to share them.
Those are super cute!
Great job Sara! I love the creative use of the tomato cages…so clever!
How creative! I just love decorating for Christmas.
Very pretty and looks easy to make!
OK, these are just perfect for Christmas!
I have a new project! I already have everything except the urns and tomato cages. Looks like it’s time to go to lowes! Thanks, I’m pinning this!
Now this seems like a project I could actually do!
So I’m reading about this in bed (can’t sleep) and wow…genius! I’m thinking of waking up my husband to make sure he didn’t get rid of our extra tomato cages! I’m itching to do this! The store bought ones are way out of our budget, but this is totally doable! Thank you for sharing!!
I’m excited to this idea! I’ve wanted a pair of trees like these for several Christmases now but could never rationalize the cost. So clever – thank you for sharing. I’m going to Lowe’s tomorrow! 🙂
Awesome, Janelle! So glad you found it helpful! 🙂 Hope you enjoy yours!
I like this project very much. I already have my tomato cages for next year. Thanks for sharing.
Lollie