Before we begin, I think introductions are in order:
Hi, everyone, my name is Brittany (aka Pretty Handy Girl).
 Yup that’s me, and that’s my drill which might as well be a prosthetic arm because I always have it with me. I write a blog filled with DIY tutorials for building things (like my son’s closet turned into a reading nook,)
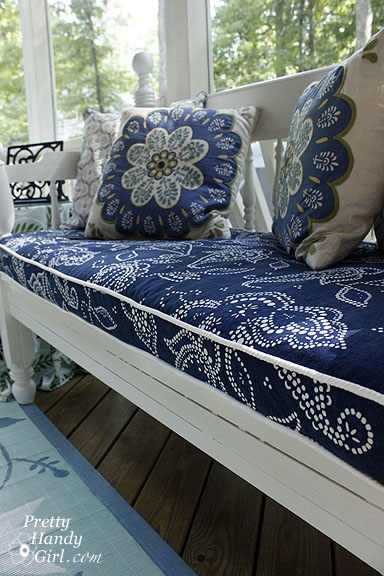
 or sewing things (like a piped bench cushion using a shower curtain,)
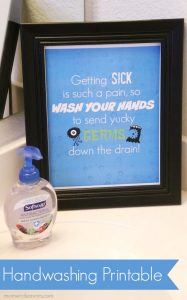
or fixing things (like replacing an old almond colored outlet,)

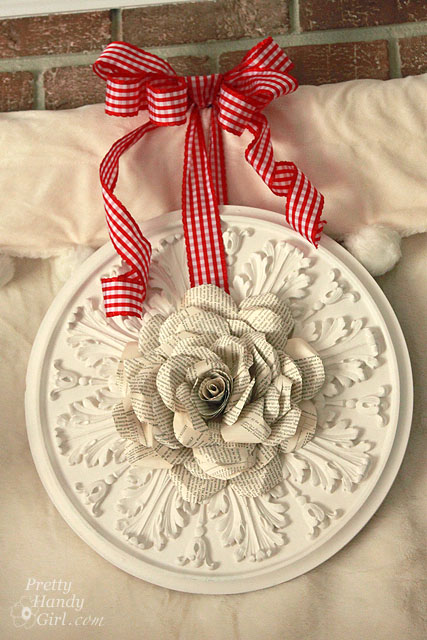
or crafting things like a book page medallion wreath.
 Anything I improve, fix, design or create I’ll show you how I did it. I believe that you are all handy people, but sometimes need a little step-by-step tutorial to give you the confidence to complete your own DIY project.
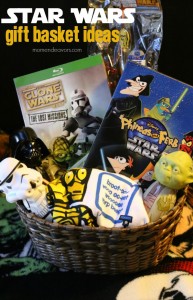
Won’t you join me in learning how to put together a quick gift lined gift basket using Goodwill pants?
 So, I started this post and wrote “How to Make a Pants Liner” in the title field until I realized that pants liner is only one letter away from panty liner. {snicker, giggle} Not good.
The liner started out in a previous life as a pair of pants:

Start by turning the pants inside out.


Fold over the cut edge twice and sew it.

Set the pant leg into the bucket again and roll the finished edge over the bucket until you are happy with how much cuff shows. Then use a pin to mark where the bottom of the bucket is.

Remove your pants liner {snicker, snicker, giggle. I almost said panty liner again.} And use some more pins to mark a straight line across the leg.

Take another breath and cut just below the pins on the leg. Remember to allow at least 1/2″ seam allowance.


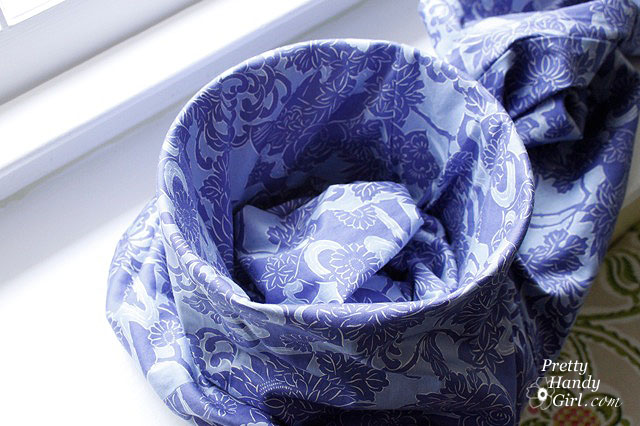
…and smooth out the bottom of the liner into your bucket.
That’s it. You are done. Now fill up your bucket with a few spa themed gifts for Sara (err, I mean your gift recipient.)
The possibilities for this project are endless. How cute would a pair of old jeans look as a liner? Or some funky striped pants. So get thee to Goodwill ASAP and scour those pant racks. Size large or bigger works the best.
Thanks again for letting me share this tutorial with your readers Sara. I hope they’ll pay me a visit over at PrettyHandyGirl.com.
Now, get some rest gal!