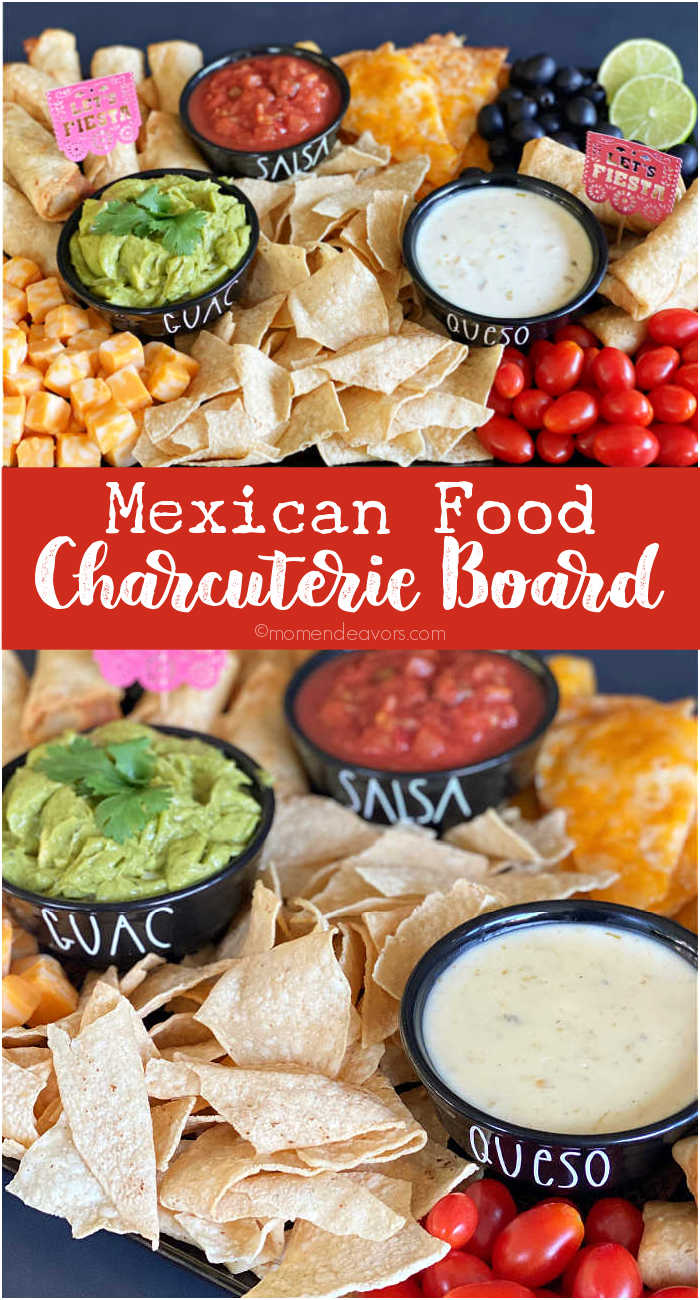
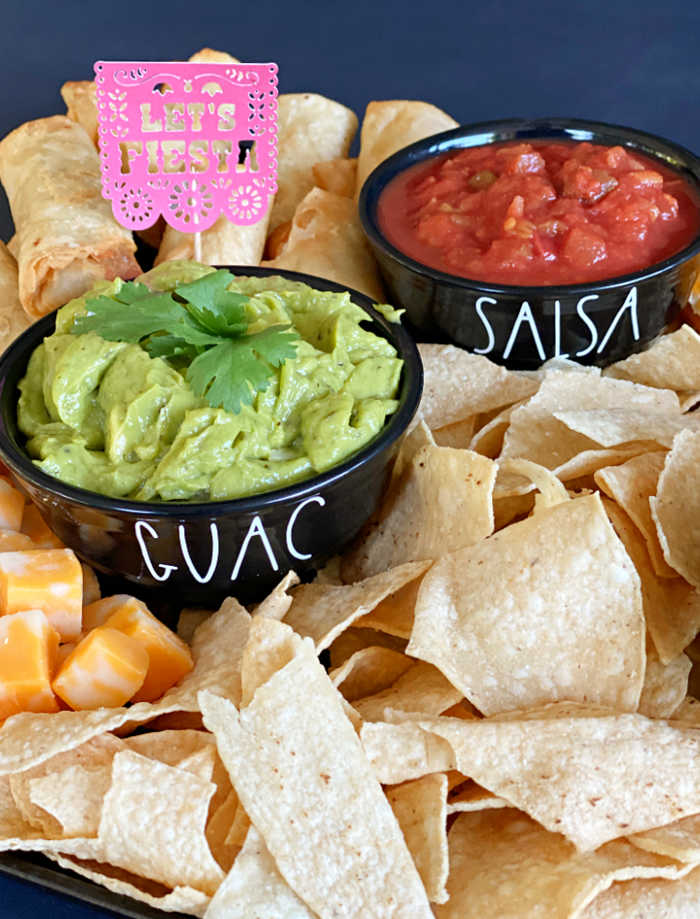
Have a festive fiesta with this Mexican Food Charcuterie Board! I’m sharing all the details on how to put this tasty spread together, complete with directions for the fiesta food picks and DIY dip bowls made with Cricut. (This post is part of a sponsored partnership with Cricut).  Whether you call them charcuterie boards or snack boards or “platter dinner” like my boys do, a festive spread like this is one of our favorite food things. And living in the Southwest, Mexican food is a common meal occurrence at our house. So, I’m sharing how we’ve combined two family favorites into one awesome meal idea – a Mexican Food Charcuterie Board!
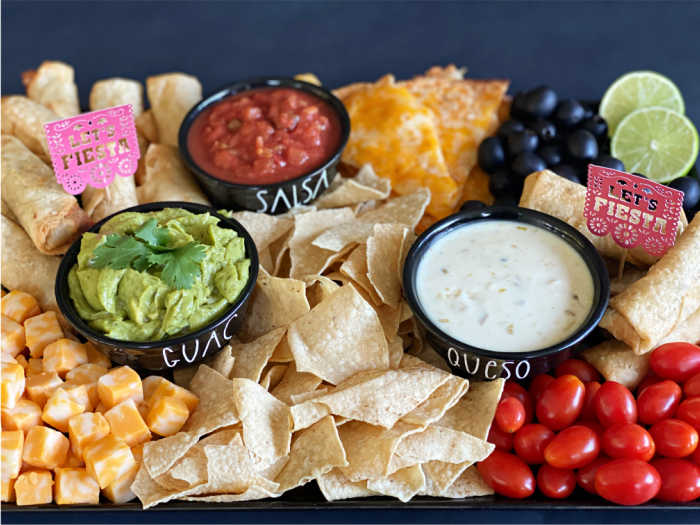
Mexican Charcuterie Foods
One of the best thing about charcuterie boards is that there is no recipe to follow and no one right way to do it. You just want a good assortment of easy-to-eat items. I like to make sure we have a mix of flavors and colors. And since this was a Mexican food board, we had to have some dips! Here’s what was on our board:
- Mini chimis
- Tortilla chips
- Cheese crisp slices (an open-faced quesadilla, very popular in Arizona)
- Cheese cubes
- Tomatoes
- Black Olives
- Guacamole
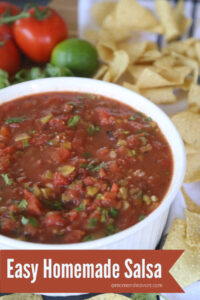
- Salsa
- Queso
DIY Dip Bowls
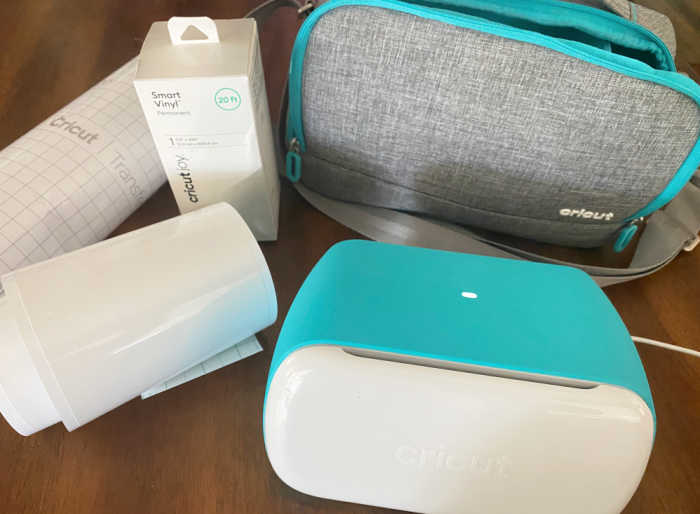
To spruce up the board, I decided to make some cute labels for the dip bowls – so easy to do with my Cricut Joy!
- Cricut Maker or Cricut Joy– my favorite cutting machines. I ended up using my Cricut Joy, but either one will work for this project!
- Cricut Tools Set
- Cricut Smart Vinyl
- Cricut Transfer Tape
- Small ceramic/glass/metal bowls for dip
The awesome thing about using the Smart Vinyl with the Cricut Joy is that you don’t even need a cutting mat to do this!
 You just feed the Smart Vinyl right into the machine and cut. It couldn’t be easier. I designed the labels in Cricut Design space and then cut them out. You can click there to have the design all ready for you –> Mexican Food Dip Bowl Labels.
 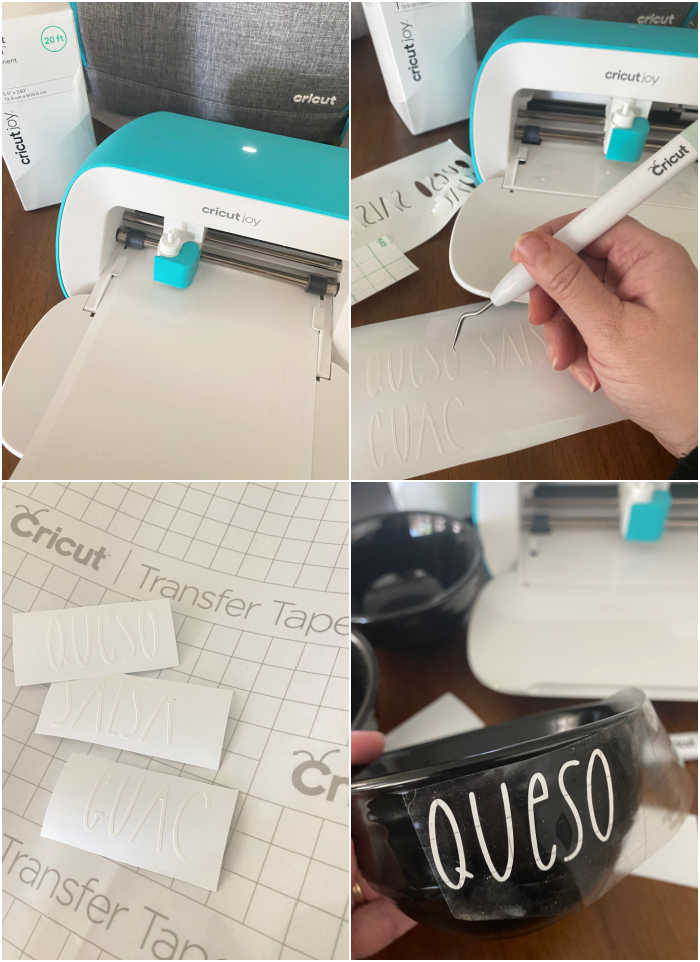 Once the words are cut, then you just need to weed the excess that you don’t want. To apply the words to the bowls, you’ll want to adhere the vinyl to transfer tape and then use that to place the design on the bowls.
 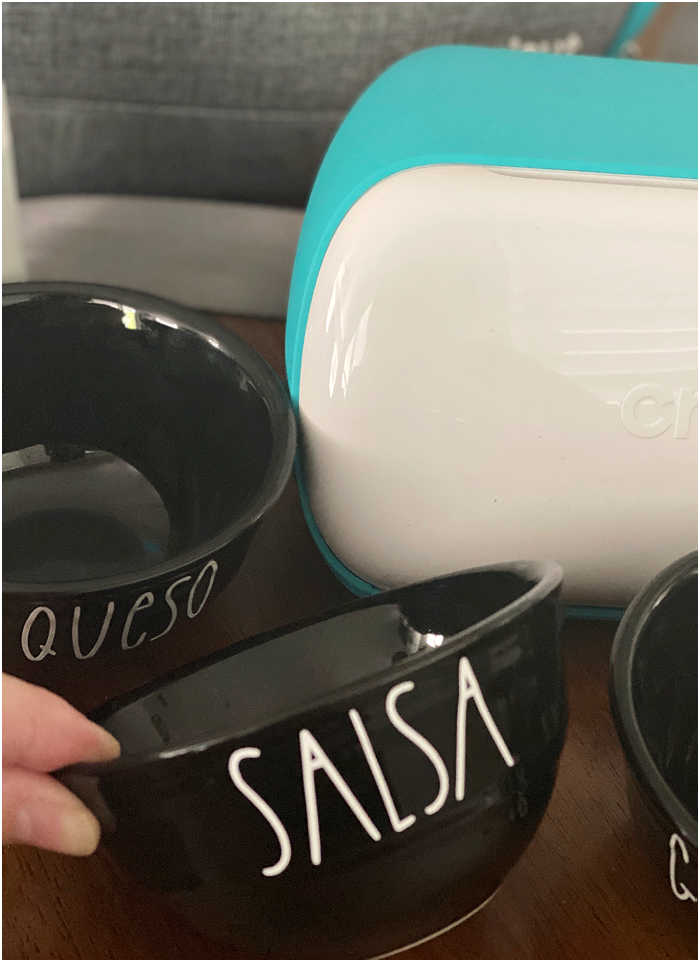 So easy and the end result looks great on the board! We make Mexican food so often, that these little bowls will get a lot of use!
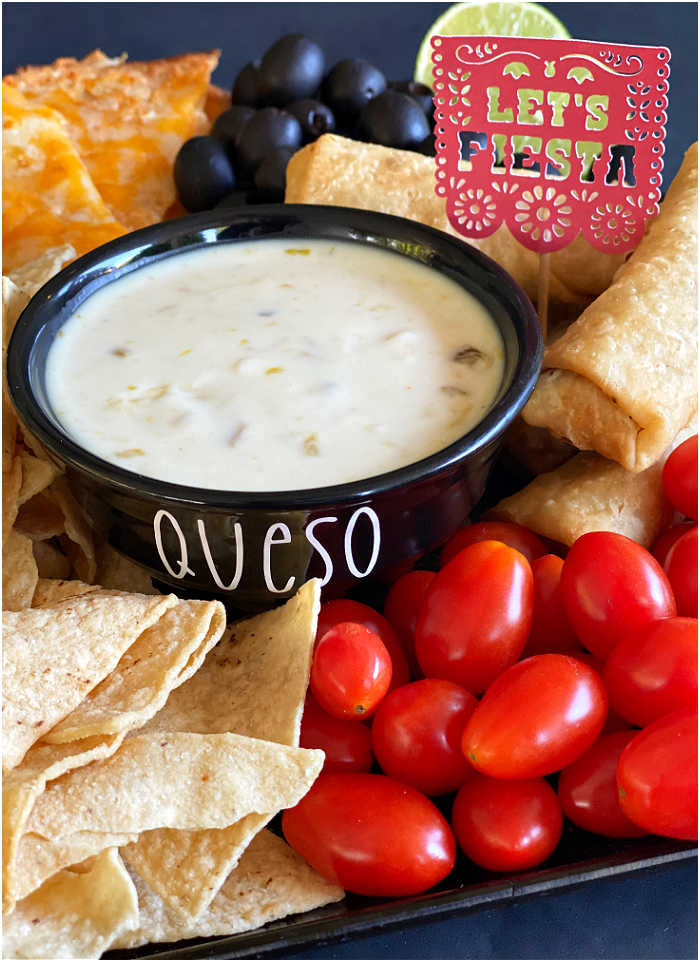
Fiesta Food Picks
To add a little more festive flare to the board, I also made a few food picks just like I did for our Tropical Fruit Charcuterie Board! The “Let’s Fiesta” food picks are SO easy to make with Cricut!
Materials:
- Cricut Maker or Cricut Joy– Again, either one will work for this project!
- Cricut Tools Set
- Cricut Cutting Mat
- Cricut Cardstock
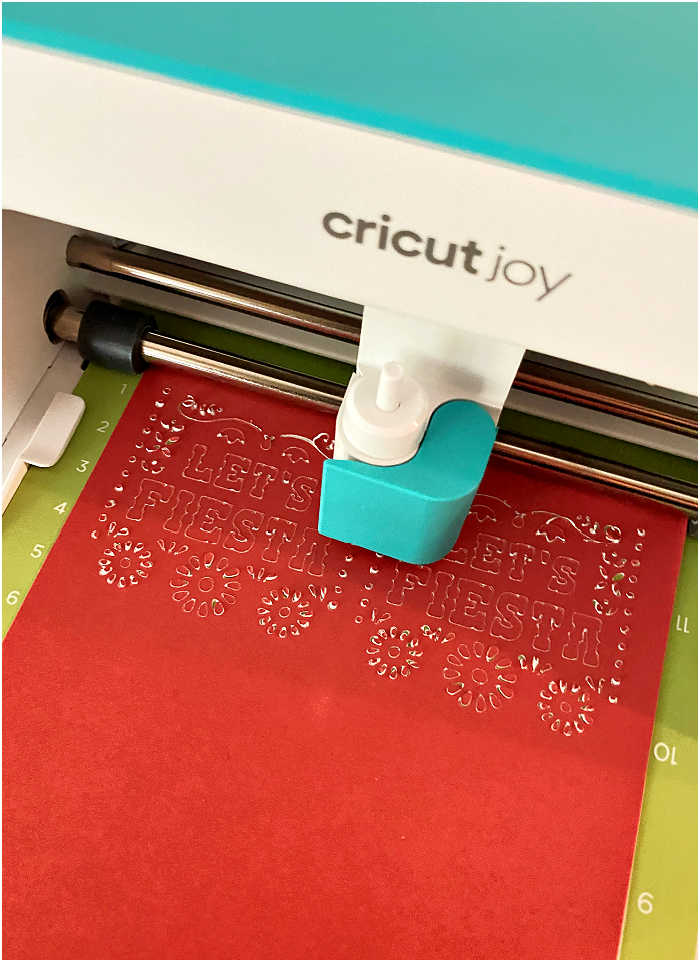 This “Let’s Fiesta” design is free with Cricut Access. I sized it down to about two inches and cut out two for the board. Once everything is cut, then you can attach a toothpick to the back of each cutout. That’s it! SO easy and just adds a little more festive feel to the board!
Assemble the Mexican Food Charcuterie Board
Once everything is cut and put together, all that’s left to do is to put it all together on your board/platter. Start by arranging the dip bowls where you’d like those – and spread tortilla chips between them. Then, start placing your other foods around the tray. I like to separate the colors somewhat so there is a variety across the board. Then, add in the fiesta picks you created and that’s it! 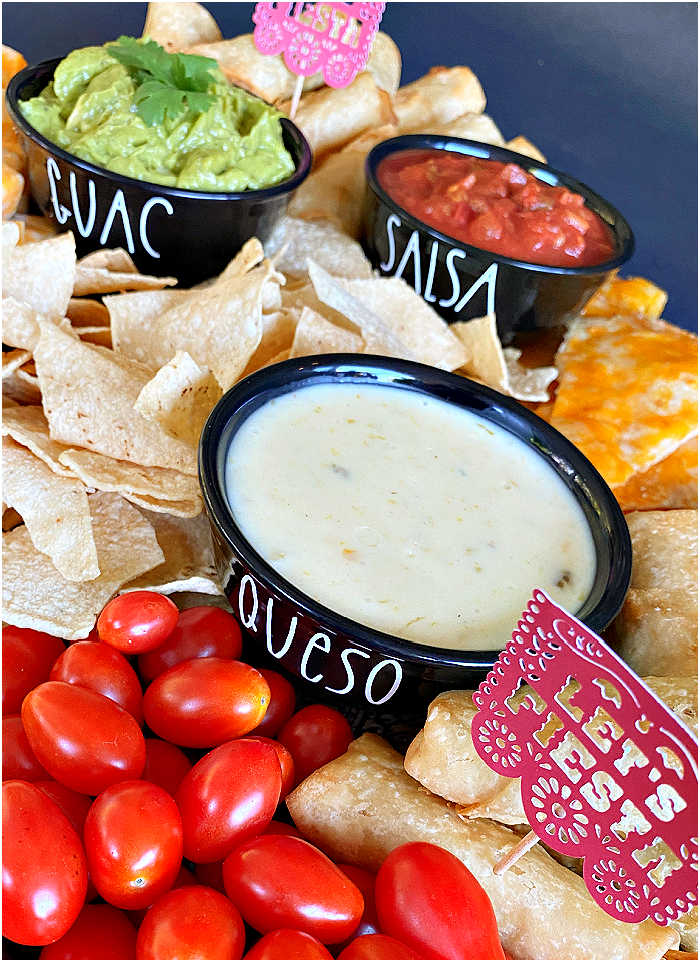 Now, you’ve made a delicious and festive Mexican food charcuterie board perfect for any fiesta! ENJOY!
Like it? Pin it!