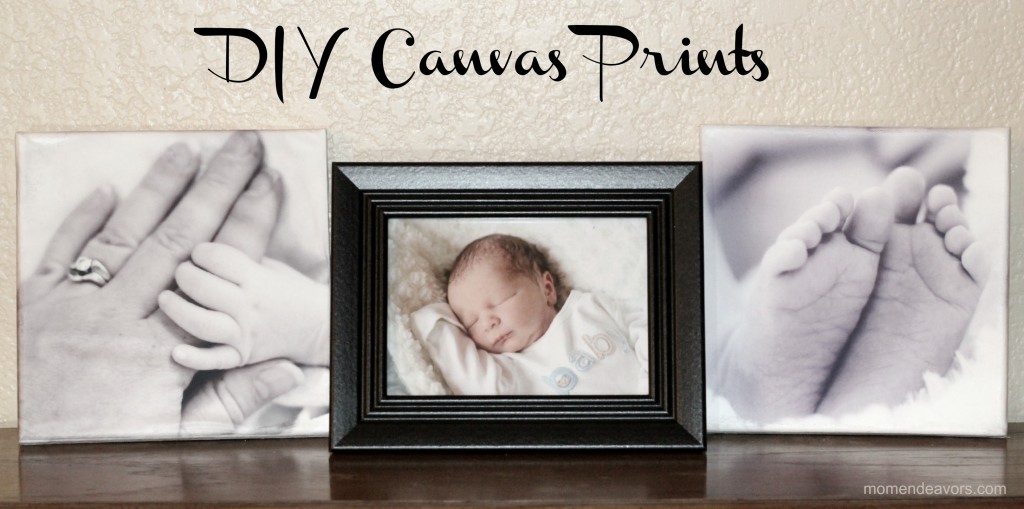
 I’d been wanting to do something with all the newborn photos of Baby Brother, but hadn’t gotten around to anything yet. But then, I was introduced to a new craft supply called Scrapbooking Attitude, which is a printable film. And, it’s for so much more than just scrapbooking! In fact, it can be applied to almost any surface from paper, cardstock, chipboard, fabric, felt, ribbon, metal, plastic, leather, wood and more! So, I knew I wanted to try it with some of the newborn photos and inspiration struck when our first large gallery wrapped canvas arrived in the mail (more on that later). I LOVED it! But, those canvases can get pricey. So, I decided to try to DIY some small ones with Scrapbooking Attitude!
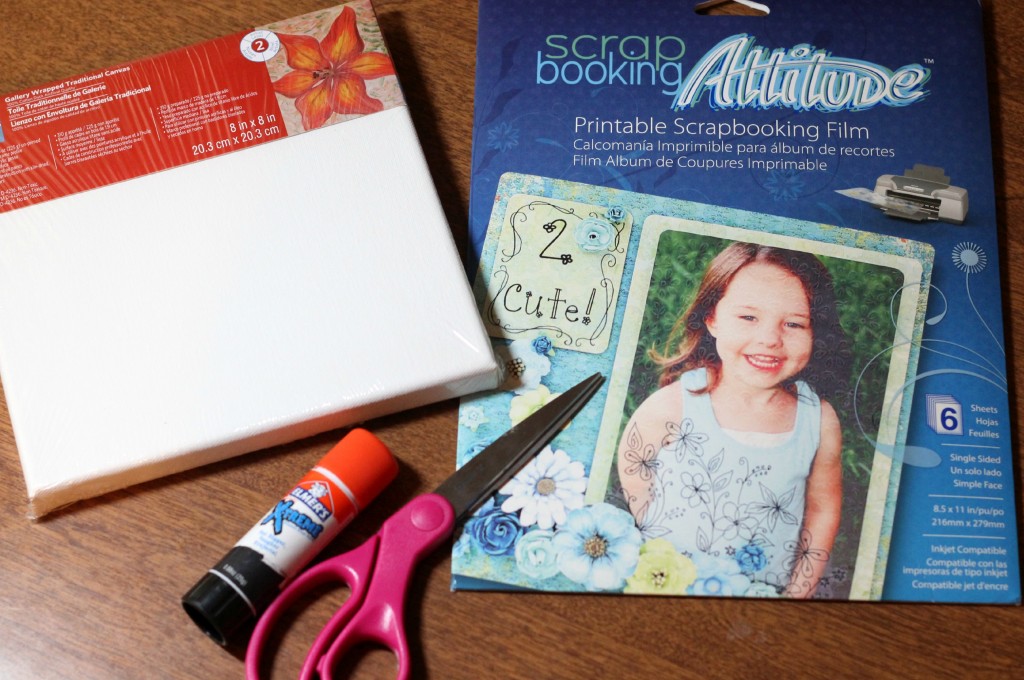 The supplies needed to make the canvas prints were quite minimal- 8 x 8 canvases, Scrapbooking Attitude printable sheets, a glue stick, scissors, and an iron. Then, the key supply needed in order to get the image on the film is an inkjet printer.
 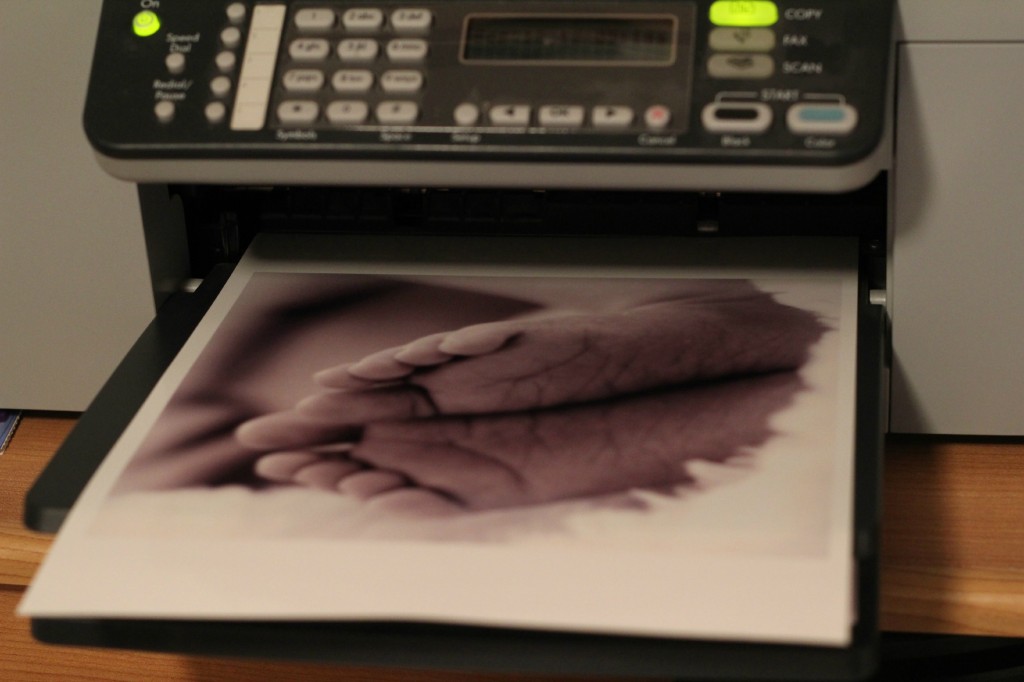 Once you have your image edited & sized correctly for your canvas, you print the image onto a sheet of Scrapbooking Attitude. It is important to read the product directions and know how the paper loads on your printer. You print the image on the glossy side of the sheet. And, you want to make sure that you “flip” your image (making it a mirror image) due to the way it prints & then attaches. I recommend doing a quick test print on a normal piece of copy paper first (so you don’t waste a sheet of the Scrapbooking Attitude).
  Once the print is dry, you can get to work attaching it to the canvas. Start by cutting out your image to fit the canvas (do this by cutting through the film & backing). The use a glue stick to apply a thin amount of glue to the edges. I had issues with my glue stick being a bit too thick and it showing through the image. So, I redid it and just put glue on the edges of the canvas. Then, carefully peel the film off the backing and apply (glossy ink-side down) to the canvas. To help the film adhere to the canvas a bit more all over, I went over the entire canvas (covered with a thin dish towel) with an iron (no steam) on medium-high heat.
 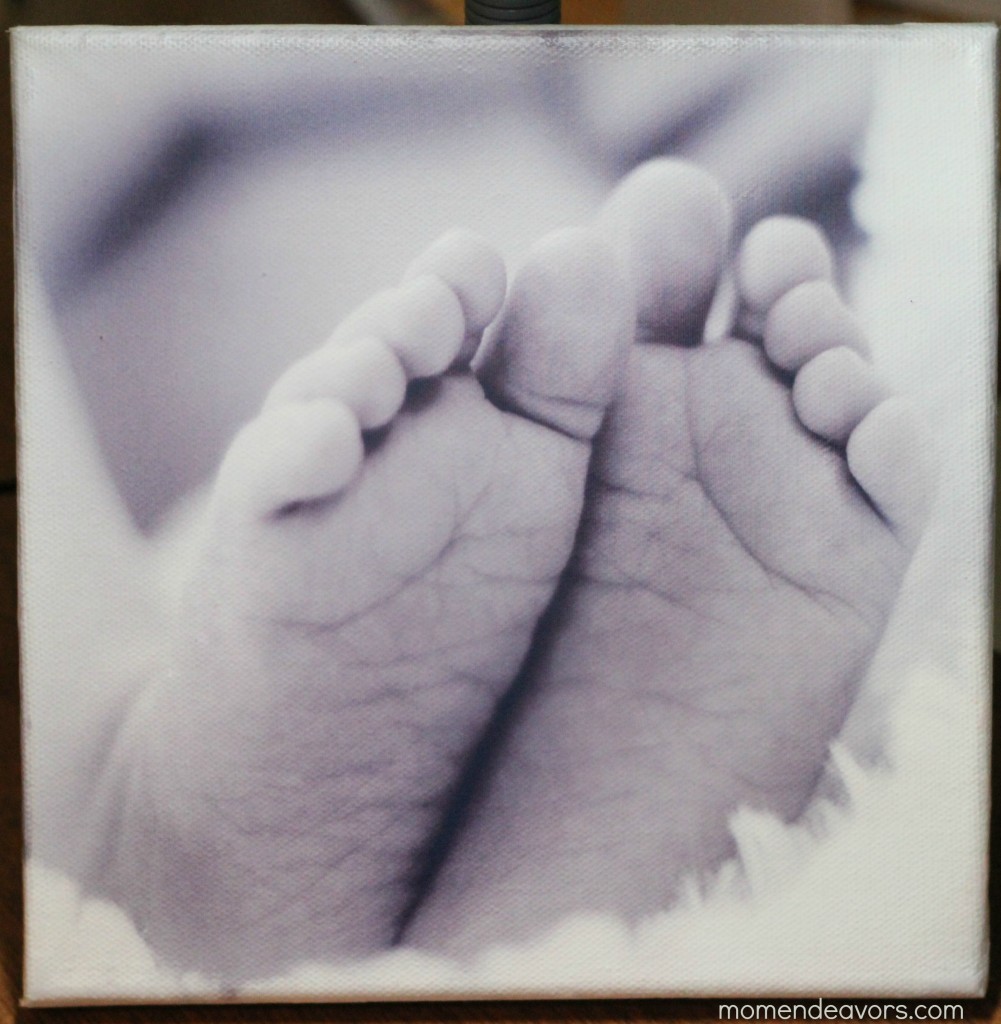 That’s all there was to it. I loved the final outcome! So, I decided to make another one to go with following the exact same steps. Eventually, I think I’d like to do all six and make a newborn features canvas collage.
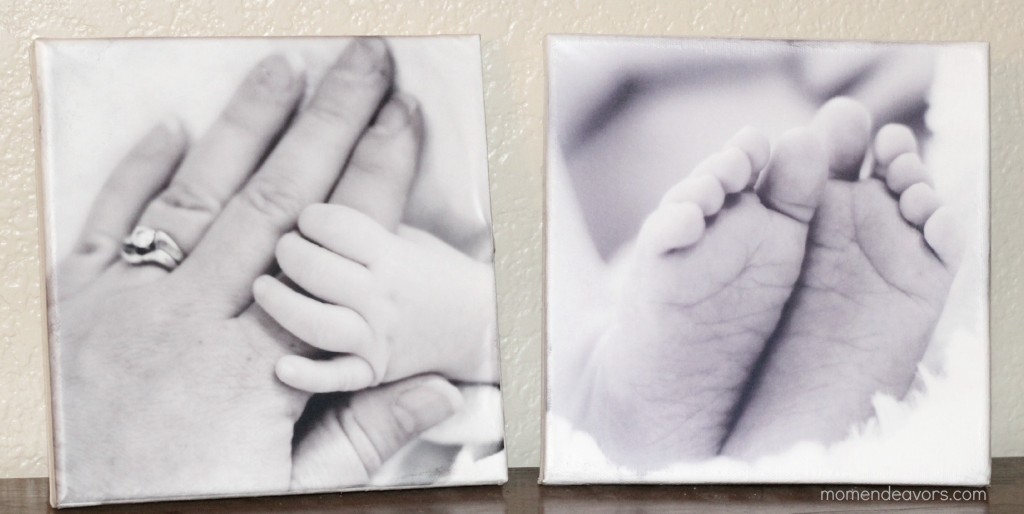 I love these canvases! Now, I need to get to work on the rest of his newborn prints and decorating his room!


10 Responses
Six canvases would look so cool. Nice photos, too.
Beautiful! And you make it sound so easy. I’m not crafty but I just might try this.
I’m so not crafty but I love this. I may just give it a try.
Beautiful!
Whoa, whoa. This is absolutely a game-changer. Beautiful photos – and it looks like they turned out perfectly. Pinning this to try very soon. I’m thinking Christmas gifts!
I love the look of photos on canvas! So pretty!
Those turned out wonderful! How fun would it be to add some of all your boys!
Love those sweet little feet! Great project Sara!
Cute cute cute idea Sara! Love those little feet!!! Thanks for sharing.