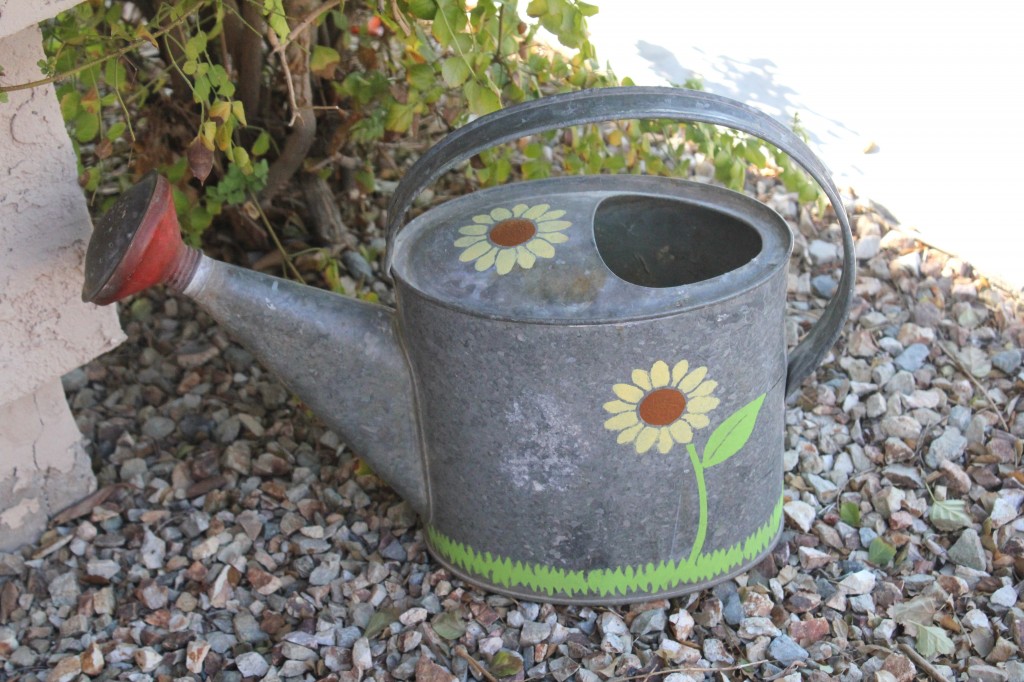
 After what seems like ages (really only about a month), I finally have a new DIY/crafty post up! YAY! And, it was thanks in part to none other than the crafting GURU herself, Martha! (Like we’re on a first-name basis or something?! LOL!)
I recently received a big ‘ole box of crafty goodness thanks to Crafterminds & Plaid –it was like Christmas in August! 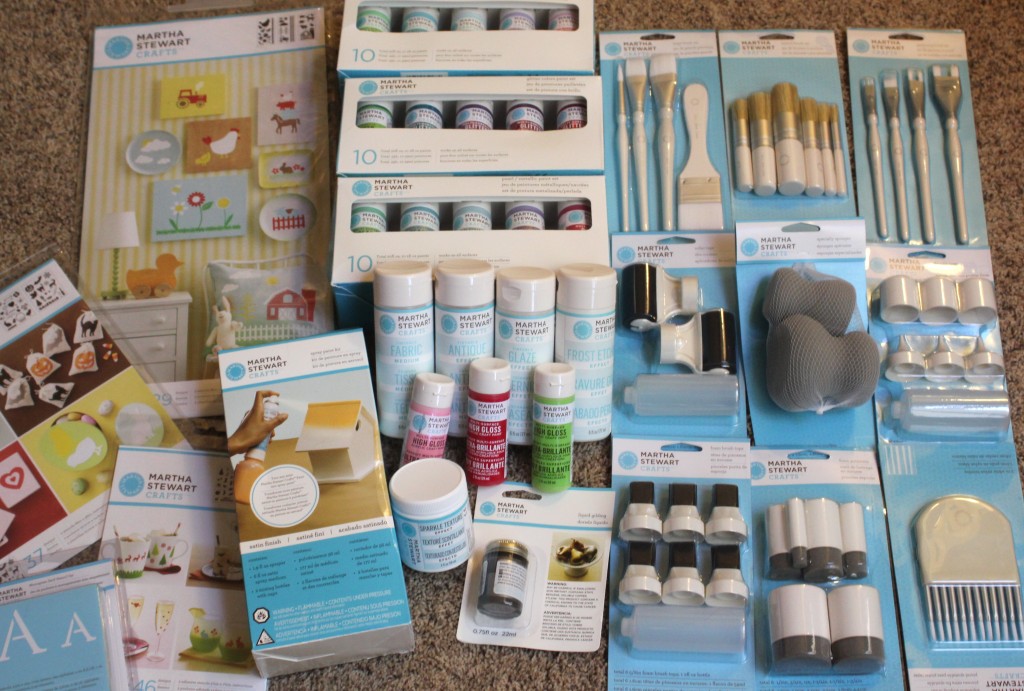 That is the Martha Stewart Crafts Decorative Paint Line, brought to you exclusively by Plaid Crafts (and available exclusively at Michaels!!). And, just in case that picture doesn’t speak volumes already, let me assure you, it’s AWESOME! It’s no surprise that Martha has “done it again”. Here’s a few things that make this line extra wonderful:
- The paint is formulated to work on all crafting surfaces including wood, metal, glass, ceramic, terra-cotta and fabric. It is indoor/outdoor safe, dishwasher-safe on glass. Yes, dishwasher safe!!! So cool!
- There are 160 paint colors in five finishes (Satin, High Gloss, Glitter, Pearl, Metallic). All come in 2 oz. bottles and are non-toxic (so safe to use with children–LOVE this!).
Here’s Martha to tell you all about it:
Sounds awesome, right?! My only dilemma (if you can even call it that), was simply deciding what crafty thing to try first. Since we’re in the midst of trying to get a decent-sized garden going, I decided to spruce up a watering can that we had!
Here’s the before: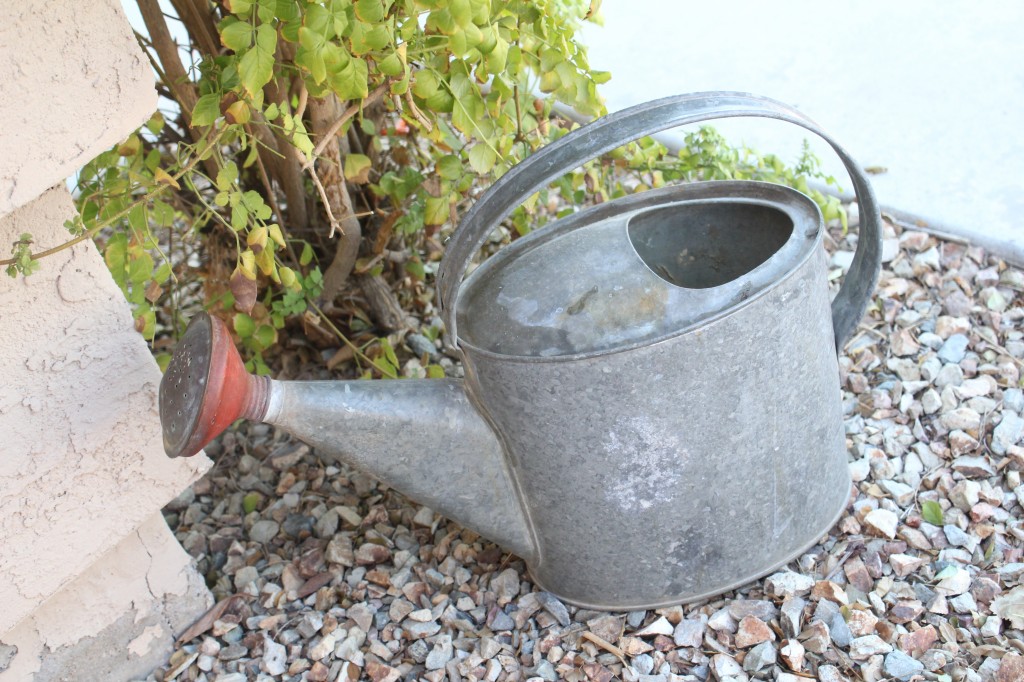 I wanted to make it a little more fun & give it a bit of color, so decided on doing some flower stencils with the adorable farm-theme stencil pack I got (Little Brother’s room is a farm-theme and I want to do some wall art for his room!).
Here’s what I used: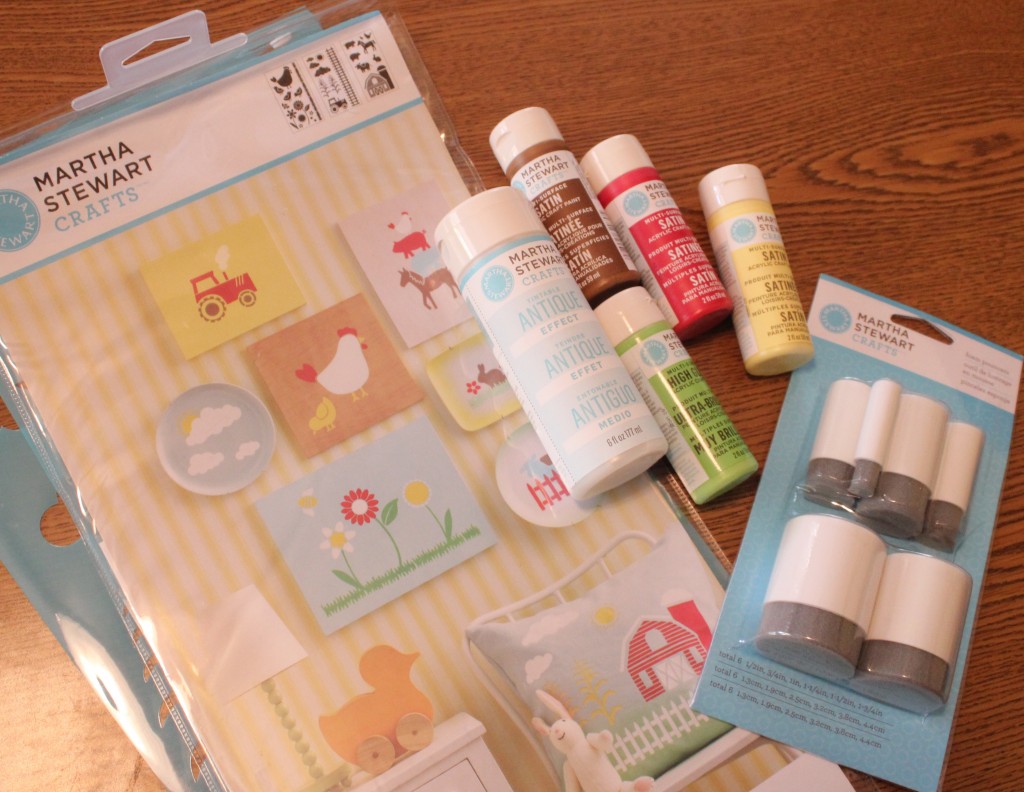 Big Brother was SO eager to help with the project. He is so excited about the garden and wanted to help design and paint our can! 🙂 I couldn’t say no! So, although our painting wasn’t “perfect”, we’re still quite pleased with the results.
To start, we taped the stencil onto the can (making sure the stencil was securely attached was the only thing even remotely difficult about this project). Once that was in place we started by painting grass all the way around.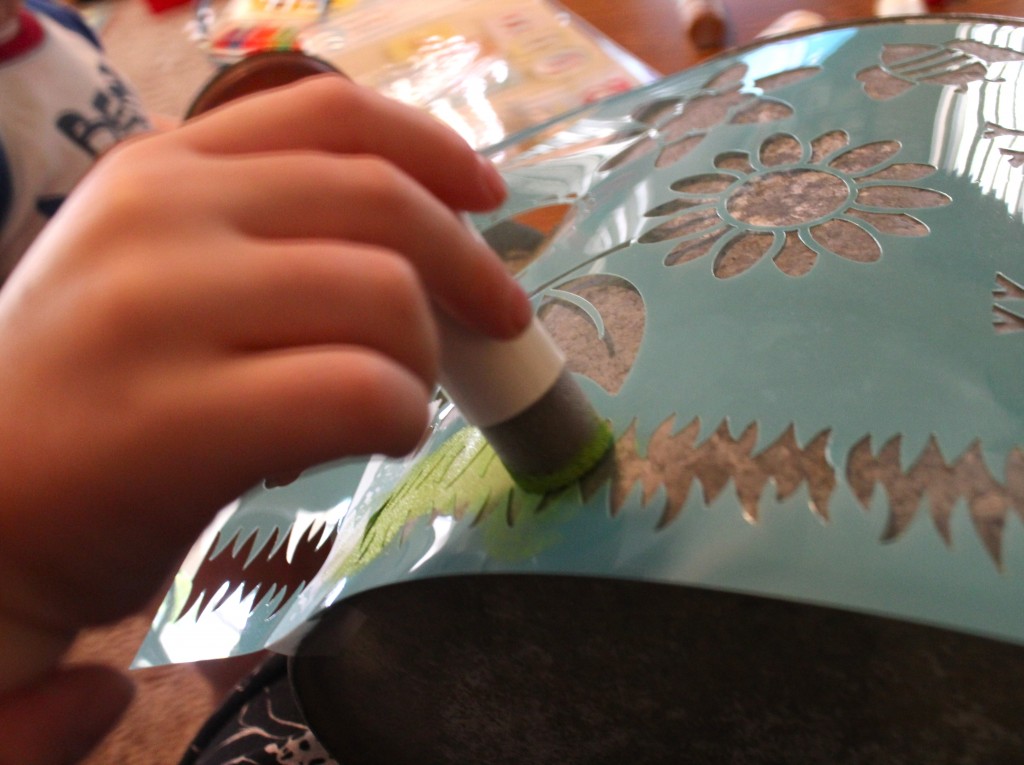 The tools worked so well that Big Brother was able to do it with very little help from me! (And I LOVE how easy these are to wash out afterward–awesome)! Here’s the grassy look:
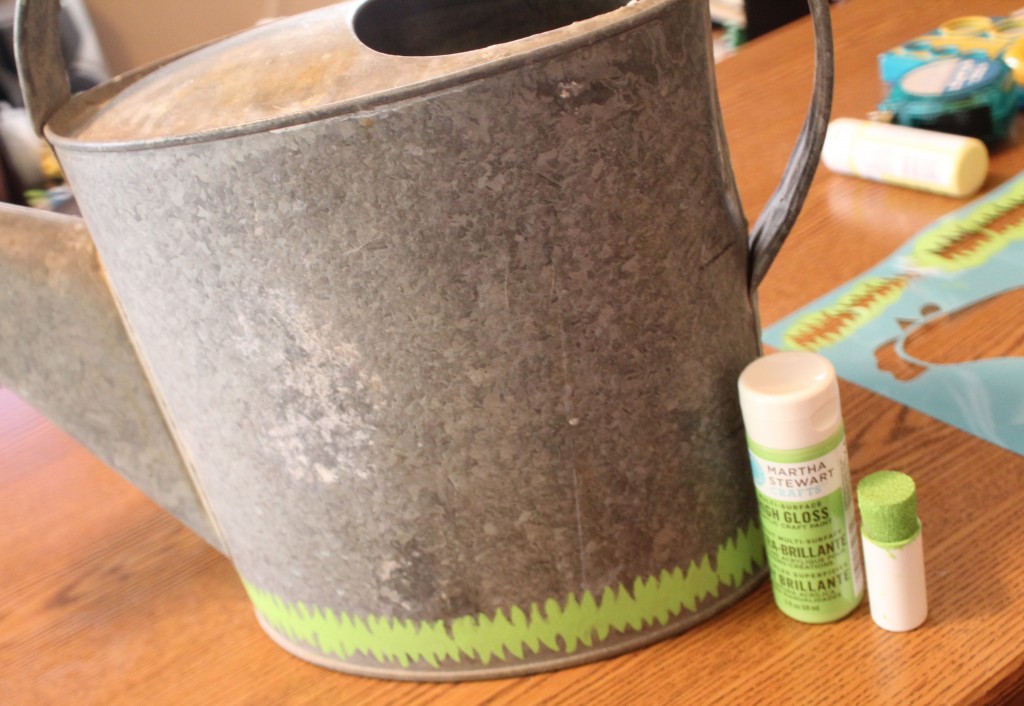 Once that dried, we needed to add flowers. I opted for a sunflower sort of look. Super cute & easy!
 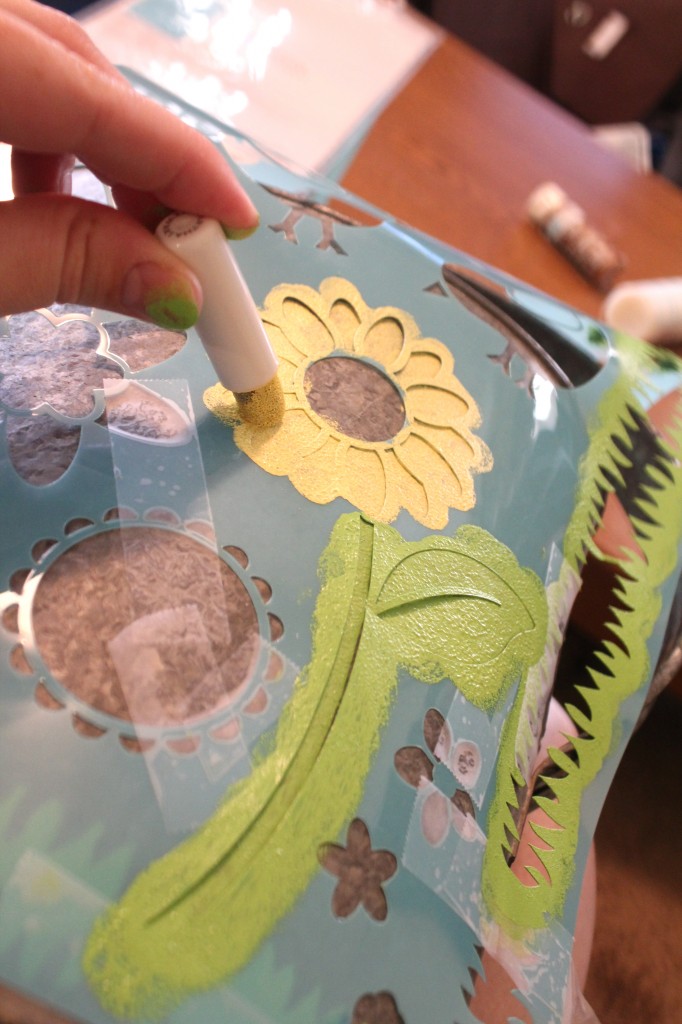 I wasn’t sure how many flowers I would add, but once I took the stencil off, I really kind of liked the simplicity of just one! So, we did a mirror image on the other side of the can and one on top. Big Brother really thinks we should add a bumblebee and a bird (both options with the stencil) and I toyed with the idea of adding words, like “Garden” or something. What do you think? Leave it be or add a bit more?
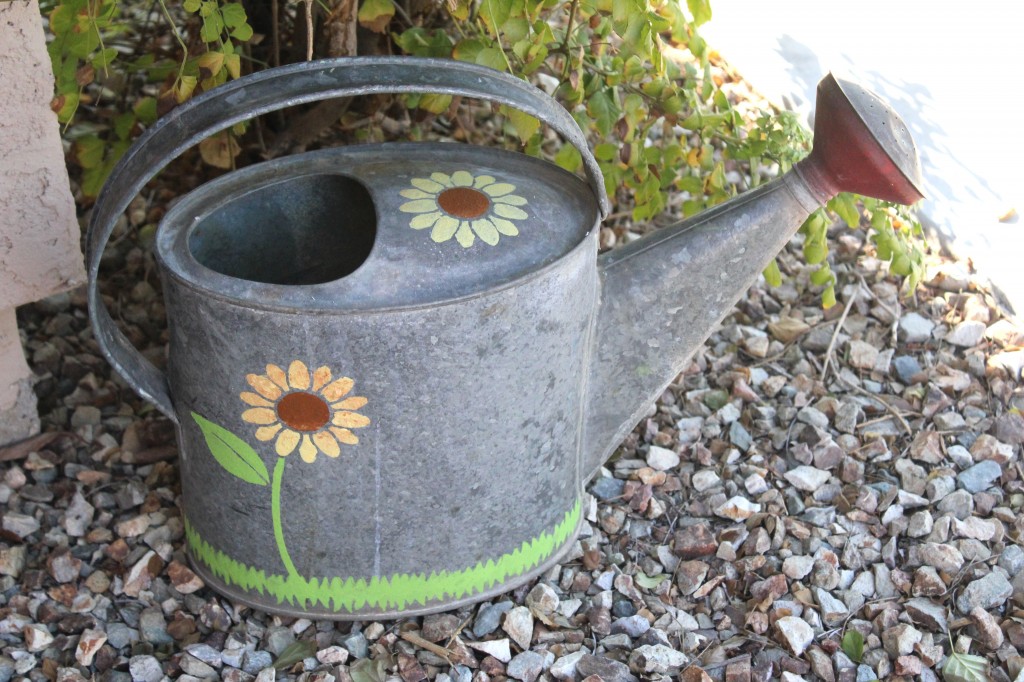
Big Brother is SO proud of our project! 🙂 We had a GREAT time trying out the new Martha Stewart Decorative Paint line and my mind is swimming with TONS of ideas for upcoming holiday projects! There are a number of awesome projects using this floating around the blogoshpere from some of my favorite crafty bloggers. In fact, Amanda has a whole linky list with many of the Martha Stewart by Plaid line projects featured (plus a really cute project herself!) …check it out!
What about the new paint line looks most exciting to YOU?
Disclosure: As always, all experiences & opinions are entirely my own. Read full post disclosure here.








30 Responses
Oh, that is so cute! Love the adorable little grass stencil. You did a great job! Visiting from the Crafterminds FB page.
Thanks, Amanda! Your magazine rack makeover turned out great too! 🙂
I love how your watering can turned out! You got all the stencils that became my “2nd runner ups”! lol. Can’t wait to see more awesome projects!
Sooo Cute!! Way to go!!
This is so sweet! The sunflowers couldn’t be more perfect for the watering can. Loving the simplicity of it, but I would also be tempted to add more because it’s so much fun. Maybe group some similar items (metal flower pots or buckets?) and stencil those as well?
awwww, so cute! I love old watering cans! I shared this on my FB page!
gail
That’s such a cute project. I love the grass stencil. Thanks for sharing!
Hello, I Love the watering can but I would add the flowers and a bird since your son wants to as it gives you more to do together.
That turned out great! My idea of a craft – not so complicated that only the pro’s can do it.
Oh my gosh, that’s gorgeous! I am a HUGE Martha Stewart fan and I have got to try this! Thank you for the inspiration!
I would buy that paint can in a heartbeat. It looks awesome!
That turned out so cute! I’m thinking about trying stenciling for the first time.. You made it look so simple that I may have to get some of these kits, especially the brushes!
That turned out so stinkin cute! I love it! And I love the green fingers too. I’m currently working on my babies’ room and my hands, arms, legs, face….have been splattered with yellow for days!
Absolutely adorable. All the fun, possible decorating ideas are swirling dangerously in my brain, now!
I LOVE IT and I love STeneciling too
It looks great and you did an awesome job
I love the multi-surface application with no priming, so convenient!
I thought I commented on this, but I guess I didn’t. This is so cute–I love sunflowers, and Iove Martha Stewart’s paint kits!
My oldest is in a real stencil phase right now, she’d love this! I think we may stencil a dried gourd and this would be the perfect paint!
I love this! You are so crafty!!
I love your project!
My children made similar projects, but painting and stenciling terra cotta pots for the grands for holiday presents last year and they loved them!
Thanks for sharing this!
Absolutely adorable idea. I can’t wait to go shopping for some of my own. I actually saw some MS stuff at Michael’s that looked awesome. I will go back tomorrow and check it out.
Your watering can is absolutely darling! I love the detail, especially the grass along the bottom. My daugher loves to paint; what an inspiring project! #Cbias
Very fun – and that grass is too cute! Love that the fam helped. 😀
That’s an adorable project! I have several of those watering cans in my garage that I’ve been hoarding. Thanks for the inspiration!
Thanks so much, ladies!! 🙂 We had lots of fun with it! 🙂
Hi Sara! Do you happen to still have the stencil set? I have looked EVERYWHERE and I want to do the art pieces for my son’s nursery. Please let me know. Thanks!