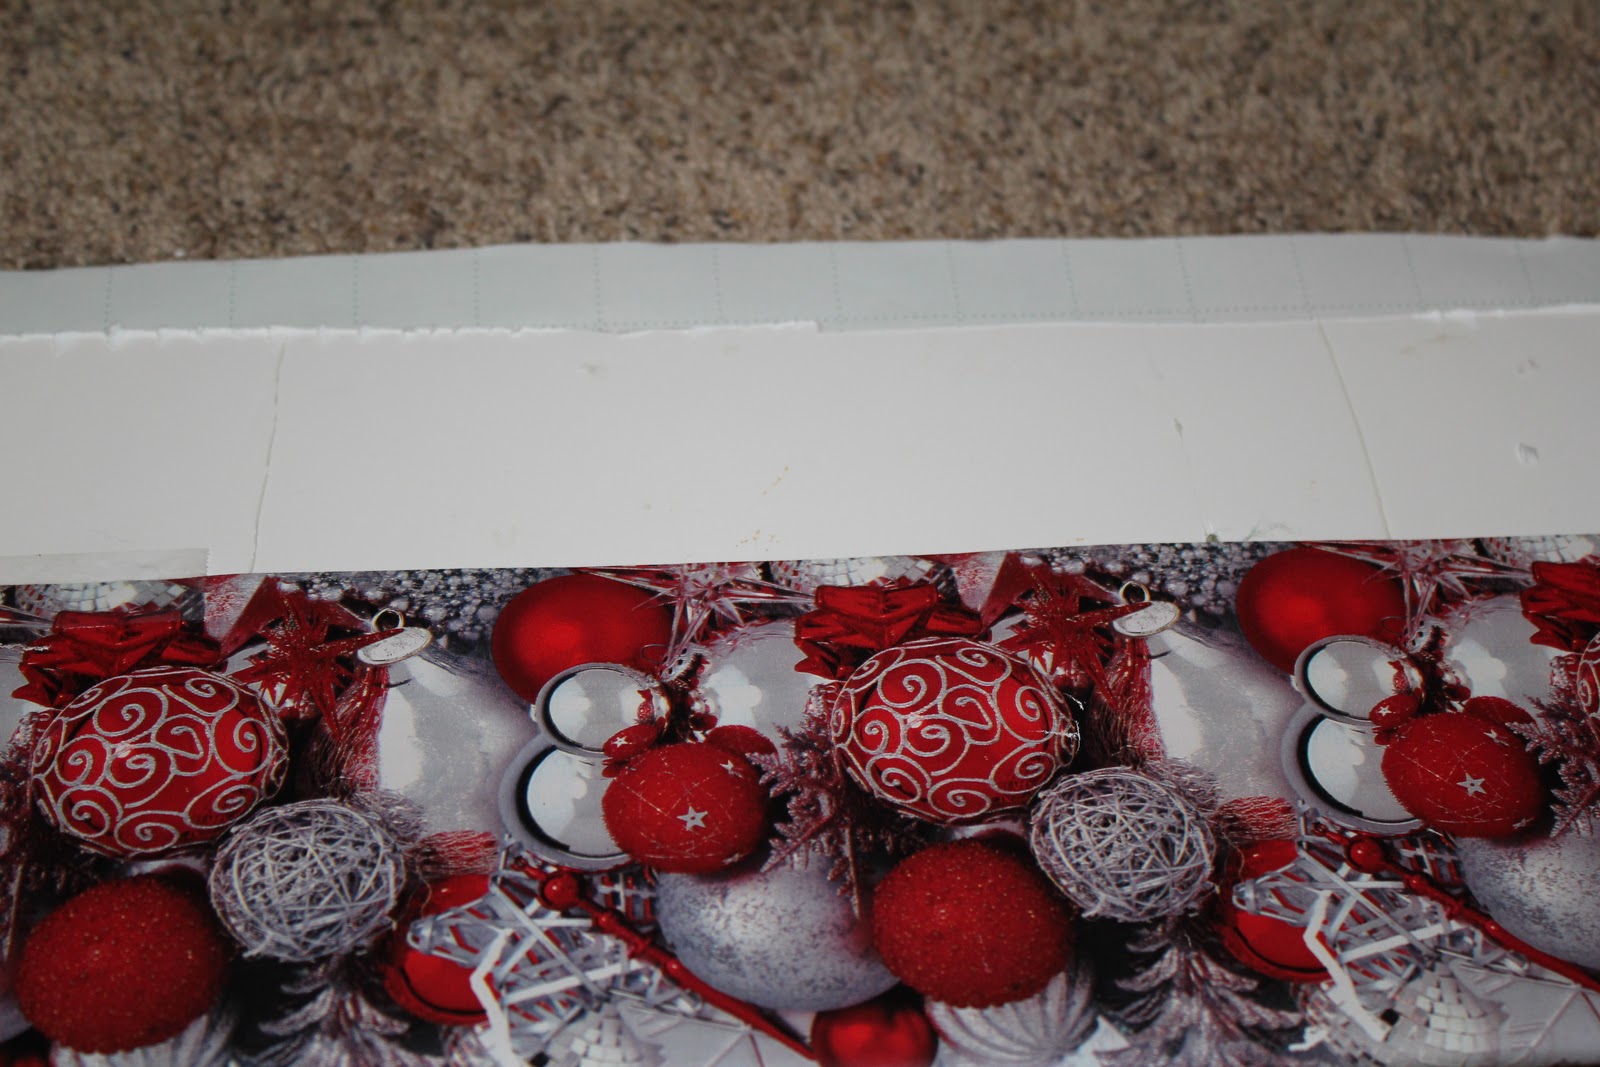
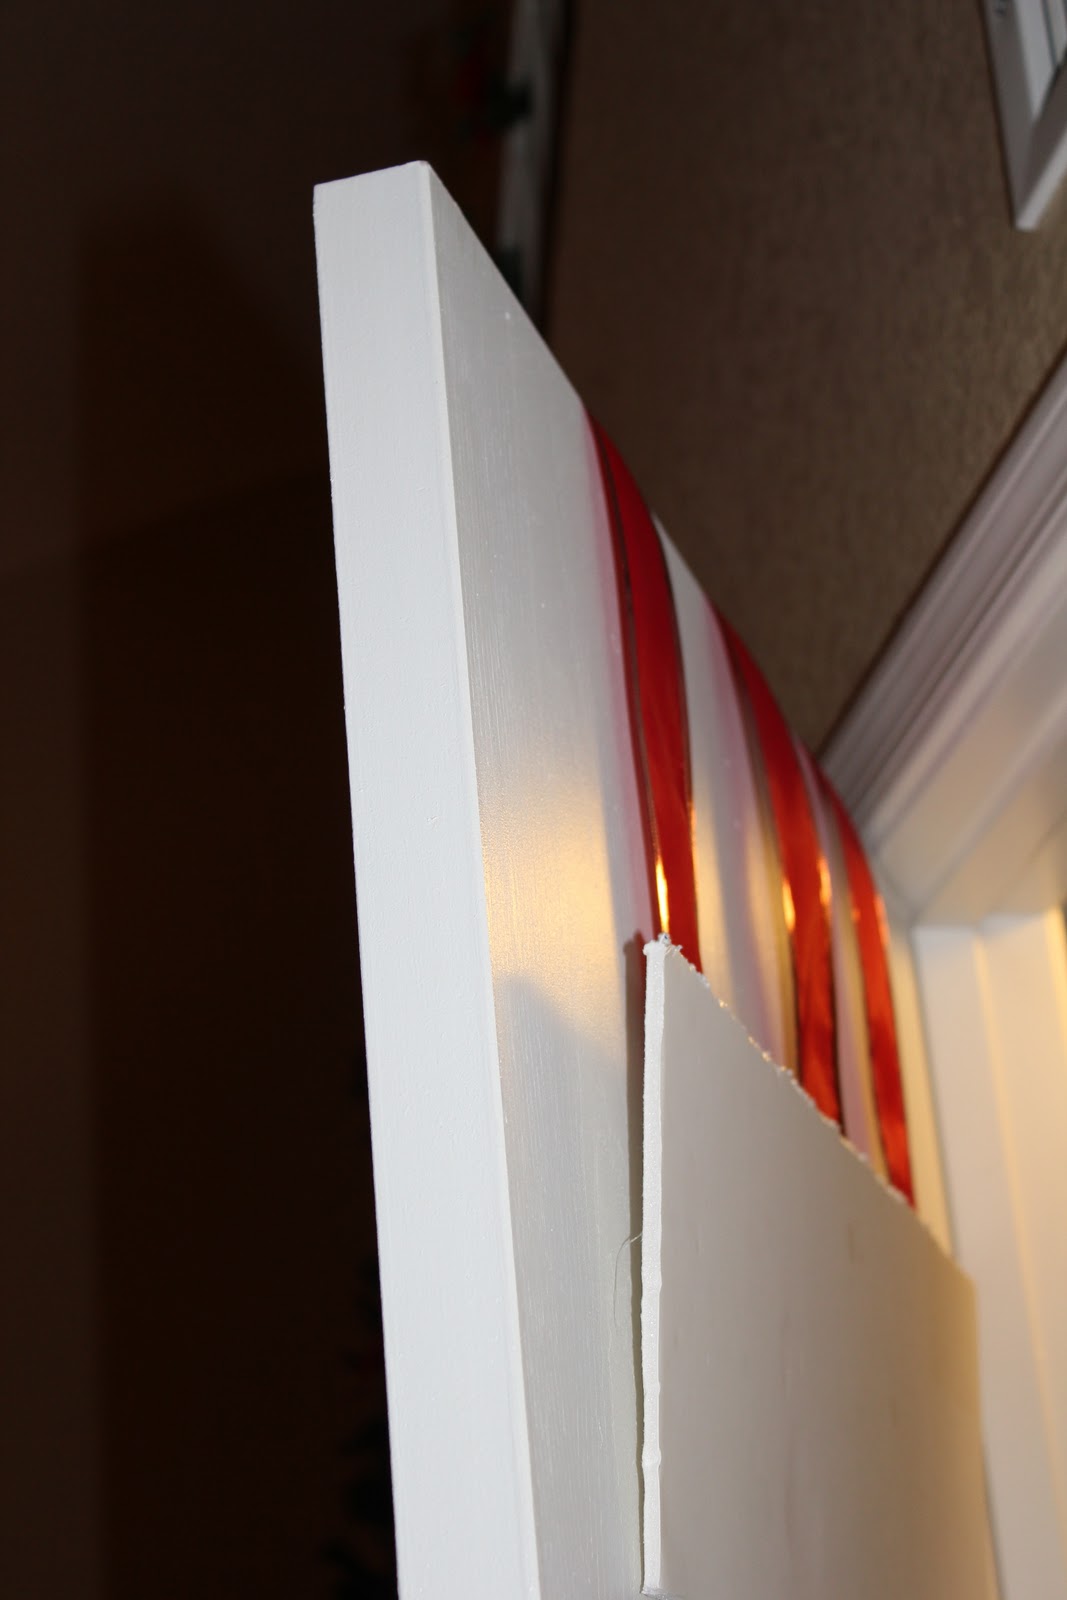
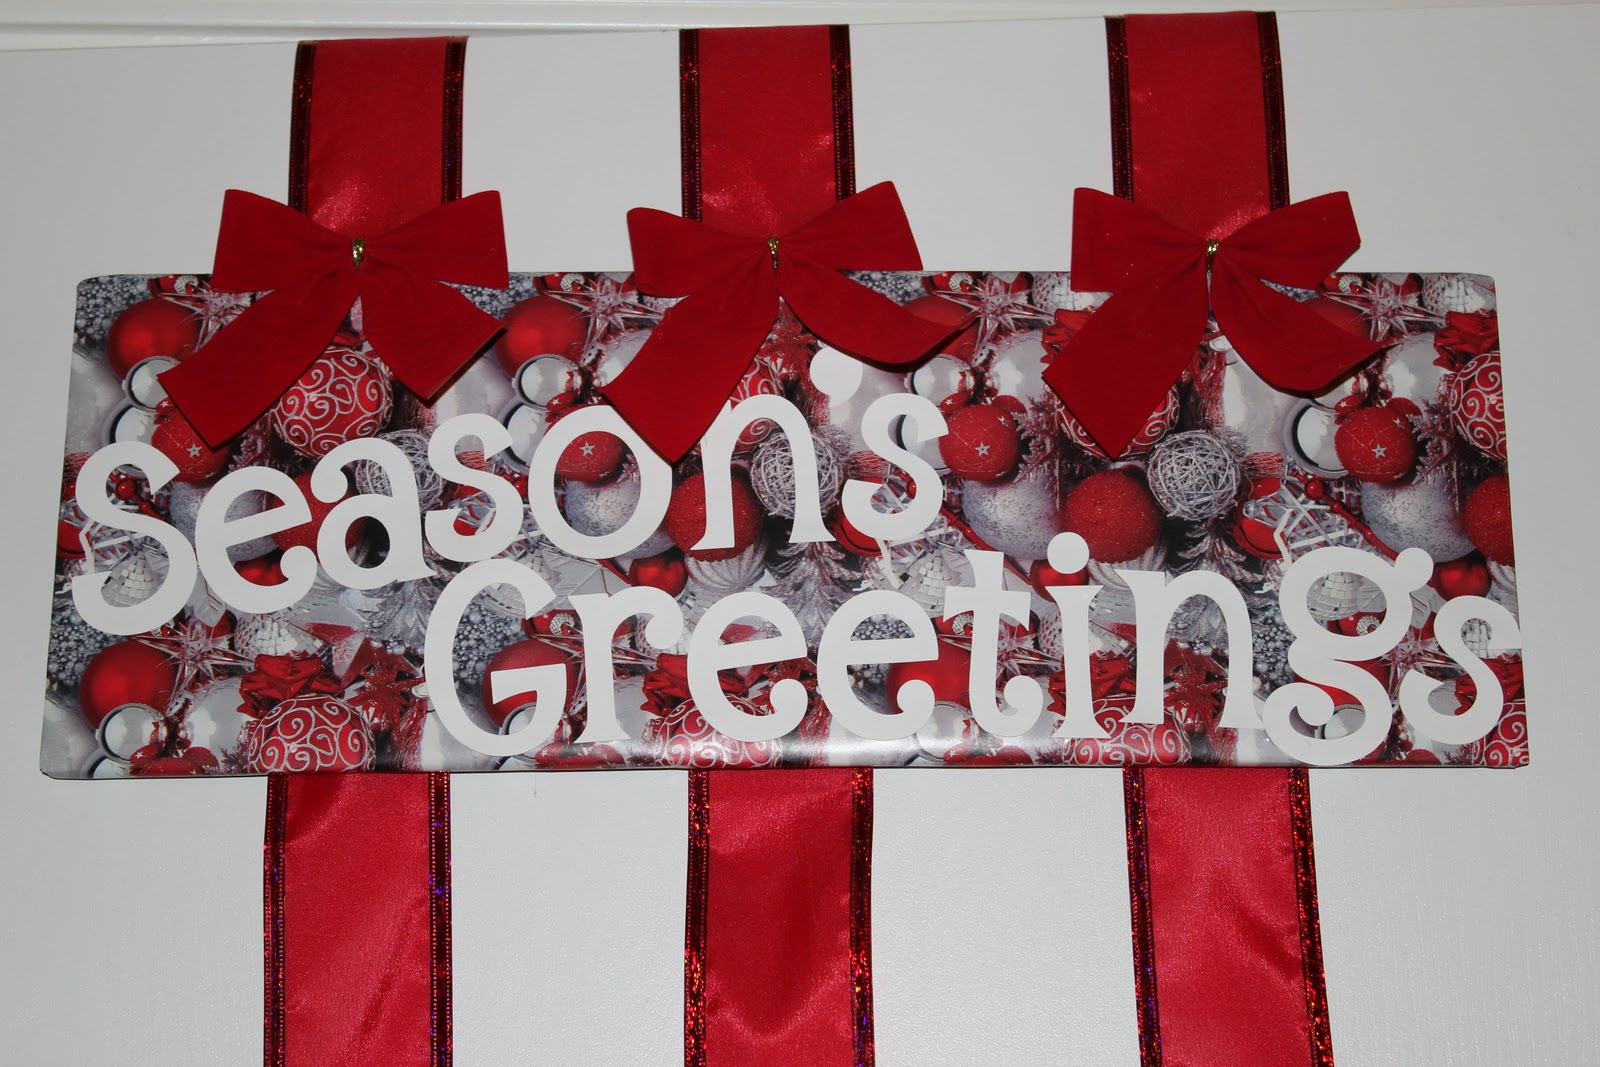
It’s that time of year when checking the mailbox is so fun, anticipating all the great greetings from friends and family. Over the years, I’ve struggled with how to display them, so they often ended up just sitting in Christmas baskets. But, I was never quite happy with that. Now, I’ve finally found a solution I love–a way to incorporate all those special messages, photos, and cute cards as part of our Christmas decor – a ribbon Christmas card holder!  The tutorial was originally posted as part of the Homemade Christmas series over at The Scrap Shoppe. It’s a festive project that’s easy & inexpensive to make, yet functional & cute – a definite win-win! So without further ado, here’s the tutorial I shared on how to make an over-the-door ribbon Christmas card holder:


How do YOU display your cards?


19 Responses
Too cute!!
Come enter my linky party as well as the current giveaways!!
http://gigglesglitzandglam.blogspot.com/2010/12/glam-party-6-gifts-that-give-back.html
Absolutely darling! I have it in the queue to feature on my Christmas site: http://christmas.tipjunkie.com
What a great tutorial!
cute idea!
This is a good idea. Thanks for the clear tutorial. Now if I could just get my cards out so someone can hang them up. 🙂
I'm your newest follower.
http://moogieland.blogspot.com/
Makes me think of Steel Magnolias where they had something similar in the background. Love.
This turned out so great, and I love the over-the-door design. I featured you today on my favorite things 🙂
It looks great. I'd love for you to join We're Organized Wednesday until Saturday if you get the chance. There's a fun giveaway too. Hope to see you there.
So cute!
Thanks for linking to We're Organized Wednesday.
That is so cute, it really makes a festive decoration.
That is so clever. I usually clip my cards to the dining room window curtain, but I may try this this year.
Very cute! Wish I had a door other than my front door to put it on! 😉
Aloha and Mele Kalikimaka,
charlie
That is such a cute idea!
~Allison @ House of Hepworths
So cute!!!! I love the bows you used too. it adds so much cuteness to an already cute idea!!!
Thanks for linking this to the "Very Merry Christmas Party" at sweetjeanette.com. I loved having you and your wonderful ideas!!!
I made one of these based on your design and thought you might like to see it! Thanks for the idea!!!
http://pynefurniturefun.blogspot.com/2011/01/christmas-crafts.html
Did you use ribbon with wire or just plain ribbon? Thanks!
Hi Beth,
This does have wired-ribbon to help it hold it’s shape a little better! But we still use it like 6 years later! 🙂