 Hello, hello!! I am so excited to be here today participating in the Cornucopia of Creativity Series! My name is Sarah, and I blog over at Bombshell Bling (formerly Craft Quickies), which is a creative blog that covers everything from recipes and sewing tutorial to jewelry making and kid crafts. I hope that you will pop by and see what I have been up to! This week I will be sharing recipes, holiday ideas, and start the process of revealing my dad’s house remodel and redecorating! Whew! I’m tired just thinking about it! You can also find me on Facebook, Pinterest, Instagram, and Twitter!
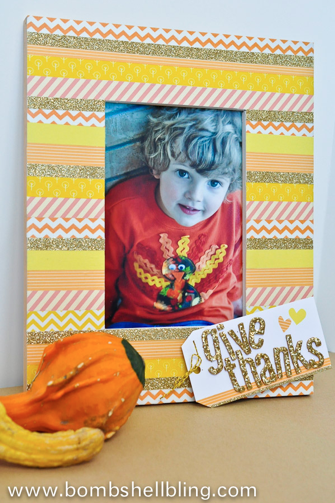
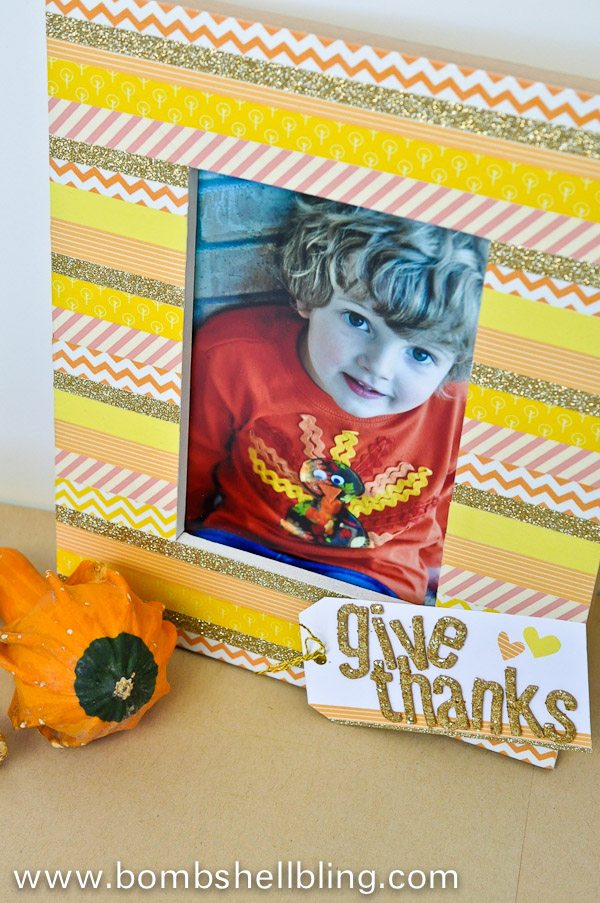
As for today, I am here to share with you my Give Thanks Frame that I made to display my favorite picture of my son last year wearing his silly Rick Rack Turkey Shirt (you can find the tutorial for that HERE).
I am a bit addicted to making striped washi tape holiday frames. I have made them for Halloween and the Fourth of July, and I’m quite certain that I will be making some for Christmas as well. I know myself. I am a creature of habit. And also, I love glitter. It’s a problem, really.
 To make this frame you will need the following supplies:
* a variety of rolls of washi tape (I also used gold glitter tape from American Crafts.)
* a wooden frame (This one is from JoAnn’s I believe, but I usually get them super cheap at Walmart in the unfinished wood craft section.)
* white paint (I also used a bit of gold paint, but don’t usually bother….I’ll explain below.)
* decoupage (Mod Podge is one brand of decoupage.)
* a bit of white cardstock
* Thickers glitter stickers (Thickers are made by American Crafts.)
* a tiny bit of baker’s twine or ribbon
Ok, now let’s do this thing! It’s time to getter done.
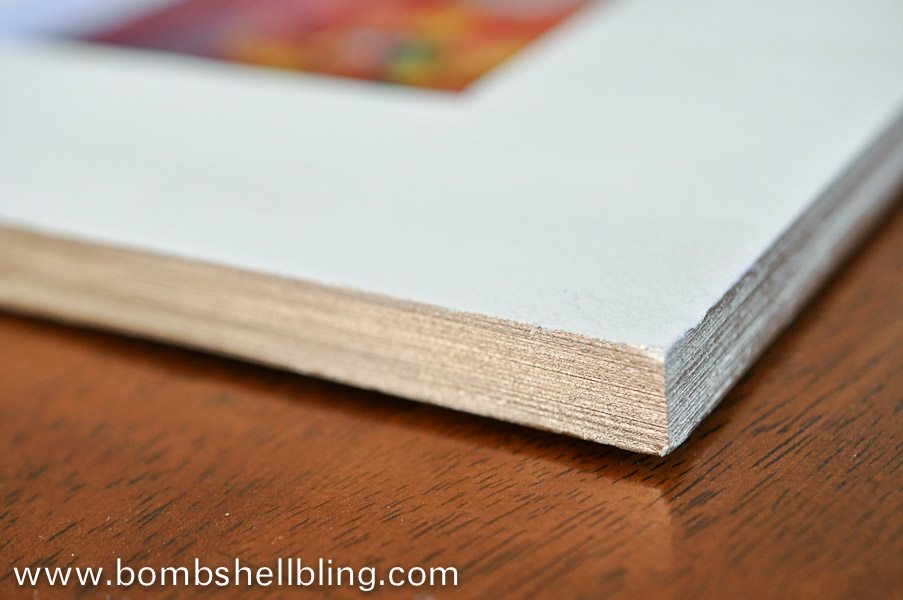 Begin by painting your wooden frame white. Technically this is optional, but I always do this because washi tape is usually very thin, and I don’t like how the wood grain shows through on the lighter washi tapes. By painting the frame white it creates a uniform “canvas” for the washi tape. I also painted the edges gold just for fun because I knew I was working gold glitter tape and stickers into the design. I usually just paint the sides white as well because I am lazy like that.
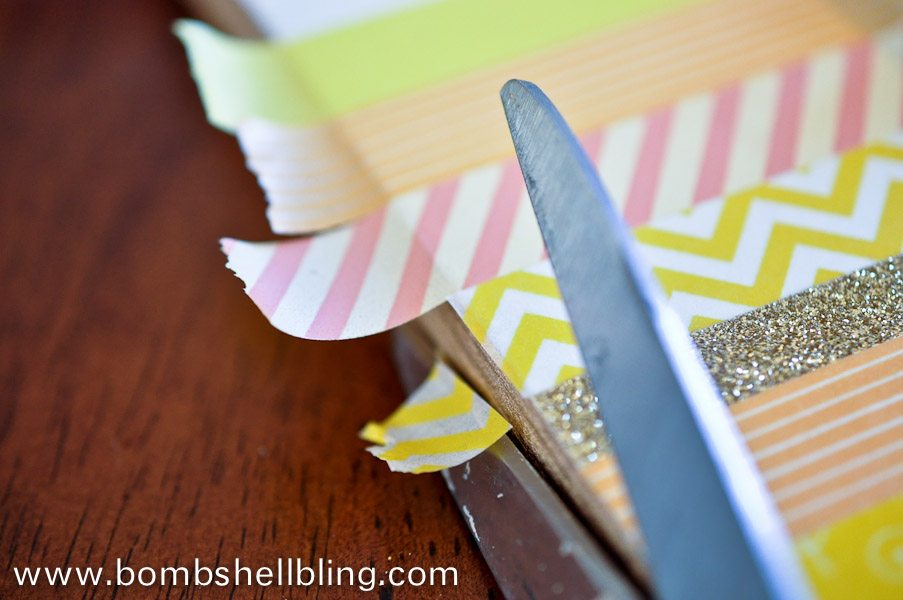 Now just start taping! You can use a variety and it does NOT have to be in a specific order or pattern. In fact, I prefer it when they aren’t in a precise pattern. Randomness is fun, dontcha think? The nice thing about washi tape is that you can re-adjust it if you need to, so you can work on it until it is just right.. It’s a lot like masking tape, just in case you didn’t already know. (Glitter tape is NOT adjustable like that, though, so be precise with that!) I leave my edges hanging off, as shown above, and trim them all at once when I am satisfied with my layout.
At this point if you are not making the tag embellishment then your frame will be totally finished. SERIOUSLY. Add a thin layer of decoupage (Mod Podge) that extends over the corners a bit and allow it to dry to seal the tape down permanently.
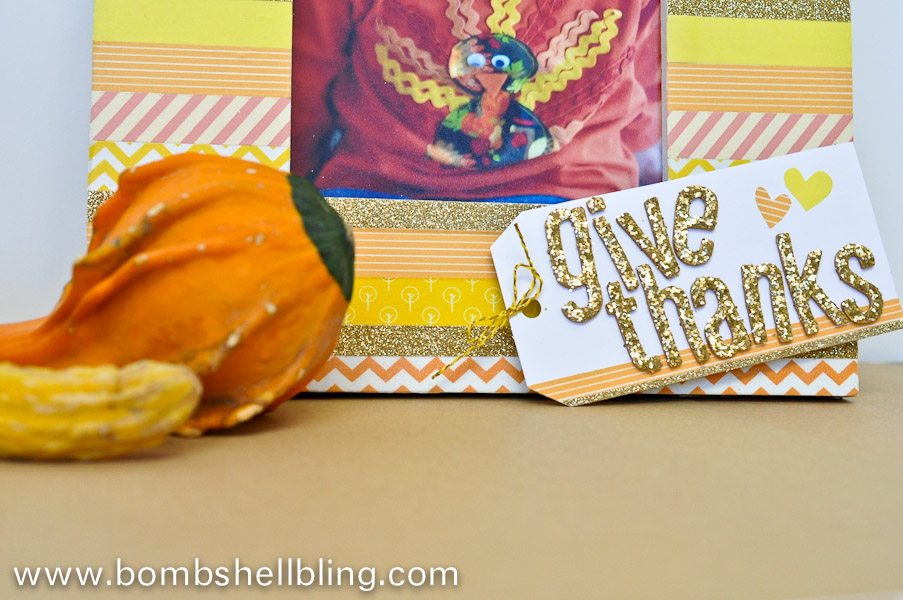
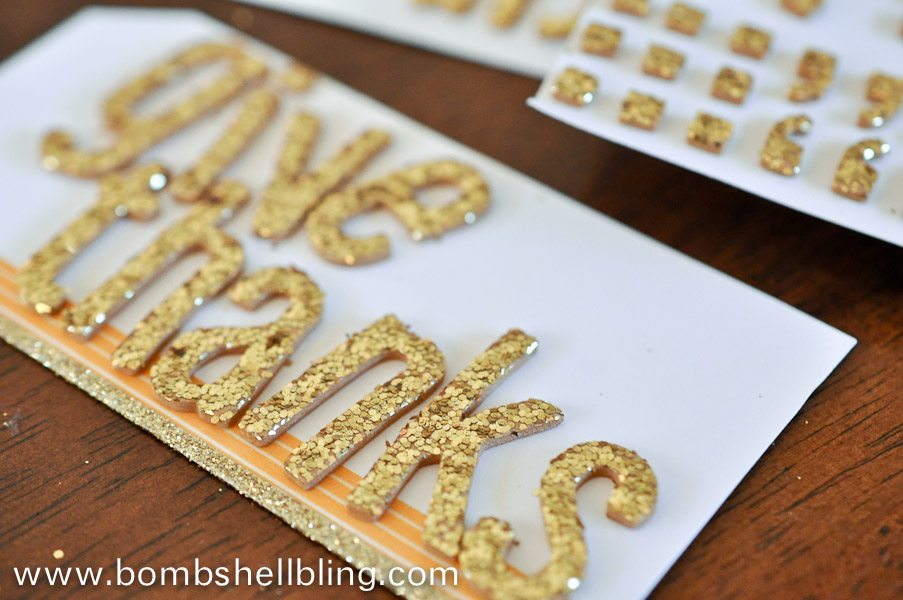 If you would like to add a tag embellishment then cut a tag shaped piece of cardstock. Mine is about 4.5 x 2.5 inches. I added a bit of washi tape to the bottom and a bit of glitter tape, as you can see, just as a fun embellishment and to tie it all together. I used some glittery Thickers (by American Crafts) for the letters to spell out “Give Thanks,” which I did have to peel off and move a couple of times. I love those Thickers—I’m addicted to them! I felt like something was “missing” from the tag because the corner was so empty, so I decided to add a couple of hearts using washi tape.
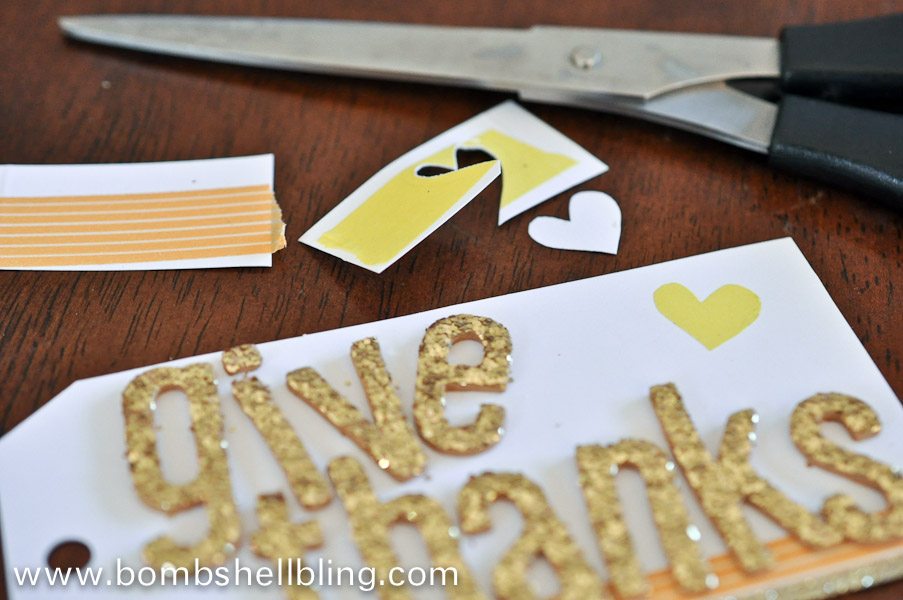 To add the hearts I put a small piece of two different colors of washi tape on a scrap of my white cardstock, just so that it would be easier to cut. Them I simply cut out a couple of hearts, CAREFULLY peeled the washi off of the cardstock heart and transferred it to the tag. As you can see, they are not perfect, but I’m cool with that. Finish your tag by punching a hole it in and tying on a bit of baker’s twine or ribbon. You can use a glue stick or a thin layer of the decoupage to attach the tag where you want it.
 All done! I love that you can use the colors and little touches that you love to customize frames like this. I have a whole mess of washi tape because, well, I have craft supply hoarding problems, and I just piled them on the table and picked and chose tapes that I thought would compliment the picture the best. I love that about creating my own home decor!
 If you like this idea then you may enjoy a few of my other Thanksgiving posts:
 Silly Turkey Gratitude Jar
 Pilgrim Popcorn
 Make a Silly Turkey Placemat Using Fall Leaves
And, for more Thanksgiving fun here on Mom Endeavors, just click the Cornucopia of Creativity button below!