Yesterday I shared the full post about our office/craft room refresh project! A huge part of that makeover was installing some pre-fab shelving, but we also did a couple of little DIY projects that helped my little closet space immensely, starting with pegboard craft supply storage!
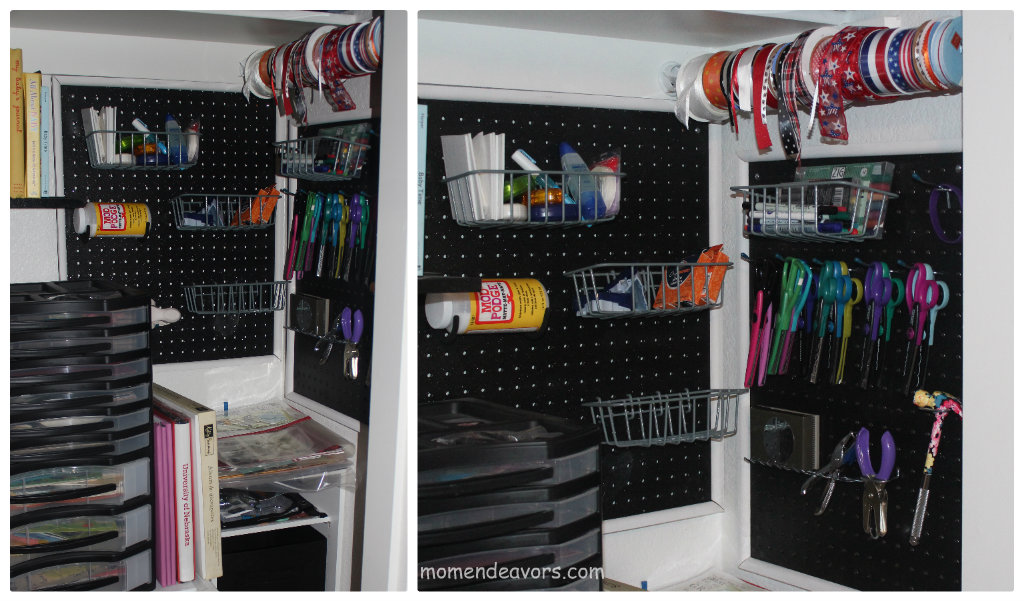 This was an incredibly easy project to do–one that requires few supplies and you can do for under $30 (depending on the size of your boards). All of my supplies were purchased at Lowe’s.
Here’s what you’ll need:
- pegboard (you can have them cut it to the sizes you’ll need in the store for free).
- spray paint (I used Rustoleum Black Textured Metallic) or other paint if you’d like it colored, or you can buy white pegboard in the store (but it’s more expensive).
- 11/16″ white shoe moulding (enough to frame your pegboard).
- Saw & mitre box
- small (1/2 ” – 1″) wood pieces–to attach to the back so the pegboard sticks out from the wall
- wood glue
- screws & dry wall anchors (2 per pegboard)
- pegboard accessories/hardware (hooks, baskets, etc.)
Directions:
 1. *Optional – spray paint or paint with the color of your choice
2. Cut shoe moulding to length & width of the pegboard pieces (could also be done in the store). Then, using your saw & mitre box, cut the ends of the moulding at an angle (so the corners will fit together to form a frame).
3. Using wood glue, attach the moulding pieces to the pegboard to create a frame. 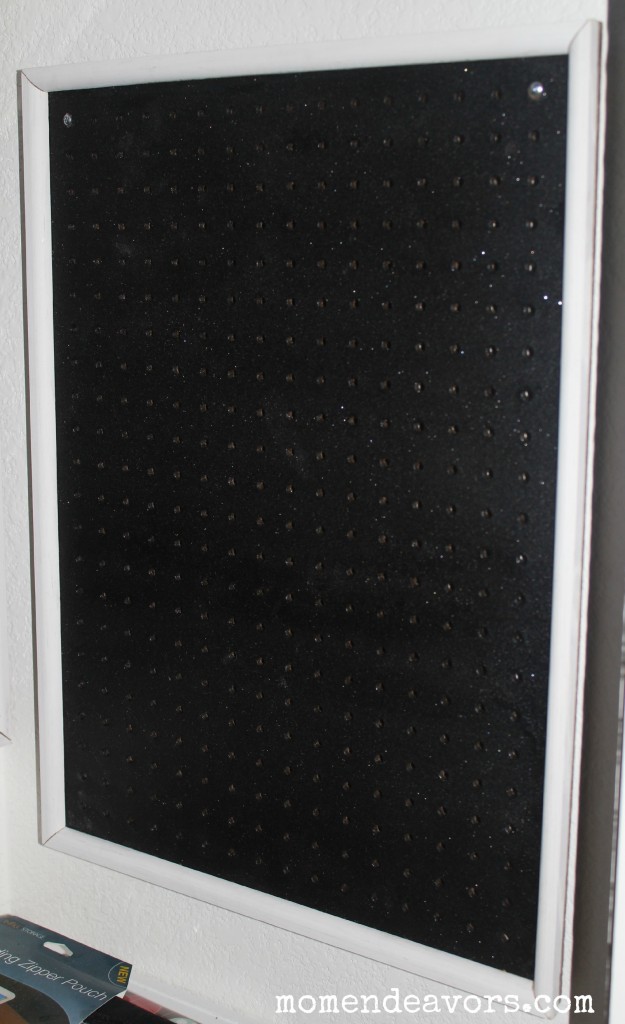 4. Attach small wood pieces to the back of the pegboard (we did 4 small pieces–one in each corner), so that the pegboard sticks out just slightly from the wall (allowing you to put in pegboard hooks & accessories).
5. To attach to the wall, we decided to put in dry wall anchors first (just in case the board got too heavy). Then, we placed one screw in the upper corners of the pegboard. For ease, the screws each went through one pegboard hole & then through the wood piece attached on the back into the wall.
6. Then, add the pegboard accessories of your choice. There is quite a variety of hooks, tool holders, baskets, etc.!
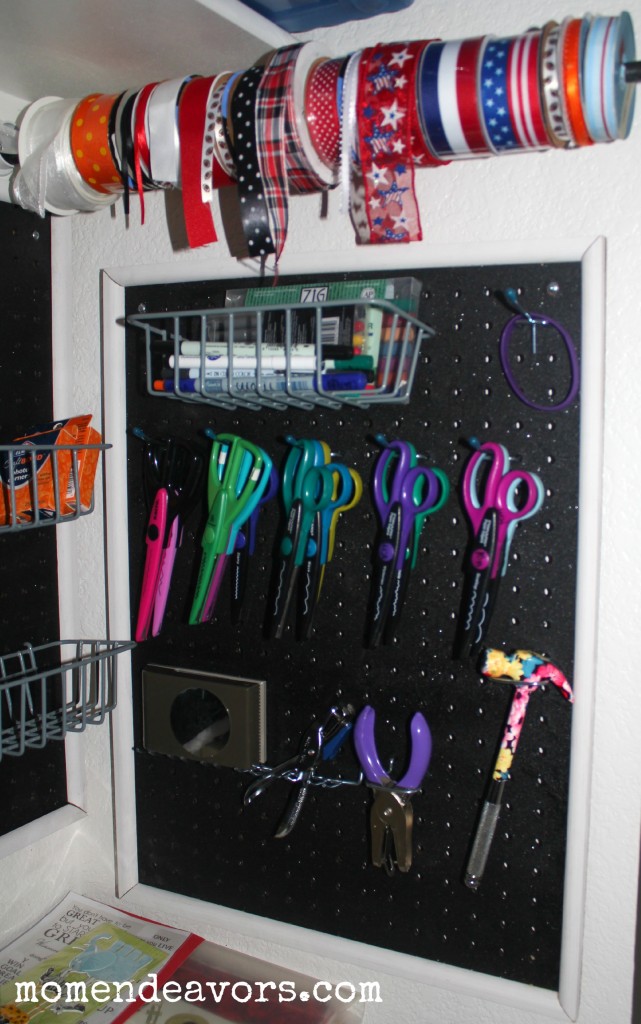 In addition to the framed pegboard units, we also created a ribbon holder. This was crazy easy! All you need is a dowel and those closet bar cups (I’m sure they have a technical name, but I don’t know what it is). We got a 1/2″ dowel, cut it to the size we needed, and spray painted it the same color as the pegboards. Then, we installed the “closet bar cups”, laced the ribbon on the dowel, and rested the dowel inside the cups. Easy peasy!!
 I LOVE easy DIY projects–especially when they help make a space more functional! You can see the whole room reveal here:
For more great ideas, check out Lowe’s Creative Ideas on FB, Lowe’s on Pinterest, and the Lowe’s Creative Ideas blog where you just may recognize one (or more) of the faces there! ![]()
Disclosure: I am a member of the Lowe’s Creative Ideas Creators & Influencers Network and received a Lowe’s gift card to complete my projects. All photos, opinions, and experiences are my own.
Linked to: *Spring Cleaning Challenge






11 Responses
Your craft room looks fabulous and functional. Have fun playing there! Hugs…
Thanks, Carol! We’re loving the improvements!
Hi Sara! It was so great to run into you today at school! Small world for sure. It’s funny to me how the internet is a HUGE place, but then at the same time, it’s small too! 🙂 Have a great afternoon!
-Lisa
Sorry, I forgot to add that your craft room looks awesome!!!
Thanks, Lisa!! It is SUCH a small world!! Was fun to run into you too–and you have a GREAT memory! 🙂
I love the peg board idea!!!
Thanks, Tara! Definitely an idea that’s been around a long time. But it’s so functional–and great for craft supplies!! 🙂
I used your pegboard tutorial for my own office and it turned out awesome! (try here for the sneak peek http://wp.me/p2Ff9i-1w). I really didn’t want to saw anything myself so I opted to skip the frame. Thanks so much for the instructions and inspiration. =)