I’m thrilled to kick off this year’s Cornucopia of Creativity series!! Over the next couple of weeks, you can stop by the blog every day to find great Thanksgiving/fall themed ideas! Today we’re starting with a fun wreath from the fabulous Kim of A Night Owl Blog!
*************
 Hi Mom Endeavors readers! I’m Kimberly from A Night Owl, a blog about the evening antics of a working mom. I’m wife to my best friend and mother to two adorable boys. In my “spare time” you can usually find me on Instagram or Pinterest, and I enjoy crafting, photography, thrifting, parties and a quick and easy recipe. And I love to share my adventures with others! I also enjoy connecting with new friends and would love for you to come by A Night Owl and introduce yourself.
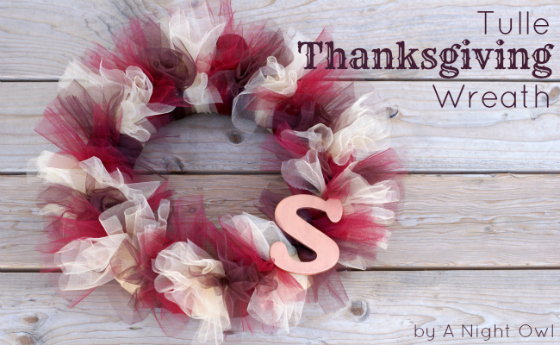
I want to thank Sara for having me on the blog today! I loved the concept of Cornucopia of Creativity and today I’m sharing with you a quick and easy Tulle Thanksgiving Wreath. I’m a big fan of all things tulle, but since I don’t have any girls, I use tend to use tulle on wreaths instead of tutus. Tulle is a great alternative to yarn wreaths if you are running short on time and patience!
What you’ll need:
- Wreath form (I used a 14″ form)
- Brown, burgundy and gold tulle
- Wooden initial
- Martha Stewart Copper Liquid Gilding
- Burlap ribbon
- Hot glue
And the steps:
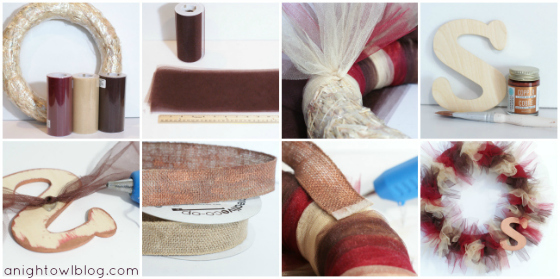
- Cut similar lengths of the three colors of tulle (for a 14″ form, I cut mine to approx. 16″ inches long)
- Simply tie each length of tulle around the wreath form, alternating colors, until the form is covered
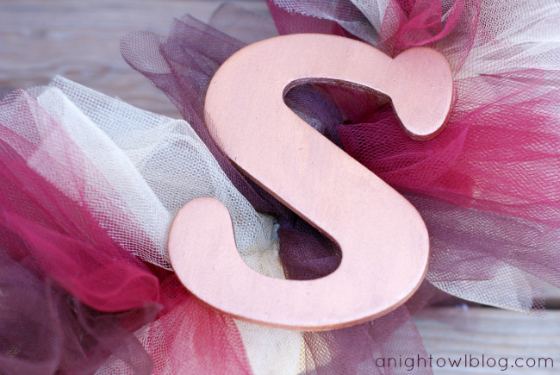
- Paint your wooden initial with Martha Stewart Copper Liquid Gilding (opt.)
- Hot glue the wooden initial to a length of tulle and tie onto the wreath where you would like the initial
- Cut burlap ribbon to the desired length to hang your wreath (I also painted the burlap ribbon with the liquid gilding so that the color matched the copper initial)
- Hot glue the burlap ribbon to the back of the wreath, and you’re done!
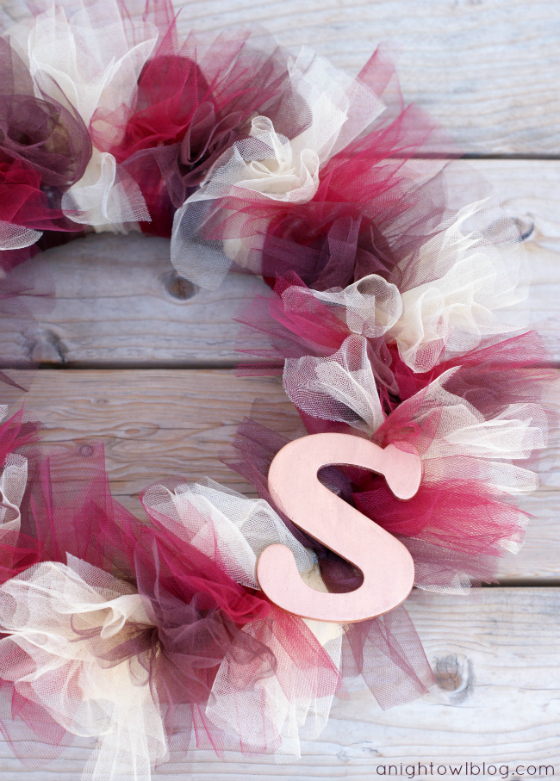
And here’s how it turned out!
What do you think? I love the colors, they all remind me so much of Fall and of Thanksgiving. The wreath is also versatile and could be hung anytime during Fall or Winter! If you enjoyed this tutorial or want to check out our collection of tulle wreaths (the 4th of July one in particular has been a big hit), I’d love to have you come by!
blog :: facebook :: twitter :: pinterest :: google+ :: instagram











One Response